Love this? Save it for later!
Share the inspiration with your friends
I was standing in the dairy aisle at the grocery store, staring at a carton of eggnog like it held the secrets to the universe. It was mid-December, and I had already bought three cartons that week—one for drinking, one for French toast, and one that I honestly just forgot about until it went bad. My four-year-old was tugging at my coat, asking if we could make “Christmas cookies” for the third time that week, and I needed a new idea. Something that wasn’t gingerbread or sugar cookies, because let me tell you, I had already burned through enough royal icing to frost a small house.
Then it hit me—or rather, my neighbor Carol from two doors down had mentioned it months ago while we were both trying to wrangle our kids out of the sandbox at the park. She’d said, “You know, my grandma used to add eggnog to snickerdoodles. Sounds weird, but the kids couldn’t get enough.” I had nodded politely and promptly forgot about it until that moment in the dairy aisle. Honestly, I almost didn’t try it. Snickerdoodles are already perfect, right? But something told me to grab that carton and trust Carol’s grandma.
The first batch I made was a disaster—I used too much eggnog and the dough turned into a sticky mess that refused to roll into balls. My kitchen looked like a flour bomb had gone off, and my son ended up with more dough on his shirt than in the oven. But the second batch? That was magic. The cookies came out soft, puffy, with that signature snickerdoodle tang, but with this subtle, warm eggnog richness that made everyone stop and ask, “What’s in these?” Maybe you’ve been there—standing in your messy kitchen, covered in flour, wondering if the recipe is worth the chaos. Let me tell you, these Kid-Approved Eggnog Snickerdoodle Cookies are absolutely worth it. They’ve become our December tradition, and I keep making them because they make my whole house smell like Christmas morning.
Why You’ll Love This Recipe
Look, I’ve tested a lot of cookie recipes in my time. Some turn out like hockey pucks, and others disappear before they even cool down. These Eggnog Snickerdoodle Cookies fall firmly into the second category, and here’s why they’ve earned a permanent spot in my holiday baking rotation.
- Quick & Easy: These come together in about 30 minutes from start to finish. No chilling the dough, no complicated steps—just mix, roll, bake, and watch them vanish. Perfect for those after-school baking sessions when the kids are bouncing off the walls.
- Simple Ingredients: You probably have most of these in your pantry already. The eggnog is the only special addition, and it’s everywhere during the holidays. No hunting down obscure spices or specialty flours.
- Perfect for Holiday Baking: Whether you’re making cookie plates for neighbors, hosting a cookie swap, or just trying to keep little hands busy on a snow day, these cookies deliver. They’re festive without being fussy.
- Crowd-Pleaser: I’ve served these to picky eaters, cookie purists, and even my uncle who swears he doesn’t like eggnog. Every single person went back for seconds. The kids especially love rolling the dough in the cinnamon-sugar mixture—it’s a messy job, but someone’s got to do it.
- Unbelievably Delicious: The texture is what gets me every time. They’re soft and tender in the middle with just a little chew around the edges. The eggnog adds a subtle richness without overpowering that classic snickerdoodle tang. It’s like the two flavors were meant to be together.
What makes these different from every other snickerdoodle recipe out there? It’s the eggnog, obviously, but also how it interacts with the cream of tartar. The acidity in the eggnog works with the cream of tartar to create that perfect soft-yet-steady texture. Plus, I add a tiny pinch of nutmeg to the cinnamon-sugar coating that just ties the whole holiday flavor together. It’s not just another cookie—it’s the cookie that makes you close your eyes after the first bite and think, “Yeah, this is what Christmas tastes like.”
What Ingredients You Will Need
This recipe uses simple, wholesome ingredients to deliver bold holiday flavor without the fuss. Most of these are pantry staples, and the eggnog is the only seasonal item you’ll need to track down. Here’s what you’ll need:
For the Cookie Dough
- Unsalted butter, softened — 1 cup (2 sticks, 226g). I prefer using unsalted so I can control the salt level. Let it sit out for about 30 minutes before starting.
- Granulated sugar — 1 ½ cups (300g). Regular white sugar works perfectly here. Don’t substitute brown sugar—it changes the texture too much.
- Eggnog — ½ cup (120ml). Use full-fat eggnog for the best flavor and texture. I’ve tried low-fat versions, and the cookies come out a bit flat. (adds richness and moisture)
- Large egg — 1, room temperature. This helps the dough come together smoothly.
- Vanilla extract — 1 teaspoon. Pure vanilla is best, but imitation works in a pinch.
- All-purpose flour — 3 cups (360g). Spoon and level your flour—don’t scoop directly from the bag or you’ll end up with dry cookies.
- Cream of tartar — 2 teaspoons. This is non-negotiable for snickerdoodles. It gives them that signature tangy flavor and soft texture.
- Baking soda — 1 teaspoon. Make sure it’s fresh—test it by dropping a bit in vinegar if you’re unsure.
- Salt — ½ teaspoon. Fine sea salt or table salt works best.
- Ground cinnamon — 1 teaspoon. I use Saigon cinnamon when I can find it—it’s warmer and more aromatic.
- Ground nutmeg — ¼ teaspoon. Freshly grated is amazing if you have it, but pre-ground works fine.
For the Cinnamon-Sugar Coating
- Granulated sugar — ¼ cup (50g)
- Ground cinnamon — 2 tablespoons
- Ground nutmeg — ¼ teaspoon (adds that extra holiday warmth)
Equipment Needed
You don’t need a fancy kitchen to make these cookies. Here’s what you’ll need:
- Large mixing bowl — For creaming the butter and sugar. A glass or stainless steel bowl works great.
- Electric hand mixer or stand mixer — You can do this by hand with a wooden spoon, but your arm will thank you for using a mixer. I’ve done both, and the mixer is worth the extra minute it takes to clean.
- Measuring cups and spoons — Accurate measurements matter in baking. Use dry measuring cups for flour and sugar, and a liquid measuring cup for the eggnog.
- Baking sheets — Two large sheets work well. I like the ones with a light finish—dark pans can cause the bottoms to brown too quickly.
- Parchment paper or silicone baking mats — These prevent sticking and make cleanup a breeze. I’ve used both, and silicone mats give slightly more even browning.
- Small bowl — For the cinnamon-sugar coating mixture.
- Cookie scoop or tablespoon — For portioning the dough evenly. A #40 scoop (about 1.5 tablespoons) is perfect.
- Wire cooling rack — Essential for cooling the cookies properly. If you let them cool on the baking sheet, they’ll continue to cook and can get overdone.
Preparation Method
Alright, let’s get to the good part. Here’s how to make these Eggnog Snickerdoodle Cookies step by step. Trust me, if my four-year-old can help with most of these steps, you’ve got this.
- Preheat your oven to 375°F (190°C). Line two baking sheets with parchment paper or silicone mats. This gives you time to prep while the oven heats up.
- Cream the butter and sugar together. In a large mixing bowl, beat the softened butter and granulated sugar together until light and fluffy—about 3-4 minutes with an electric mixer on medium speed. You want it to look pale and almost doubled in volume. Scrape down the sides of the bowl halfway through. This step is crucial for getting that soft, tender texture.
- Add the wet ingredients. Beat in the eggnog, egg, and vanilla extract until well combined. The mixture might look a little curdled at this point—don’t panic. That’s normal when you add cold liquid to creamed butter. Just keep mixing until it comes back together smoothly.
- Mix the dry ingredients separately. In a separate bowl, whisk together the flour, cream of tartar, baking soda, salt, cinnamon, and nutmeg. Whisking ensures everything is evenly distributed—you don’t want a pocket of baking soda in one cookie.
- Combine wet and dry ingredients. Gradually add the dry ingredients to the wet mixture, mixing on low speed just until combined. Don’t overmix here—stop as soon as you don’t see any more streaks of flour. Overmixing develops gluten and makes cookies tough. The dough will be soft and slightly sticky, which is exactly what you want.
- Make the cinnamon-sugar coating. In a small bowl, stir together the sugar, cinnamon, and nutmeg for the coating. Set it aside near your baking sheets.
- Shape the cookies. Using a cookie scoop or a tablespoon, portion out about 1.5 tablespoons of dough. Roll it into a ball between your palms—the dough will be soft, so don’t squeeze too hard. Drop the ball into the cinnamon-sugar mixture and roll it around until completely coated. Place it on the prepared baking sheet, spacing them about 2 inches apart. They’ll spread a bit, so give them room to breathe.
- Bake for 10-12 minutes. The cookies should look puffed and set around the edges but still soft in the center. They’ll look slightly underdone—that’s perfect. The centers will continue to set as they cool. If you want softer cookies, go for 10 minutes. For slightly crisper edges, go for 12.
- Cool on the baking sheet for 5 minutes. This is important—the cookies are too fragile to move right away. Let them rest on the hot sheet to finish setting up. After 5 minutes, transfer them to a wire cooling rack to cool completely.
- Repeat with remaining dough. If you’re reusing the same baking sheets, let them cool completely between batches. Placing dough on a hot sheet will cause the cookies to spread too much.
Cooking Tips & Techniques
I’ve made these cookies at least a dozen times now, and I’ve learned a few things the hard way. Here are my best tips to help you nail them on the first try.
Don’t skip the cream of tartar. I know it’s a weird ingredient that you might not have on hand, but it’s what makes a snickerdoodle a snickerdoodle. It reacts with the baking soda to create that soft, puffy texture and gives the cookies their signature tangy flavor. If you absolutely have to substitute, use 2 teaspoons of lemon juice or white vinegar mixed with the eggnog, but honestly, just buy the cream of tartar—it lasts forever in your pantry.
Room temperature ingredients matter. I learned this lesson the hard way when I tried to rush the process and used cold eggnog straight from the fridge. The dough came out lumpy and the cookies spread unevenly. Let your egg and eggnog sit out for about 15 minutes before mixing. Your butter should be soft enough that you can press it with your finger and it leaves an indent without feeling greasy.
Watch your baking time closely. Ovens vary wildly—my friend’s oven runs 25 degrees hot, and she always ends up with darker cookies. Start checking at 9 minutes. The cookies are done when the edges are set and lightly golden, but the centers still look soft and slightly puffy. They’ll continue to cook on the hot baking sheet after you pull them out.
Use a cookie scoop for even sizing. This isn’t just about aesthetics—evenly sized cookies bake evenly. If some are bigger than others, you’ll end up with half the batch overdone and half underdone. A #40 scoop (about 1.5 tablespoons) is my go-to for this recipe.
Let the baking sheets cool between batches. I’m guilty of trying to speed things up by putting dough on a still-warm sheet. The result? Flat, spread-out cookies that look more like pancakes. Give the sheets 5-10 minutes to cool down, or run them under cold water and dry them off.
Variations & Adaptations
One of the best things about this recipe is how adaptable it is. Here are some variations I’ve tried and loved:
Dairy-Free Version: Swap the butter for a high-quality vegan butter stick (not the spreadable kind in a tub) and use a dairy-free eggnog like So Delicious or Califia Farms. The texture will be slightly less tender, but the flavor is still fantastic. I tested this for my sister-in-law who’s lactose intolerant, and she couldn’t tell the difference.
Gluten-Free Option: Use a 1:1 gluten-free flour blend that contains xanthan gum. I’ve had good results with Bob’s Red Mill Gluten-Free 1-to-1 Baking Flour. Add an extra tablespoon of eggnog since gluten-free flours tend to absorb more moisture. The cookies will be a bit more delicate, so handle them gently when transferring to the cooling rack.
Spiced-Up Version: Add ¼ teaspoon of ground cloves and ¼ teaspoon of ground ginger to the dry ingredients for a more complex spice profile. This turns them into “Christmas in a cookie” territory. I did this for a cookie swap last year, and they were the first ones to disappear from the table.
Eggnog Glaze: If you want to take these over the top, whisk together 1 cup of powdered sugar with 2-3 tablespoons of eggnog until smooth. Drizzle it over the cooled cookies and sprinkle with a pinch of nutmeg. It adds a pretty finish and extra eggnog flavor. Just be warned—they’re even more addictive this way.
Smaller Cookies for Little Hands: Use a teaspoon-sized scoop and bake for 8-9 minutes. Perfect for toddler-sized treats or for cookie decorating with kids. My son loves helping roll these tiny ones in the cinnamon-sugar.
Serving & Storage Suggestions
These cookies are best served slightly warm, when the centers are still soft and the cinnamon-sugar coating is perfectly set. I like to let them cool for about 10 minutes on the baking sheet, then transfer them to a plate and serve immediately. The smell alone will bring everyone running to the kitchen.
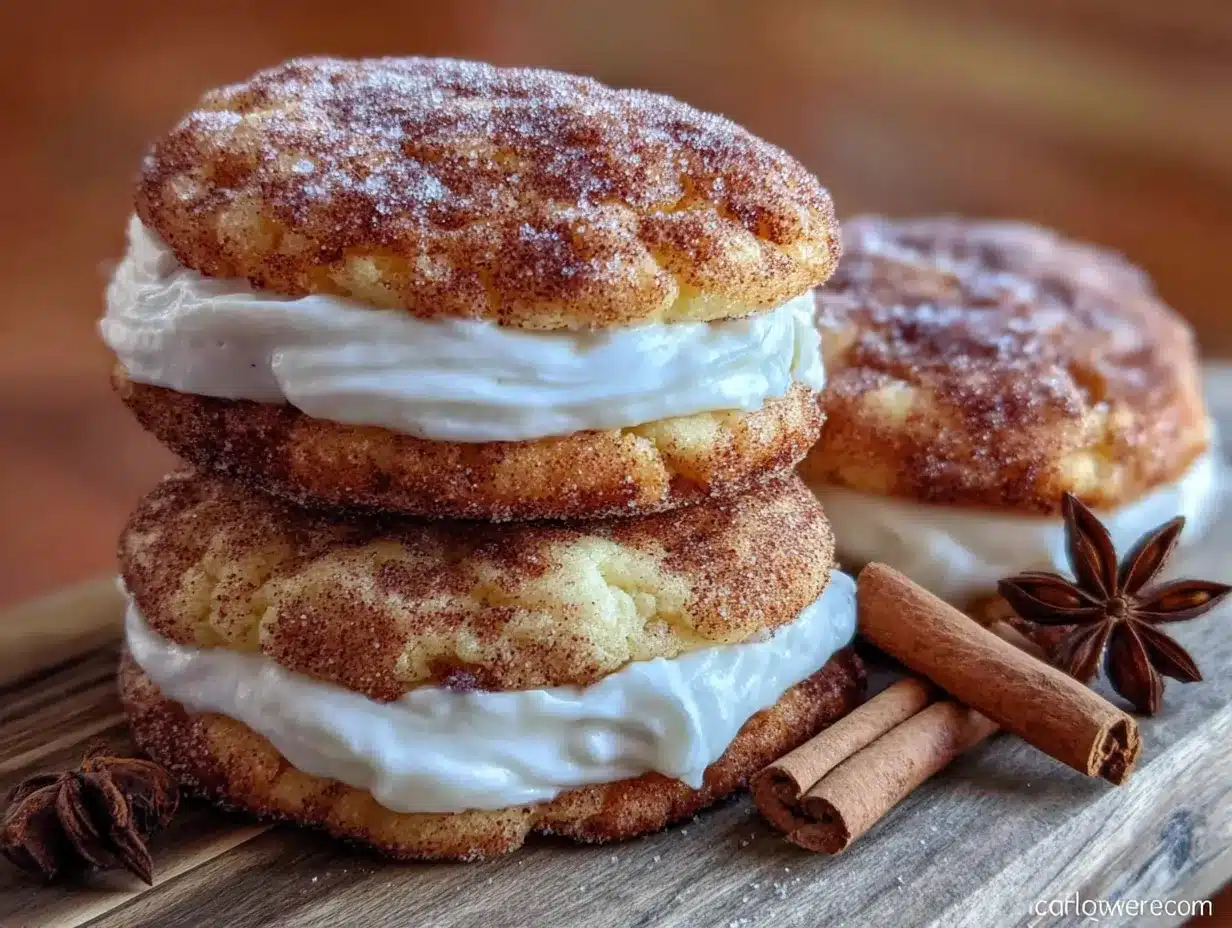
For a festive presentation, arrange them on a platter with a sprinkle of extra cinnamon and a few star anise pods for decoration. They pair beautifully with a glass of cold milk for the kids or a hot cup of coffee for the adults. I’ve also served them alongside a warm mug of eggnog for the ultimate holiday treat—talk about flavor harmony.
Storage: Store these cookies in an airtight container at room temperature for up to 5 days. Place a slice of bread in the container to keep them soft—the bread absorbs excess air and releases moisture. Replace the bread slice every other day. I’ve tested this method, and the cookies stay just as soft as day one.
Freezing: These cookies freeze beautifully. You can freeze the baked cookies in a single layer on a baking sheet, then transfer them to a freezer-safe bag for up to 3 months. Thaw at room temperature for about 30 minutes before serving. Alternatively, freeze the unbaked dough balls (coated in cinnamon-sugar) on a baking sheet, then transfer to a bag. Bake directly from frozen, adding 2-3 minutes to the baking time. This is my secret weapon for last-minute holiday visitors.
The flavors actually deepen after a day or two—the eggnog and spices meld together beautifully. So if you can resist eating them all immediately, they’ll taste even better the next day.
Nutritional Information & Benefits
Let’s be real—these are cookies, not health food. But here’s the estimated nutritional breakdown per cookie (based on 36 cookies):
| Nutrient | Amount per Cookie |
|---|---|
| Calories | 145 |
| Total Fat | 7g |
| Saturated Fat | 4g |
| Cholesterol | 25mg |
| Sodium | 85mg |
| Total Carbohydrates | 20g |
| Sugars | 12g |
| Protein | 2g |
Eggnog itself does offer some nutritional perks—it’s a good source of calcium, vitamin A, and vitamin D from the milk and eggs. The cinnamon in the coating has antioxidant properties and may help with blood sugar regulation. But honestly, these cookies are about joy, not nutrition. They’re a holiday treat meant to be enjoyed in moderation, shared with loved ones, and savored with a big smile.
If you’re watching your sugar intake, you can reduce the sugar in the dough to 1 cup without affecting the texture too much. The coating sugar is harder to reduce since it provides that signature snickerdoodle crunch.
FAQs
Can I use low-fat eggnog in this recipe?
You can, but the cookies won’t be as tender or flavorful. Low-fat eggnog has more water and less fat, which can make the cookies drier and less rich. If that’s all you have, add an extra tablespoon of melted butter to compensate.
Why do my snickerdoodles always turn out flat?
Flat snickerdoodles usually mean the butter was too soft or the dough was overmixed. Make sure your butter is softened but not melted, and stop mixing as soon as the flour is incorporated. Also, check that your baking soda and cream of tartar are fresh—they lose potency over time.
Can I make the dough ahead of time?
Absolutely! You can refrigerate the dough for up to 3 days. Let it sit at room temperature for about 15 minutes before rolling into balls—it’ll be too firm to work with straight from the fridge. You can also freeze the dough balls for up to 3 months as mentioned above.
My cookies came out too dry. What went wrong?
Dry cookies usually mean too much flour or overbaking. Make sure you’re spooning and leveling your flour rather than scooping directly from the bag. Also, pull the cookies out when the centers still look slightly underdone—they’ll continue to set as they cool.
Can I add mix-ins like chocolate chips or nuts?
Sure! Fold in ½ cup of white chocolate chips or chopped pecans after mixing the dough. White chocolate pairs especially well with the eggnog flavor. Just be gentle when folding so you don’t overwork the dough.
Conclusion
These Kid-Approved Eggnog Snickerdoodle Cookies have become more than just a recipe in my house—they’re a tradition. Every December, my son asks when we’re going to make “the Christmas cookies that taste like hugs,” and I know exactly which recipe he’s talking about. They’re the cookies that bring my family together in the kitchen, flour on the floor and all.
I hope you give these a try and make them your own. Maybe you’ll add a little extra nutmeg, or skip the coating on a few for a less sweet version, or double the batch because one dozen is never enough. That’s the beauty of baking—it’s flexible, forgiving, and always better when shared.
So go ahead, grab that carton of eggnog, preheat your oven, and get ready to fill your home with the smell of Christmas. And when you make them—because I know you will—come back and let me know how they turned out. Did your kids love rolling the dough in the cinnamon sugar? Did you try the eggnog glaze? I’d love to hear about your kitchen adventures. Happy baking, friend!
Pin This Recipe!
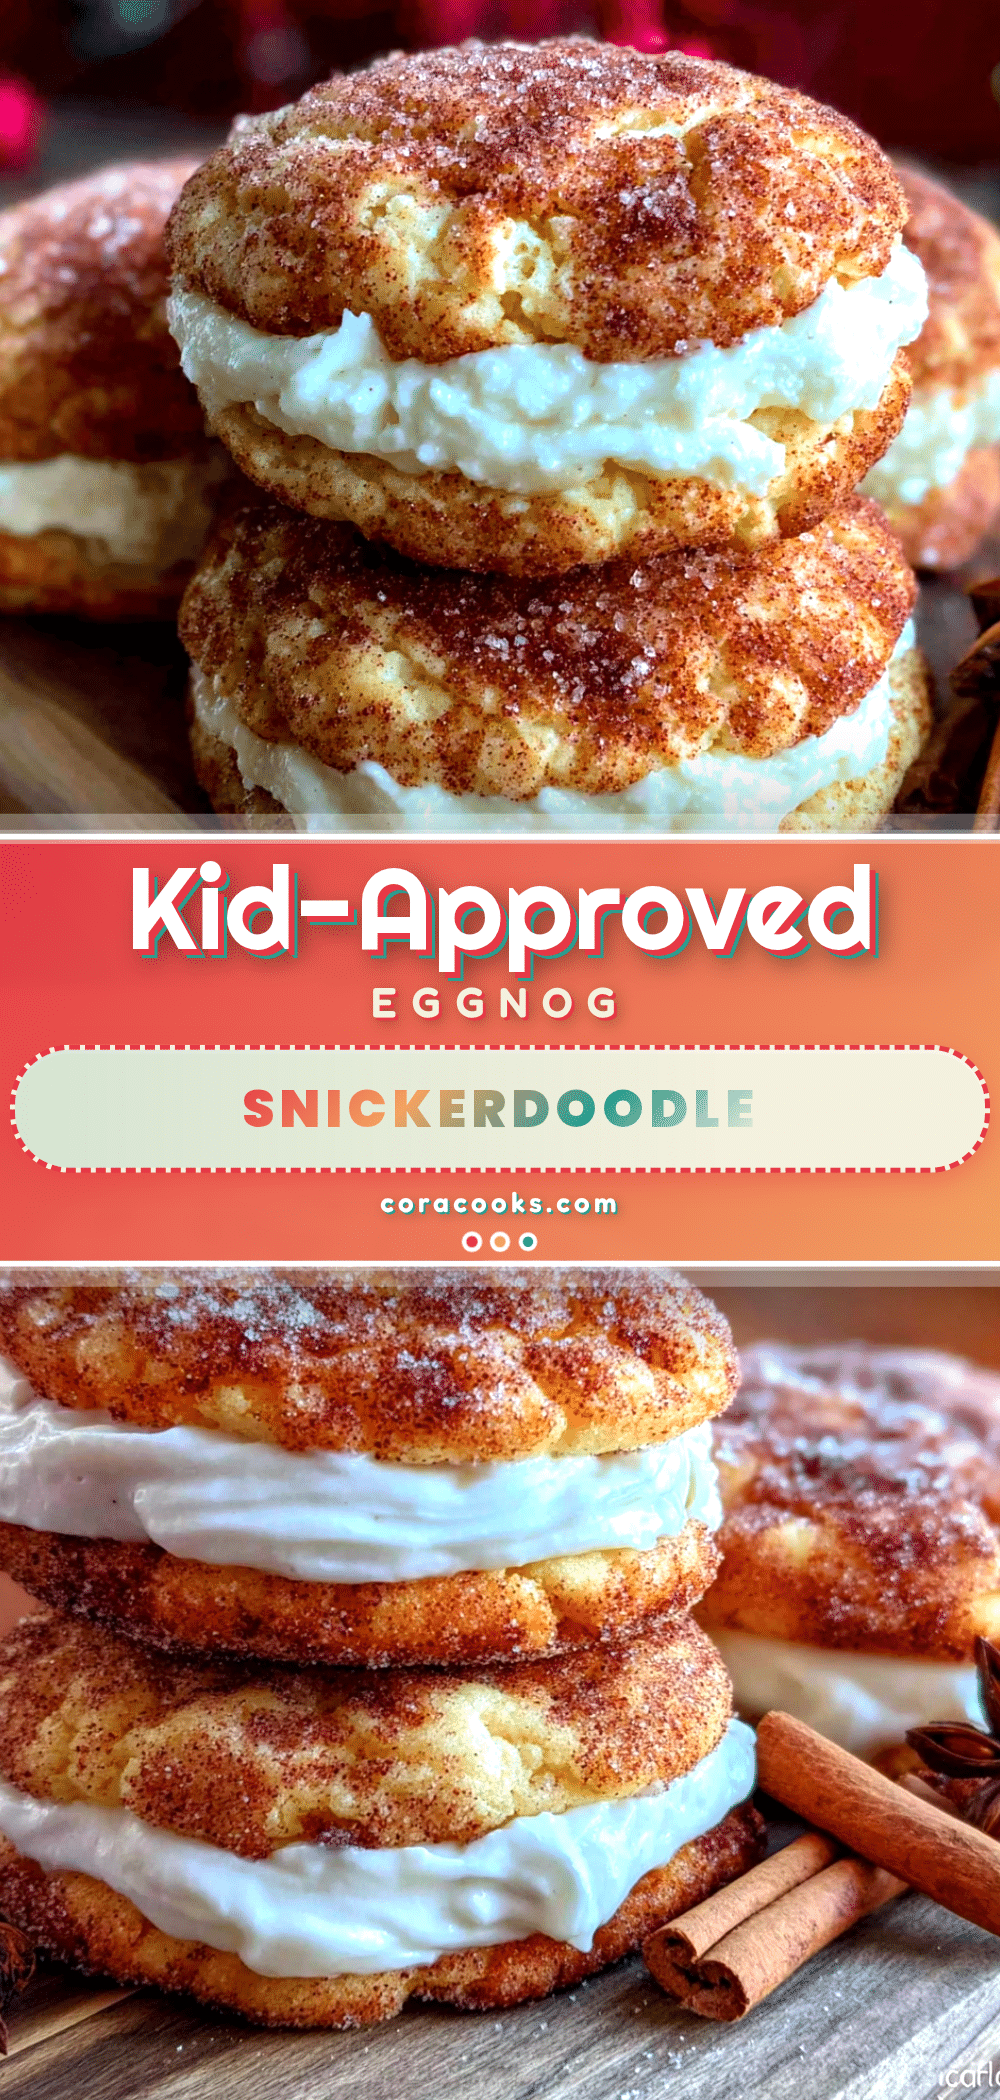
Easy Eggnog Snickerdoodle Cookies: Best Kid-Approved Recipe

Soft, puffy snickerdoodle cookies with a warm eggnog richness and a cinnamon-sugar coating. A festive, kid-approved holiday treat that comes together in about 30 minutes.
- Prep Time: 15 minutes
- Cook Time: 10-12 minutes per batch
- Total Time: 30 minutes
- Yield: 36 cookies 1x
- Category: Dessert
- Cuisine: American
Ingredients
- 1 cup (2 sticks, 226g) unsalted butter, softened
- 1 ½ cups (300g) granulated sugar
- ½ cup (120ml) full-fat eggnog
- 1 large egg, room temperature
- 1 teaspoon vanilla extract
- 3 cups (360g) all-purpose flour, spooned and leveled
- 2 teaspoons cream of tartar
- 1 teaspoon baking soda
- ½ teaspoon fine sea salt or table salt
- 1 teaspoon ground cinnamon (preferably Saigon cinnamon)
- ¼ teaspoon ground nutmeg
- ¼ cup (50g) granulated sugar (for coating)
- 2 tablespoons ground cinnamon (for coating)
- ¼ teaspoon ground nutmeg (for coating)
Instructions
- Preheat your oven to 375°F (190°C). Line two baking sheets with parchment paper or silicone mats.
- In a large mixing bowl, beat the softened butter and 1 ½ cups granulated sugar together until light and fluffy—about 3-4 minutes with an electric mixer on medium speed. Scrape down the sides of the bowl halfway through.
- Beat in the eggnog, egg, and vanilla extract until well combined. The mixture may look slightly curdled; keep mixing until smooth.
- In a separate bowl, whisk together the flour, cream of tartar, baking soda, salt, 1 teaspoon cinnamon, and ¼ teaspoon nutmeg.
- Gradually add the dry ingredients to the wet mixture, mixing on low speed just until combined. Do not overmix. The dough will be soft and slightly sticky.
- In a small bowl, stir together the ¼ cup sugar, 2 tablespoons cinnamon, and ¼ teaspoon nutmeg for the coating.
- Using a cookie scoop or tablespoon, portion out about 1.5 tablespoons of dough. Roll into a ball between your palms, then roll in the cinnamon-sugar mixture until completely coated. Place on prepared baking sheets, spacing about 2 inches apart.
- Bake for 10-12 minutes, until the cookies look puffed and set around the edges but still soft in the center.
- Cool on the baking sheet for 5 minutes, then transfer to a wire cooling rack to cool completely.
- Repeat with remaining dough, letting baking sheets cool completely between batches.
Notes
Don’t skip the cream of tartar—it gives snickerdoodles their signature tang and soft texture. Use full-fat eggnog for best results. Let butter, egg, and eggnog come to room temperature before mixing. For softer cookies, bake for 10 minutes; for slightly crisper edges, bake for 12. Store in an airtight container at room temperature for up to 5 days; place a slice of bread in the container to keep them soft. Freeze baked cookies for up to 3 months, or freeze unbaked dough balls and bake directly from frozen, adding 2-3 minutes to baking time.
Nutrition
- Serving Size: 1 cookie
- Calories: 145
- Sugar: 12
- Sodium: 85
- Fat: 7
- Saturated Fat: 4
- Carbohydrates: 20
- Protein: 2
Keywords: eggnog snickerdoodle cookies, Christmas cookies, holiday cookies, kid-approved cookies, easy cookie recipe