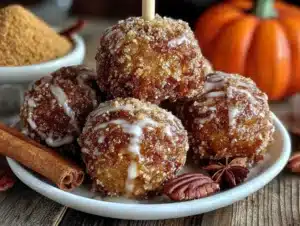
Love this? Save it for later!
Share the inspiration with your friends
This was supposed to be pumpkin bread. Plain, simple, loaf-pan pumpkin bread that I could slice up for school lunches and maybe sneak a piece of with my afternoon coffee. I had the recipe memorized—flour, sugar, pumpkin puree, the usual suspects. But somewhere between my toddler deciding to “help” by dumping the cinnamon into the mixing bowl and me realizing I was completely out of loaf pans (how does that even happen?), the whole plan fell apart.
I stood there, staring at this overly spiced, oddly thick batter, with cinnamon clumps floating on top like little brown islands. My first instinct was panic. I mean, I had already promised my kids we’d be baking together, and the kitchen looked like a flour bomb had gone off. My three-year-old had cinnamon up to his elbows, and my oldest was already asking when the “cake balls” would be ready. Cake balls. That’s when it clicked.
I grabbed a mini muffin tin—the only thing clean enough to use—and scooped the batter in, hoping for the best. What came out of the oven was nothing like the pumpkin bread I planned. These little domed bites were golden, tender, and smelled like a fall candle exploded in the best way. I rolled them in cinnamon sugar while they were still warm, stuck a lollipop stick in each one, and handed them over to my kids. You know that feeling when your kids actually stop talking because they’re too busy eating? That happened. Honestly, I think I heard a pin drop.
These cake pops weren’t a backup plan anymore. They were the plan I didn’t know I needed. And now, every time I make them, I remember that messy afternoon and the little accident that turned into our family’s favorite treat.
Why You’ll Love This Recipe
Let me tell you why these cake pops are different from every other recipe you’ve tried. First off, they’re not fussy. I’ve tested this recipe at least a dozen times—sometimes with my kids “helping,” sometimes when I’m rushing between soccer practice and homework—and they work every single time. You don’t need a cake pop machine or any fancy gadget. Just a mini muffin tin and a little patience.
Here’s what makes them stand out:
- Quick & Easy: From start to finish, you’re looking at about 30 minutes. That’s faster than a box mix, and way more satisfying.
- Simple Ingredients: You probably have everything in your pantry right now. No weird extracts or hard-to-find spices.
- Perfect for Busy Families: These are great for school treats, birthday parties, or just a random Tuesday when you need a little sweetness.
- Crowd-Pleaser: I’ve served these at playdates, potlucks, and even a grown-up dinner party. Kids love them, adults sneak extras—it’s a fact.
- Unbelievably Delicious: The cinnamon sugar coating gives them this little crunch that gives way to a soft, moist pumpkin center. It’s comfort food in two bites.
What really sets this recipe apart is the texture. Most cake pops are dry or crumbly, but these stay tender for days. The secret? A little extra pumpkin puree and not overmixing the batter. I learned that the hard way after my first batch turned out like hockey pucks. Trust me, this version is the one.
These cake pops are the kind of treat that makes you close your eyes after the first bite. They’re simple enough for a weekday snack but special enough to bring to a celebration. And honestly, isn’t that the best kind of recipe?
What Ingredients You Will Need
This recipe uses basic, wholesome ingredients that come together to create something truly special. I’ve tested different brands and variations, so I’ll share what works best based on my experience.
For the Cake Pops
- 1 ½ cups all-purpose flour (I prefer Gold Medal for consistent results; spoon and level for accuracy)
- 1 teaspoon baking powder (make sure it’s fresh—test by dropping a bit in hot water; if it fizzes, it’s good)
- ½ teaspoon baking soda
- ½ teaspoon salt
- 1 ½ teaspoons ground cinnamon (I use McCormick—it’s warm and not too sharp)
- ½ teaspoon ground nutmeg (freshly grated if you have it, but pre-ground works fine)
- ¼ teaspoon ground ginger (adds a little warmth without being spicy)
- ½ cup unsalted butter, softened (leave it out for 30 minutes; if you forget, microwave for 10 seconds—don’t melt it!)
- ¾ cup granulated sugar
- ¼ cup packed light brown sugar (adds moisture and a hint of molasses flavor)
- 2 large eggs, room temperature (crack them into a bowl first to avoid shell surprises)
- 1 teaspoon vanilla extract (pure, not imitation—it makes a difference)
- 1 cup pumpkin puree (not pumpkin pie filling—I learned that mistake the hard way; Libby’s is my go-to)
For the Cinnamon Sugar Coating
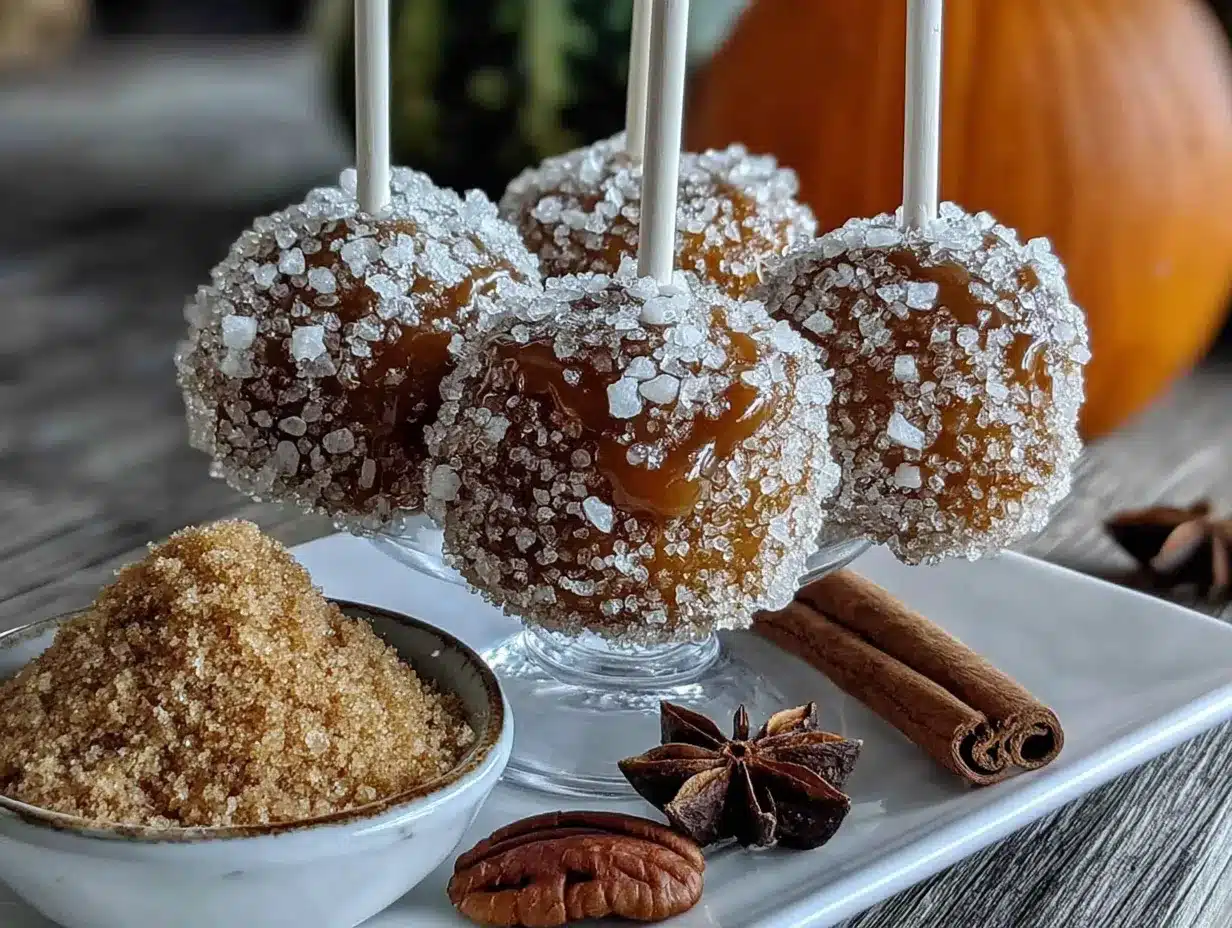
- ½ cup granulated sugar
- 2 teaspoons ground cinnamon
- 3 tablespoons unsalted butter, melted (for brushing)
Ingredient Tips: For the pumpkin puree, look for 100% pure pumpkin with no added spices or sugar. If you’re out of brown sugar, you can substitute with white sugar plus a tablespoon of molasses. For a dairy-free version, use plant-based butter—I’ve had good luck with Earth Balance.
One thing I’ve learned: don’t skip the ginger. It’s a small amount, but it rounds out the cinnamon and nutmeg beautifully. My first batch without it tasted flat, like something was missing. Now I never leave it out.
Equipment Needed
You don’t need a lot of fancy tools for this recipe, which is part of why I love it. Here’s what you’ll need:
- Mini muffin tin: This is non-negotiable. I use a standard 24-cup tin, and it works perfectly. If you only have a 12-cup, just bake in batches.
- Mixing bowls: One large, one medium. Nothing fancy—I’ve used the same Pyrex set for years.
- Whisk and spatula: A silicone spatula is best for scraping every bit of batter.
- Lollipop sticks: You can find these at craft stores or online. If you don’t have them, you can serve the cake pops without sticks—they’re just as tasty.
- Pastry brush: For brushing melted butter on the warm cake pops. A silicone brush works great and is easy to clean.
- Cooling rack: Helps them cool evenly so the coating sticks properly.
Budget-Friendly Tip: If you don’t want to buy lollipop sticks, just skip them. These make adorable “cake bites” served in a bowl. I’ve done that for parties, and nobody complained. Also, a mini muffin tin is usually under $15 and worth every penny for recipes like this.
Preparation Method
Let’s walk through this step by step. I’ll include all the little details I wish someone had told me when I first started making these.
Step 1: Preheat and Prep
Preheat your oven to 350°F (175°C). Grease your mini muffin tin generously with butter or non-stick spray. I use butter because it adds flavor, but spray works in a pinch. Don’t skip this—these cake pops will stick if you do.
Step 2: Mix the Dry Ingredients
In a medium bowl, whisk together the flour, baking powder, baking soda, salt, cinnamon, nutmeg, and ginger. Whisk for about 20 seconds to make sure everything is evenly distributed. This step aerates the flour and prevents clumps of baking powder from ruining your texture.
Step 3: Cream the Butter and Sugars
In a large bowl, beat the softened butter, granulated sugar, and brown sugar together until light and fluffy. This takes about 2-3 minutes with a hand mixer, or 4-5 minutes by hand. You’ll know it’s ready when it looks pale and slightly increased in volume. Scrape down the sides of the bowl halfway through.
Step 4: Add the Eggs and Vanilla
Add the eggs one at a time, beating well after each addition. Then mix in the vanilla extract. The batter might look a little separated at this point—that’s normal. Don’t panic.
Step 5: Incorporate the Pumpkin
Add the pumpkin puree and mix until just combined. The batter will turn a beautiful orange color and smell amazing. At this stage, it might look a bit curdled if your eggs were cold, but it will come together once you add the flour.
Step 6: Add the Dry Ingredients
Gradually add the dry ingredients to the wet mixture, mixing on low speed or folding with a spatula. Stop as soon as the flour disappears. Overmixing will make the cake pops tough—I’ve done it, and the results were disappointing. A few streaks of flour are okay; they’ll disappear during baking.
Step 7: Fill the Muffin Tin
Scoop the batter into the prepared mini muffin cups, filling each about ¾ full. I use a small cookie scoop for even portions. You should get about 24 cake pops. If you have extra batter, resist the urge to overfill—they’ll overflow and lose their cute domed shape.
Step 8: Bake
Bake for 10-12 minutes, or until a toothpick inserted into the center comes out clean. The tops should be golden and spring back when lightly touched. My oven runs hot, so I check at 10 minutes. Every oven is different, so start checking early.
Step 9: Cool and Coat
Let the cake pops cool in the tin for 5 minutes, then transfer them to a cooling rack. While they’re still warm (but not hot), brush each one with melted butter and roll in the cinnamon sugar mixture. The butter helps the coating stick and adds richness. Let them cool completely before inserting sticks, if using.
Cooking Tips & Techniques
I’ve made these cake pops more times than I can count, and I’ve definitely had my share of failures. Here’s what I’ve learned so you don’t have to repeat my mistakes.
Don’t Overmix the Batter. This is the number one mistake I made early on. When you overmix, the gluten develops too much, and your cake pops turn out dense and rubbery. Mix just until the flour disappears—a few lumps are fine.
Use Room Temperature Ingredients. Cold eggs and butter don’t mix well with the other ingredients. If you forget to take them out ahead of time, place the eggs in a bowl of warm water for 5 minutes and microwave the butter for 10 seconds (not melted, just softened).
Check Your Oven Temperature. I burned my first batch because my oven runs 25 degrees hotter than the dial says. An oven thermometer is cheap and saves your baked goods. If your cake pops are browning too fast, tent them with foil for the last few minutes.
Timing is Everything. I like to prep the cinnamon sugar mixture while the cake pops bake. That way, I can coat them as soon as they come out. Warm cake pops absorb the butter and sugar better, giving you that perfect crunchy coating.
Multitasking Tip: While the first batch bakes, I wash the mixing bowl and prep for the next batch if needed. This keeps the process moving and prevents me from standing around waiting.
Variations & Adaptations
One of the best things about this recipe is how flexible it is. Here are some variations I’ve tried and loved.
Gluten-Free Version
Swap the all-purpose flour with a 1:1 gluten-free baking flour. I’ve used King Arthur’s Measure for Measure blend with great results. The texture is slightly more tender, but still delicious. Add an extra tablespoon of pumpkin puree to compensate for the dryness of gluten-free flours.
Dairy-Free Version
Use plant-based butter in both the batter and the coating. I recommend Miyoko’s or Earth Balance. The cake pops will be slightly less rich, but still moist and flavorful.
Chocolate Pumpkin Cake Pops
Add ¼ cup of cocoa powder to the dry ingredients and reduce the flour by 2 tablespoons. The chocolate and pumpkin combo is surprisingly good—my kids call them “fall brownie bites.”
Spice It Up
If you love warm spices, add ¼ teaspoon of cloves or allspice to the dry ingredients. I did this once when I ran out of ginger, and it added a cozy, almost chai-like flavor.
Kid-Friendly Customization
Let your kids help roll the warm cake pops in sprinkles or crushed graham crackers instead of cinnamon sugar. My youngest loves the sprinkle version, and it makes them feel like they made the recipe themselves.
Serving & Storage Suggestions
These cake pops are best served at room temperature, right after they’ve been coated. The cinnamon sugar coating is at its crunchiest within the first few hours. If you’re serving them at a party, arrange them on a platter with the sticks pointing up, or stand them in a styrofoam block for a cute display.
Complementary Pairings: Serve these with a warm cup of apple cider or a pumpkin spice latte for the ultimate fall treat. For kids, a glass of cold milk is perfect—it balances the sweetness beautifully.
Storage Instructions: Store leftover cake pops in an airtight container at room temperature for up to 3 days. If you stack them, place a sheet of parchment paper between layers to prevent the coating from sticking. Do not refrigerate—they’ll dry out and lose their tender texture.
Freezing: These freeze beautifully. Place the cooled, uncoated cake pops on a baking sheet and freeze for 1 hour. Transfer to a freezer-safe bag for up to 3 months. When ready to serve, thaw at room temperature, then brush with butter and coat with cinnamon sugar.
Reheating: If you want that fresh-from-the-oven warmth, pop them in a 300°F (150°C) oven for 5 minutes. The coating will crisp up again, and the inside will be soft and tender.
One thing I love about this recipe is that the flavors actually get better after a day. The pumpkin and spices meld together, making them even more delicious on day two. If you can resist eating them all at once, that is.
Nutritional Information & Benefits
Here’s the approximate nutritional breakdown for one cake pop (based on 24 servings):
- Calories: 120
- Total Fat: 5g
- Saturated Fat: 3g
- Cholesterol: 25mg
- Sodium: 95mg
- Total Carbohydrates: 18g
- Dietary Fiber: 1g
- Sugars: 11g
- Protein: 2g
Health Benefits: Pumpkin is packed with vitamin A, which supports eye health and immune function. It’s also a good source of fiber, which helps with digestion. The cinnamon adds antioxidants and may help regulate blood sugar levels. While these are definitely a treat, they’re a slightly more nutritious option than many store-bought snacks.
Dietary Considerations: This recipe can be made gluten-free and dairy-free with simple substitutions. It contains eggs and wheat, so it’s not suitable for those with celiac disease or egg allergies without modifications.
From a wellness perspective, I believe in balance. These cake pops are a fun, occasional treat that brings joy to my family. I don’t stress about the sugar content because I know my kids are eating real food the rest of the day. A little sweetness now and then is good for the soul.
Conclusion
If you take away one thing from this post, let it be this: don’t be afraid of kitchen accidents. Some of the best recipes come from moments when things go wrong. These cinnamon sugar pumpkin cake pops are proof that a little chaos can lead to something wonderful.
I hope you give these a try, whether it’s for a school party, a holiday gathering, or just a fun afternoon with your kids. Feel free to tweak the spices, add your own twist, or let your little ones get messy in the kitchen. That’s what cooking is all about.
I’d love to hear how yours turn out! Drop a comment below and let me know if your family loved them as much as mine does. And if you come up with a fun variation, share that too—I’m always looking for new ideas. Happy baking, friends!
Frequently Asked Questions
Can I use canned pumpkin pie filling instead of pumpkin puree?
No, I wouldn’t recommend it. Pumpkin pie filling has added sugar and spices, which will throw off the balance of this recipe. Stick with 100% pure pumpkin puree for the best results.
Why did my cake pops come out dry?
This usually happens from overbaking or overmixing the batter. Check your oven temperature with a thermometer and bake just until a toothpick comes out clean. Also, make sure you’re measuring your flour correctly—spoon it into the measuring cup and level it off with a knife.
Can I make these ahead of time?
Absolutely! You can bake the cake pops a day ahead and store them in an airtight container. Coat them with the cinnamon sugar just before serving so the coating stays crunchy.
How do I get the cinnamon sugar to stick better?
The key is brushing the warm cake pops with melted butter right when they come out of the oven. The butter acts as a glue for the sugar mixture. If the cake pops have cooled too much, the coating won’t stick as well.
Can I use a regular muffin tin instead of a mini one?
You can, but the baking time will be longer—about 18-22 minutes for full-size muffins. They won’t be as cute for cake pops, but they’ll still taste amazing. Just skip the sticks and serve them as mini muffins.
Pin This Recipe!
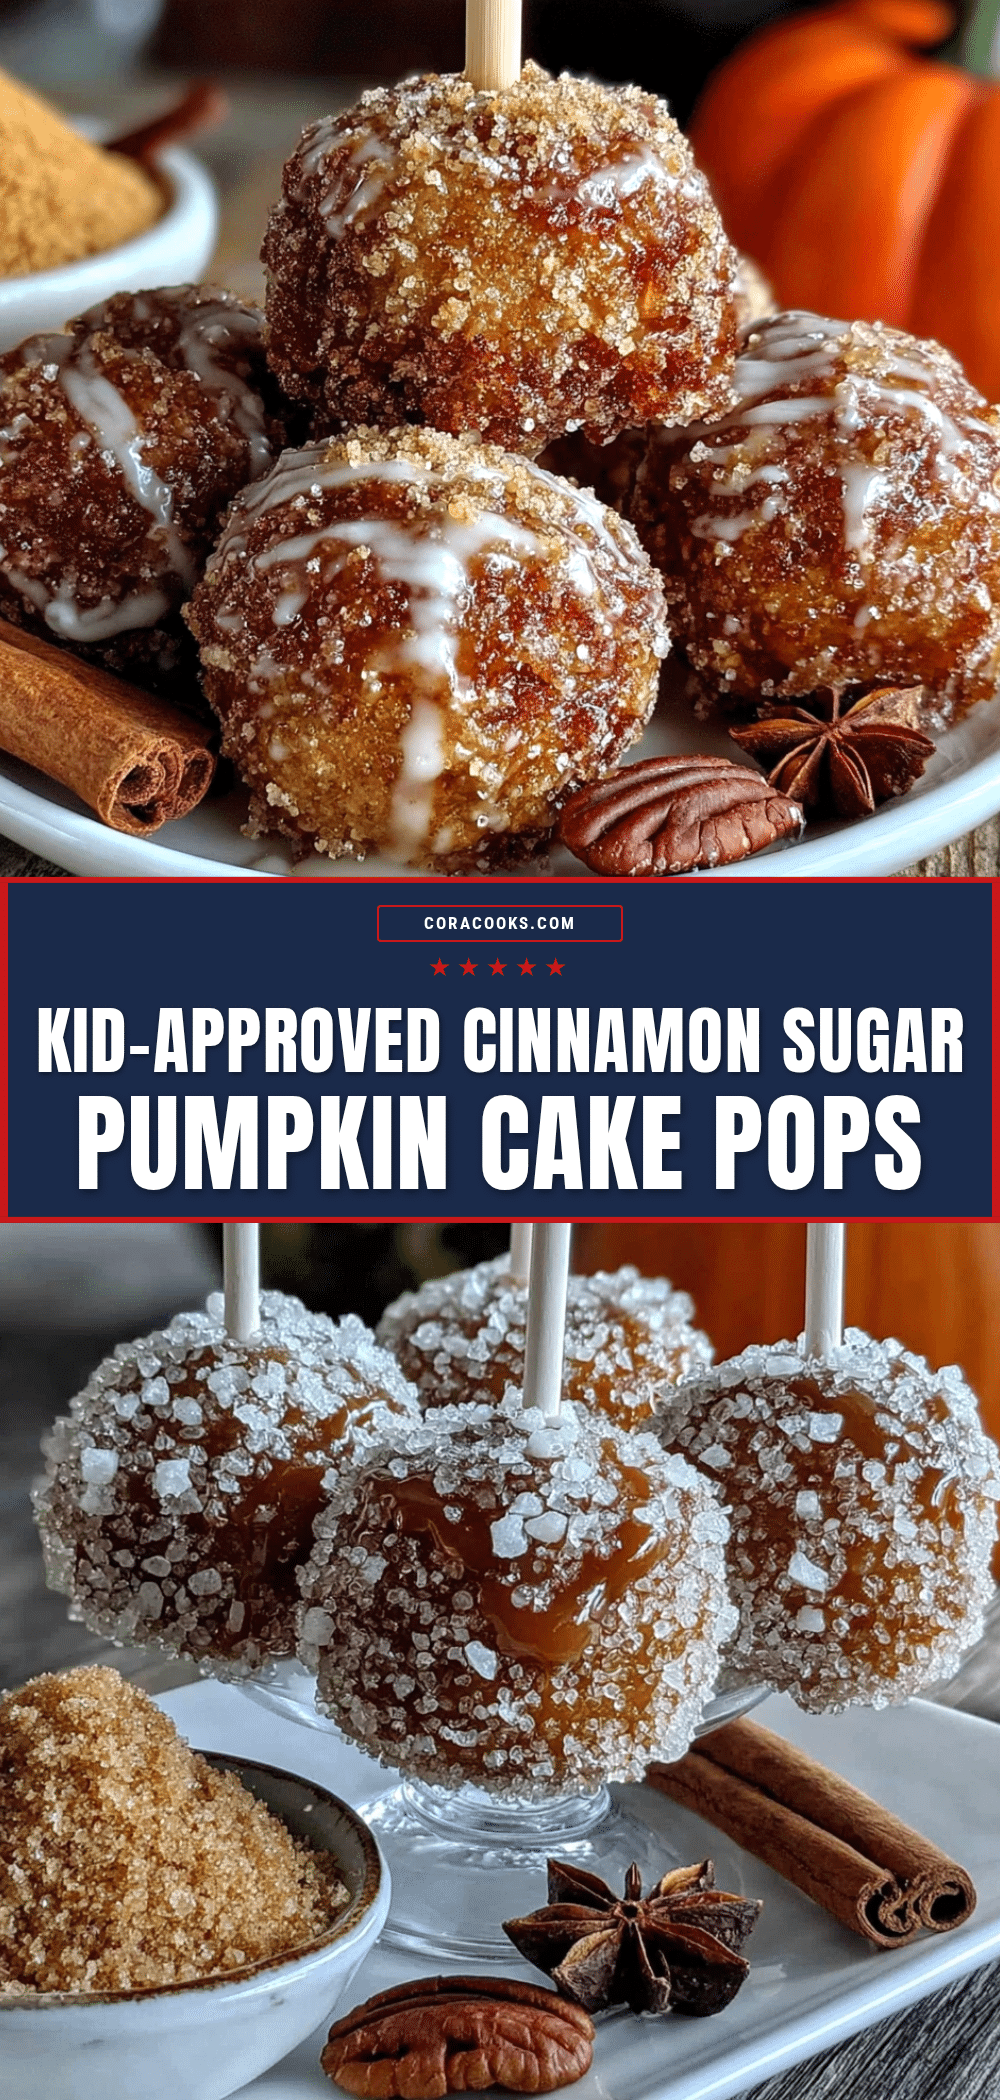
Best Easy Kid-Approved Cinnamon Sugar Pumpkin Cake Pops
These cinnamon sugar pumpkin cake pops are tender, moist, and coated in a crunchy cinnamon sugar layer. They’re quick to make, kid-approved, and perfect for fall treats, school parties, or a fun family baking project.
- Prep Time: 15 minutes
- Cook Time: 12 minutes
- Total Time: 27 minutes
- Yield: 24 servings 1x
- Category: Dessert
- Cuisine: American
Ingredients
- 1 ½ cups all-purpose flour
- 1 teaspoon baking powder
- ½ teaspoon baking soda
- ½ teaspoon salt
- 1 ½ teaspoons ground cinnamon
- ½ teaspoon ground nutmeg
- ¼ teaspoon ground ginger
- ½ cup unsalted butter, softened
- ¾ cup granulated sugar
- ¼ cup packed light brown sugar
- 2 large eggs, room temperature
- 1 teaspoon vanilla extract
- 1 cup pumpkin puree
- ½ cup granulated sugar (for coating)
- 2 teaspoons ground cinnamon (for coating)
- 3 tablespoons unsalted butter, melted (for coating)
Instructions
- Preheat oven to 350°F (175°C). Grease a mini muffin tin generously with butter or non-stick spray.
- In a medium bowl, whisk together flour, baking powder, baking soda, salt, cinnamon, nutmeg, and ginger for about 20 seconds.
- In a large bowl, beat softened butter, granulated sugar, and brown sugar together until light and fluffy, about 2-3 minutes with a hand mixer.
- Add eggs one at a time, beating well after each addition. Mix in vanilla extract.
- Add pumpkin puree and mix until just combined.
- Gradually add dry ingredients to wet mixture, mixing on low speed or folding with a spatula until just combined. Do not overmix.
- Scoop batter into prepared mini muffin cups, filling each about ¾ full. You should get about 24 cake pops.
- Bake for 10-12 minutes, or until a toothpick inserted into the center comes out clean. Tops should be golden and spring back when lightly touched.
- Let cake pops cool in the tin for 5 minutes, then transfer to a cooling rack.
- While still warm, brush each cake pop with melted butter and roll in the cinnamon sugar mixture (½ cup sugar + 2 teaspoons cinnamon).
- Let cool completely before inserting lollipop sticks, if using.
Notes
Don’t overmix the batter to avoid dense cake pops. Use room temperature ingredients for best results. For a gluten-free version, use a 1:1 gluten-free baking flour. For dairy-free, use plant-based butter. Cake pops can be frozen uncoated for up to 3 months. Store coated cake pops in an airtight container at room temperature for up to 3 days.
Nutrition
- Serving Size: 1 cake pop
- Calories: 120
- Sugar: 11
- Sodium: 95
- Fat: 5
- Saturated Fat: 3
- Carbohydrates: 18
- Fiber: 1
- Protein: 2
Keywords: pumpkin cake pops, cinnamon sugar, kid-friendly, fall dessert, easy pumpkin recipe, cake pops, mini muffins