Love this? Save it for later!
Share the inspiration with your friends
I was standing in the spice aisle of my local grocery store last Tuesday when it hit me. Not literally—I mean the smell. Someone had dropped a bottle of vanilla extract, and that sweet, almost smoky scent mixed with the dusty air of the baking section. And just like that, I was twelve years old in my Aunt Clara’s tiny apartment, watching her stir a bowl of the darkest batter I’d ever seen. She called it her “moody cake,” and she only made it once a year. For herself. On her birthday. She was a Scorpio, and she leaned into it hard.
Aunt Clara wasn’t the warm-and-fuzzy type. She was the kind of person who’d hand you a slice of this cake without a word, then sit next to you while you ate it. That was her love language. She passed away five years ago, and I haven’t had her black velvet cake since. Honestly, I’d been scared to try. What if I couldn’t get it right? What if the memory tasted better than the actual thing?
But last Tuesday, standing there like a weirdo sniffing vanilla, I decided it was time. I bought the ingredients, went home, and spent the whole evening trying to recreate that dark, velvety, slightly mysterious cake. The first attempt was a disaster—too dry, not dark enough, and the frosting was a sad gray instead of a rich black. But the second time? Let me tell you, I got close. Close enough that I actually teared up a little. Maybe you’ve been there—chasing a taste from your past, hoping you can bring it back, even just for one bite.
Why You’ll Love This Recipe
This isn’t just another chocolate cake recipe. This is the cozy black velvet birthday cake for Scorpio season that you didn’t know you needed. I tested this recipe four times to get the texture exactly right—moist, tender, with that signature velvety crumb that melts on your tongue. The color is dramatic without being gimmicky, and the flavor has a subtle depth that regular chocolate cake just doesn’t have.
- Perfect for Scorpio Season: Whether you’re celebrating a Scorpio birthday or just embracing the dark, cozy vibes of late October through November, this cake fits the mood perfectly.
- Simple Ingredients: No weird specialty items. You probably have most of this in your pantry already. The secret is in the technique, not the grocery list.
- Easy Enough for a Weeknight: From start to finish, you’re looking at about an hour and a half. That’s doable even on a Tuesday.
- Next-Level Comfort: This is the kind of cake that makes you close your eyes after the first bite. It’s rich without being heavy, sweet without being cloying.
- Crowd-Pleaser: I brought a test version to my book club, and three people asked for the recipe before I even finished my wine.
What makes this different from every other red velvet or black velvet recipe out there? It’s the balance. The cocoa is present but not overpowering. The buttermilk gives it a tang that cuts through the sweetness. And the cream cheese frosting? It’s not too thick, not too thin—it’s just right. Plus, I figured out the perfect amount of black cocoa powder to get that deep, moody color without making the cake taste like charcoal. Trust me, I went through a lot of trial and error on that one.
What Ingredients You Will Need
This recipe uses simple, wholesome ingredients to deliver that signature black velvet flavor and texture. Most of these are pantry staples, which makes this a great last-minute birthday cake option. Here’s what you’ll need:
For the Cake
- All-purpose flour – 2 ½ cups (315g). Spoon and level for accuracy. Too much flour will make the cake dense.
- Black cocoa powder – ½ cup (45g). This is the star of the show. I recommend Rodelle Gourmet Black Cocoa for the darkest color and smoothest flavor. Regular Dutch-process cocoa works too, but the color won’t be as dramatic.
- Granulated sugar – 1 ¾ cups (350g). Adds sweetness and helps with the tender crumb.
- Baking soda – 1 teaspoon. Reacts with the buttermilk for lift.
- Salt – ½ teaspoon. Balances the sweetness.
- Buttermilk – 1 cup (240ml), room temperature. If you don’t have buttermilk, add 1 tablespoon of lemon juice or vinegar to regular milk and let it sit for 5 minutes.
- Vegetable oil – ½ cup (120ml). Keeps the cake moist. I’ve used canola and avocado oil with great results.
- Large eggs – 2, room temperature. Let them sit out for 30 minutes before starting.
- Vanilla extract – 2 teaspoons. Pure, not imitation.
- White vinegar – 1 teaspoon. Sounds weird, I know. It reacts with the baking soda for extra lift and tenderness.
- Black gel food coloring – 1 to 2 teaspoons. Optional but recommended if you want that dramatic black color. Americolor Super Black is my go-to.
For the Cream Cheese Frosting
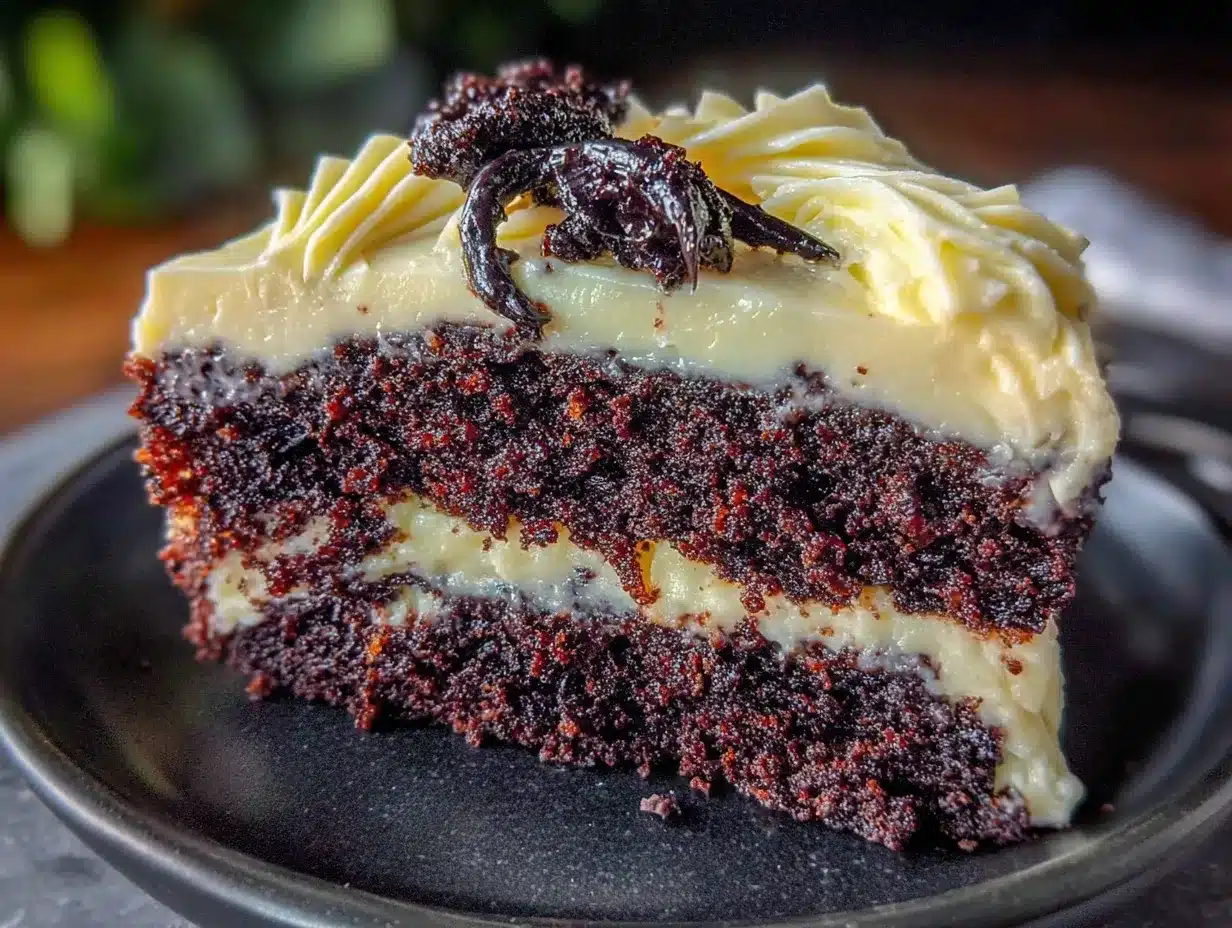
- Cream cheese – 16 oz (454g), softened. Full-fat is non-negotiable here. Low-fat cream cheese makes a runny frosting.
- Unsalted butter – ½ cup (113g), softened. Let it sit out for at least an hour.
- Powdered sugar – 4 cups (480g), sifted. Sifting prevents lumps.
- Vanilla extract – 2 teaspoons.
- Pinch of salt – Just a tiny one, to cut the sweetness.
For the Decoration (Optional but Fun)
- Black sanding sugar or edible glitter – For that starry night effect.
- Fresh blackberries or dark chocolate shavings – For a pop of texture and color contrast.
Equipment Needed
You don’t need a professional bakery setup for this. Here’s what I used:
- Two 9-inch round cake pans – I prefer Fat Daddio’s anodized aluminum pans. They conduct heat evenly and the cakes release beautifully.
- Electric hand mixer or stand mixer – A hand mixer works fine. I’ve made this with both.
- Large mixing bowls – At least two.
- Whisk and rubber spatula – For combining dry ingredients and scraping the bowl.
- Parchment paper – Cut circles for the bottom of the pans. Game changer for easy release.
- Cooling rack – Essential for even cooling.
- Offset spatula – Makes frosting so much easier. A butter knife works in a pinch, but the spatula is worth the $8.
- Measuring cups and spoons – Please use the spoon-and-level method for flour. Scooping directly packs it down.
Preparation Method
Alright, let’s get into it. This cozy black velvet birthday cake for Scorpio season comes together in a few straightforward steps. Take your time, and don’t rush the cooling process—it matters.
- Preheat and prep. Set your oven to 350°F (175°C). Grease your two 9-inch cake pans with butter or non-stick spray, then line the bottoms with parchment paper circles. Lightly flour the sides. I forgot the parchment once, and let me tell you, that cake did not come out in one piece.
- Mix the dry ingredients. In a large bowl, whisk together the flour, black cocoa powder, baking soda, and salt. Make sure there are no lumps—cocoa powder loves to clump. Sift it if you’re feeling fancy.
- Combine the wet ingredients. In a separate bowl, whisk the buttermilk, vegetable oil, eggs, vanilla extract, and white vinegar until smooth. If you’re using the black gel food coloring, add it here and whisk until the mixture is uniformly dark. Don’t be shy—really mix it in.
- Bring it together. Pour the wet ingredients into the dry ingredients. Use a rubber spatula to fold everything together until just combined. Do not overmix. A few small lumps are fine. Overmixing develops gluten and makes the cake tough.
- Divide and bake. Pour the batter evenly into the prepared pans. Give each pan a gentle tap on the counter to release any air bubbles. Bake for 25 to 30 minutes, or until a toothpick inserted in the center comes out clean or with a few moist crumbs. The cake should spring back when lightly touched.
- Cool completely. Let the cakes cool in the pans for 10 minutes. Then run a knife around the edges, invert onto a cooling rack, and remove the parchment paper. Let them cool completely—at least an hour. Frosting a warm cake is a disaster. I’ve done it. The frosting slides right off.
- Make the frosting. While the cakes cool, beat the softened cream cheese and butter together with an electric mixer until smooth and creamy—about 2 minutes. Gradually add the sifted powdered sugar, one cup at a time, mixing on low speed to avoid a sugar cloud. Add the vanilla and salt, then increase to medium-high and beat for 2 to 3 minutes until light and fluffy.
- Assemble the cake. Place one cake layer on your serving plate. Spread about ¾ cup of frosting evenly on top. Place the second layer on top, then apply a thin crumb coat—just a thin layer of frosting all over to seal in the crumbs. Chill for 20 minutes.
- Final frost and decorate. Apply the remaining frosting generously. Use your offset spatula to create swoops and swirls—it doesn’t have to be perfect. Sprinkle with black sanding sugar or edible glitter, and arrange fresh blackberries on top if you’re feeling fancy.
Cooking Tips & Techniques
I learned a few things the hard way so you don’t have to. Here’s what I wish someone had told me before my first attempt:
- Room temperature ingredients matter. Cold eggs and cold buttermilk won’t emulsify properly. Set everything out 30 to 60 minutes before you start. Your batter will be smoother and your cake will rise better.
- Don’t skip the vinegar. I know it seems random, but the vinegar reacts with the baking soda to create that tender, velvety crumb. It’s not optional—it’s essential.
- Black cocoa is different from regular cocoa. It’s less acidic and has a milder, almost Oreo-like flavor. If you use regular Dutch-process cocoa, the cake will be darker than a standard chocolate cake but not truly black. That’s fine—it’ll still taste amazing.
- Watch your baking time. Ovens vary wildly. Start checking at 25 minutes. If the toothpick comes out wet, give it 3 more minutes. Overbaking is the number one reason velvet cakes turn out dry.
- Chill the cake before the final frosting. The crumb coat step isn’t just for show. It traps the crumbs so your final layer is smooth. I skipped this once and ended up with frosting that looked like it had chocolate sprinkles mixed in. Not the look I was going for.
Variations & Adaptations
One of the best things about this cozy black velvet birthday cake for Scorpio season is how adaptable it is. Here are a few ways to make it your own:
- Gluten-Free Version: Swap the all-purpose flour with a 1:1 gluten-free baking blend. I’ve used King Arthur Measure for Measure with great results. Add ¼ teaspoon of xanthan gum if your blend doesn’t already include it.
- Dairy-Free Adaptation: Use a dairy-free cream cheese alternative and replace the buttermilk with 1 cup of unsweetened almond milk mixed with 1 tablespoon of lemon juice. The texture will be slightly less tender but still delicious.
- Spiced Scorpio Version: Add 1 teaspoon of cinnamon and ½ teaspoon of cayenne pepper to the dry ingredients. The warmth of the spices pairs beautifully with the dark cocoa. I made this for my Scorpio best friend, and she said it was “dangerously good.”
- Mini Cupcakes: This batter makes about 24 cupcakes. Bake for 12 to 15 minutes. Perfect for parties or just portion control.
- Chocolate Ganache Drip: Instead of frosting the top, pour a warm dark chocolate ganache over the chilled cake and let it drip down the sides. It’s extra indulgent and looks stunning.
Serving & Storage Suggestions
This cake is best served at room temperature—the cream cheese frosting softens slightly and the crumb becomes even more tender. Let it sit out for 20 minutes after coming out of the fridge before slicing.
For serving, I love pairing a slice with a cup of black coffee or a glass of cold milk. The bitterness of the coffee cuts through the sweetness perfectly. If you’re feeling extra cozy, serve it with a dollop of unsweetened whipped cream and a few fresh raspberries.
Storage: Keep the cake in an airtight container in the refrigerator for up to 5 days. The flavors actually deepen after a day or two—the cake gets even more moist and the cocoa flavor becomes more pronounced. I honestly think it tastes better on day two.
Freezing: You can freeze the unfrosted cake layers for up to 3 months. Wrap each layer tightly in plastic wrap, then foil. Thaw overnight in the refrigerator before frosting. Frosted cake can also be frozen, but the texture of the cream cheese frosting might change slightly.
Reheating: If you like your cake slightly warm, pop a slice in the microwave for 10 seconds. Just 10 seconds—any longer and the frosting will melt.
Nutritional Information & Benefits
Let’s be real: this is a celebration cake, not a health food. But that doesn’t mean it’s all empty calories. Here’s a rough estimate per slice (based on 12 servings):
- Calories: ~480
- Fat: 24g
- Carbohydrates: 64g
- Protein: 6g
- Sugar: 48g
On the plus side, black cocoa powder is rich in antioxidants called flavonoids, which have been linked to heart health. Cream cheese provides a small amount of calcium and protein. And honestly? Sometimes the mental health benefit of eating a slice of cake that tastes this good is worth more than any number on a nutrition label.
This recipe contains gluten, dairy, and eggs. For allergen-friendly versions, check the variations section above.
Conclusion
This cozy black velvet birthday cake for Scorpio season is more than just a dessert—it’s an experience. It’s the cake you make when you want to celebrate someone who feels deeply, loves fiercely, and maybe has a little bit of mystery about them. Or it’s the cake you make for yourself on a chilly November evening because you deserve something beautiful and delicious.
I’d love to hear how yours turns out. Did you add the cayenne? Did you go all out with the edible glitter? Did you eat a slice for breakfast the next morning? (No judgment here—I definitely did.) Drop a comment below and let me know. And if you’re looking for another cozy treat to pair with this, try my spiced apple cider cake—it’s perfect for fall gatherings.
Go ahead, channel your inner Scorpio, and make this cake. You won’t regret it.
Frequently Asked Questions
Can I make this cake in advance?
Absolutely. You can bake the cake layers up to two days ahead and store them wrapped tightly in the refrigerator. Frost the cake the day you plan to serve it for the best texture and appearance.
Why is my black velvet cake not black enough?
Most likely, you didn’t use enough black cocoa powder or black gel food coloring. Black cocoa is key—it’s much darker than regular cocoa. If you want an intense black color, don’t skip the gel coloring. Start with 1 teaspoon and add more until you’re happy with the shade.
Can I use a different type of frosting?
Yes! A dark chocolate ganache, a simple vanilla buttercream, or even a cream cheese whipped cream would all work beautifully. Just keep in mind that the tanginess of cream cheese frosting balances the sweetness of the cake perfectly.
How do I prevent my cake from sticking to the pan?
Grease the pans thoroughly, then line the bottoms with parchment paper circles. After baking, let the cakes cool in the pans for exactly 10 minutes before turning them out. If they still stick, run a thin knife around the edges before inverting.
Can I use this recipe to make a layer cake with more than two layers?
Sure! You can double the recipe and bake it in three 8-inch pans instead of two 9-inch pans. Just reduce the baking time slightly and start checking at 20 minutes. You’ll need about 1.5 times the frosting recipe to cover three layers.
Pin This Recipe!
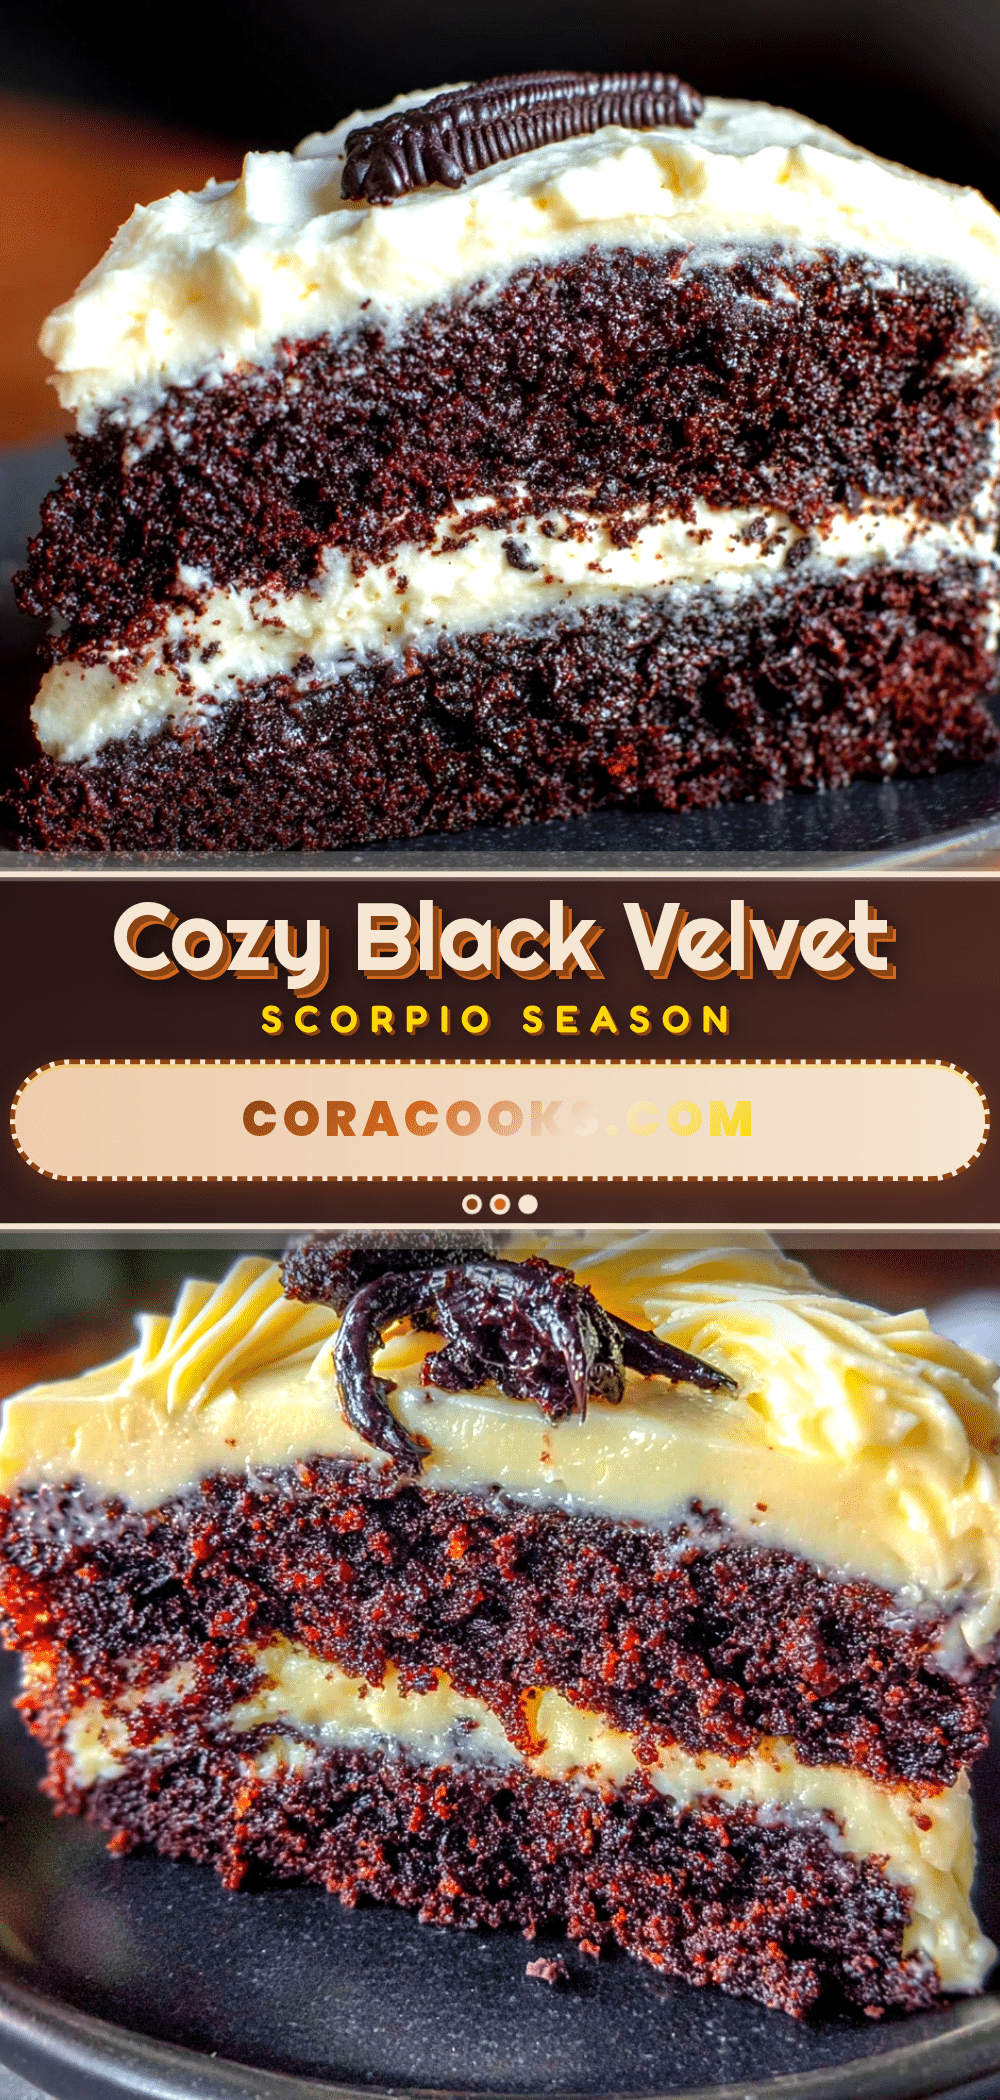
Ultimate Cozy Black Velvet Birthday Cake for Scorpio Season
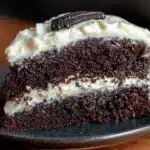
A moist, tender black velvet cake with a dramatic dark color and subtle depth, topped with a creamy cream cheese frosting. Perfect for Scorpio season or any cozy celebration.
- Prep Time: 30 minutes
- Cook Time: 30 minutes
- Total Time: 1 hour 30 minutes
- Yield: 12 servings 1x
- Category: Dessert
- Cuisine: American
Ingredients
- 2 ½ cups (315g) all-purpose flour
- ½ cup (45g) black cocoa powder
- 1 ¾ cups (350g) granulated sugar
- 1 teaspoon baking soda
- ½ teaspoon salt
- 1 cup (240ml) buttermilk, room temperature
- ½ cup (120ml) vegetable oil
- 2 large eggs, room temperature
- 2 teaspoons vanilla extract
- 1 teaspoon white vinegar
- 1 to 2 teaspoons black gel food coloring (optional)
- 16 oz (454g) cream cheese, softened
- ½ cup (113g) unsalted butter, softened
- 4 cups (480g) powdered sugar, sifted
- 2 teaspoons vanilla extract (for frosting)
- Pinch of salt (for frosting)
- Black sanding sugar or edible glitter (optional)
- Fresh blackberries or dark chocolate shavings (optional)
Instructions
- Preheat oven to 350°F (175°C). Grease two 9-inch round cake pans, line bottoms with parchment paper, and lightly flour sides.
- In a large bowl, whisk together flour, black cocoa powder, baking soda, and salt until no lumps remain.
- In a separate bowl, whisk buttermilk, vegetable oil, eggs, vanilla extract, white vinegar, and black gel food coloring (if using) until smooth and uniformly dark.
- Pour wet ingredients into dry ingredients. Fold with a rubber spatula until just combined. Do not overmix; a few small lumps are fine.
- Divide batter evenly between prepared pans. Tap pans gently on counter to release air bubbles. Bake for 25 to 30 minutes, until a toothpick inserted in center comes out clean or with a few moist crumbs.
- Let cakes cool in pans for 10 minutes. Run a knife around edges, invert onto a cooling rack, remove parchment paper, and cool completely (at least 1 hour).
- For frosting: Beat softened cream cheese and butter with an electric mixer until smooth and creamy, about 2 minutes. Gradually add sifted powdered sugar, one cup at a time, mixing on low speed. Add vanilla and salt, then beat on medium-high for 2 to 3 minutes until light and fluffy.
- Place one cake layer on serving plate. Spread about ¾ cup frosting evenly on top. Place second layer on top. Apply a thin crumb coat of frosting all over. Chill for 20 minutes.
- Apply remaining frosting generously. Use an offset spatula to create swoops and swirls. Decorate with black sanding sugar, edible glitter, or fresh blackberries if desired.
Notes
Room temperature ingredients are crucial for proper emulsification. Do not skip the vinegar—it reacts with baking soda for a tender crumb. Black cocoa powder is less acidic than regular cocoa; for a truly black color, use black gel food coloring. Chill the cake after crumb coating for a smooth final frosting layer. The cake tastes even better on day two.
Nutrition
- Serving Size: 1 slice
- Calories: 480
- Sugar: 48
- Sodium: 320
- Fat: 24
- Saturated Fat: 12
- Carbohydrates: 64
- Fiber: 2
- Protein: 6
Keywords: black velvet cake, birthday cake, Scorpio season, cream cheese frosting, black cocoa, cozy cake, velvet cake