Love this? Save it for later!
Share the inspiration with your friends
My neighbor, Mrs. Kowalski, watched me staring at the display case at the deli counter last December. I had a cart full of crackers, a block of cheese that cost more than my weekly coffee budget, and a growing sense of panic. She didn’t say anything at first. Then she reached past me, pointed to a wedge of aged gouda, and said, “That one’s half the price and tastes twice as good. Now put back the prosciutto.”
I laughed, embarrassed, but she was right. I was trying to build this gorgeous Christmas charcuterie board I’d seen online, but my wallet was screaming for mercy. Mrs. Kowalski, who raised four kids on a factory worker’s salary, had been building holiday boards for decades without breaking the bank. She walked me through her whole system right there in the aisle—which meats to buy whole and slice yourself, which cheeses punch above their weight class, and the one secret ingredient that makes everything look expensive. I grabbed my notebook from my purse and started scribbling.
Honestly, that conversation changed how I think about holiday entertaining. You don’t need imported everything to make a board that makes people gasp when they walk into the room. You just need a little strategy. Maybe you’ve been there too, standing in the grocery store wondering how a few slices of cheese and meat add up to a mortgage payment. Let me tell you, there’s a better way.
This budget-friendly Christmas charcuterie board is the result of that deli counter wisdom, plus years of my own trial and error. It feeds a crowd of twelve for a fraction of what you’d expect, and it looks so impressive your guests will think you spent a fortune. I keep making it because it takes the stress out of holiday hosting. No complicated recipes, no last-minute panic—just a beautiful board that lets everyone graze and talk and laugh. And honestly, isn’t that what Christmas is really about?
Why You’ll Love This Recipe
I’ve tested this board at three different holiday gatherings, and it never fails. Here’s why it works so well for real families on real budgets.
- Feeds a Crowd Without the Price Tag : This board serves 12 people for about what you’d spend on a single appetizer platter from the grocery store. By choosing budget-friendly cuts and store-brand staples, you keep the cost low without sacrificing the wow factor.
- Simple Ingredients, No Fancy Shopping : Everything on this board comes from a regular grocery store. No specialty shops, no expensive imports, no items you’ll use once and forget about. You probably already have half the ingredients in your pantry.
- Perfect for Christmas Gatherings : Whether it’s Christmas Eve, a family brunch, or a casual open house, this board fits right in. It’s self-serve, which means you get to enjoy the party instead of being stuck in the kitchen.
- Crowd-Pleaser for Picky Eaters : Kids love the salami and cheese cubes. Adults go for the olives and spreads. Everyone finds something they love, and nobody leaves hungry.
- Unbelievably Delicious : The combination of sweet and savory flavors—think honey-drizzled goat cheese next to peppered salami—creates that perfect bite every time. It’s comfort food you can eat with your hands.
What makes this board different from the fancy ones you see online? It’s the strategy. Instead of piling on expensive ingredients to make it look full, I use affordable fillers like roasted nuts, fresh fruit, and crunchy vegetables that add color and texture without emptying your wallet. The trick is in the arrangement, not the price tag. This isn’t just another charcuterie board—it’s your best version, built for real life.
This is the kind of board that makes you close your eyes after that first bite of honey-drizzled cheese on a crisp cracker. It’s holiday hosting reimagined—affordable, stress-free, but with the same soul-soothing satisfaction of a beautiful spread.
What Ingredients You Will Need
This recipe uses simple, affordable ingredients to deliver a stunning board that tastes as good as it looks. Most of these are pantry staples or easy to find at any grocery store.
For the Cheeses (3-4 varieties, about 1 pound total)
- Aged Gouda , 8 ounces (a budget-friendly choice that feels fancy; I prefer the store brand)
- Sharp Cheddar , 8 ounces (block cheese you slice yourself saves money)
- Goat Cheese Log , 4 ounces (adds creamy texture; look for store-brand logs)
- Optional: Cream Cheese , 8 ounces (a cheap alternative to brie; drizzle with honey)
For the Meats (about 1 pound total)
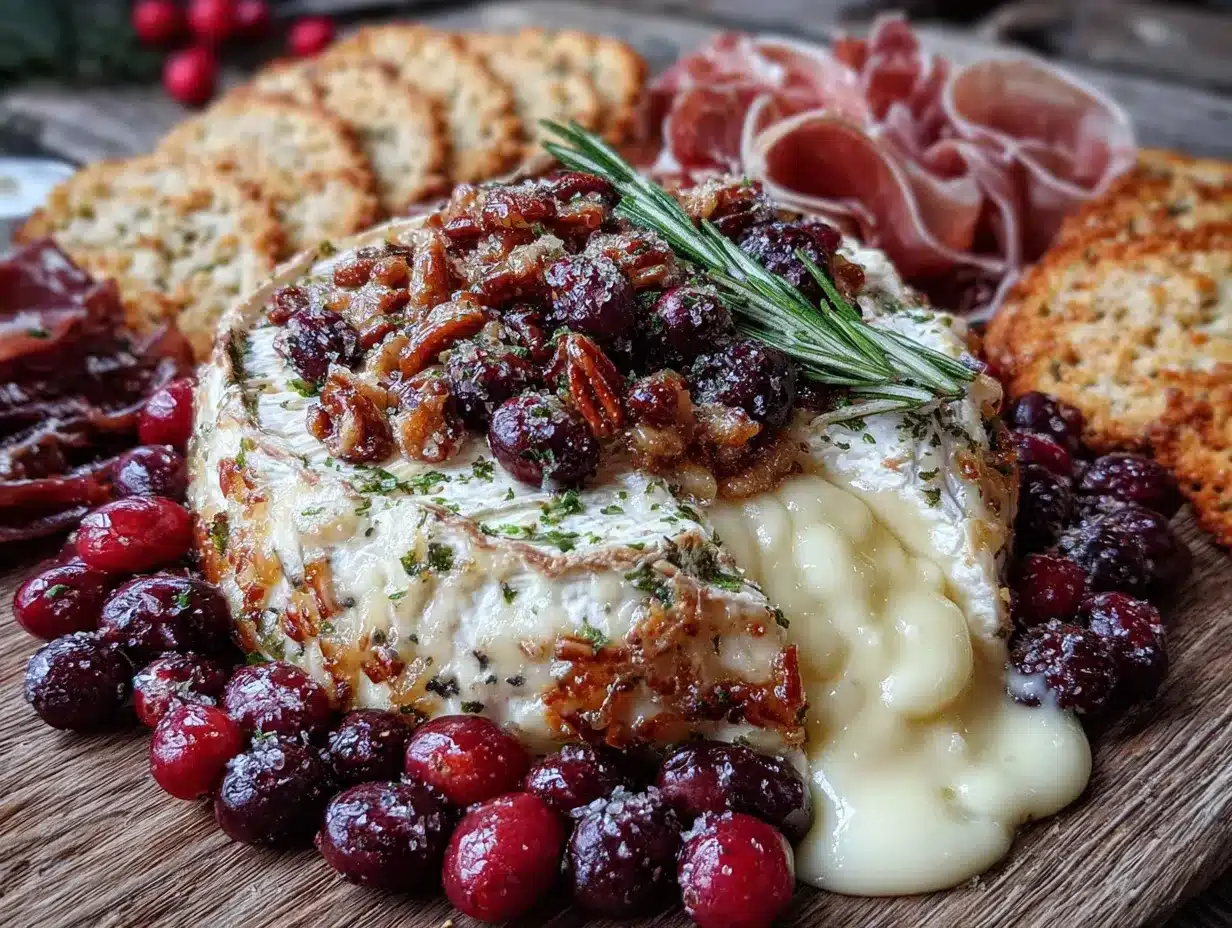
- Salami , 8 ounces (buy a whole stick and slice it yourself for the best price)
- Pepperoni , 4 ounces (a kid-friendly, budget-friendly option)
- Ham or Turkey , 4 ounces (thinly sliced from the deli counter; ask for ends if they sell them cheaper)
For the Fruits and Vegetables
- Red Grapes , 2 cups (adds natural sweetness and color)
- Apple , 1 large (sliced thin; toss in lemon juice to prevent browning)
- Baby Carrots , 1 cup (a crunchy, affordable filler)
- Cherry Tomatoes , 1 cup (adds acidity and color)
For the Fillers and Spreads
- Mixed Nuts , 1 cup (buy a big bag of salted mixed nuts; they’re cheap and filling)
- Olives , 1 cup (a jar of green or kalamata olives adds briny flavor)
- Honey , 2 tablespoons (for drizzling over goat cheese)
- Crackers , 2 boxes (choose a mix of plain and flavored; store brands work great)
- Breadsticks or Pretzels , 1 bag (adds crunch and fills empty space)
Optional Extras (for color and variety)
- Dried Apricots or Cranberries , 1/2 cup (adds chewiness and holiday color)
- Dark Chocolate , 2 ounces (a few squares for a sweet surprise)
- Fresh Rosemary or Thyme , a few sprigs (for garnish; makes the board look professional)
Equipment Needed
You don’t need fancy equipment to build a beautiful board. Here’s what I use:
- Large Wooden Cutting Board or Serving Platter (a baking sheet lined with parchment works in a pinch)
- Cheese Knife or Sharp Kitchen Knife (for slicing block cheese and salami)
- Small Bowls or Ramekins (for olives, honey, and nuts)
- Cheese Slicer or Vegetable Peeler (for making thin cheese slices; optional but helpful)
- Tongs or Small Spoons (for serving)
- Parchment Paper (if using a baking sheet; adds a rustic look)
I once used a clean pizza pan when my board was in the dishwasher. It worked perfectly. Don’t stress about having the right equipment—use what you have.
Preparation Method
Building this board is more about arranging than cooking. Follow these steps for a gorgeous result.
- Prep Your Ingredients (15 minutes) : Slice the aged gouda and sharp cheddar into thin triangles or cubes. Cut the goat cheese log into rounds. Slice the salami into thin rounds. Wash and dry the grapes, cherry tomatoes, and baby carrots. Slice the apple and toss with a little lemon juice to keep it from turning brown.
- Choose Your Board : Place your board or platter on the counter. If you’re using a baking sheet, line it with parchment paper for a rustic look. Make sure the board is clean and dry.
- Place the Bowls First (2 minutes) : Set your small bowls or ramekins on the board. Fill one with olives, one with honey, and one with mixed nuts. Spread them out so they create natural sections. This gives your board structure and makes it look intentional.
- Add the Cheeses (5 minutes) : Arrange the cheeses around the bowls. Place the goat cheese log in a spot where you can drizzle honey over it later. Fan out the cheddar and gouda slices in small groups. Don’t overcrowd—you want people to see each cheese clearly.
- Add the Meats (5 minutes) : Fold the salami slices into quarters or roll them into small cones. Place them in clusters near the cheeses. Lay the ham or turkey slices flat, folded loosely. Group meats together so guests know what they’re grabbing.
- Fill In with Fruits and Vegetables (5 minutes) : Scatter the grapes, cherry tomatoes, and baby carrots in the empty spaces. Tuck apple slices near the cheddar (they pair beautifully). Use the produce to fill gaps and add color. This is where the board starts looking full and abundant.
- Add Crackers and Breadsticks (3 minutes) : Arrange crackers in small stacks or rows around the edges of the board. Place breadsticks or pretzels in a separate cluster. This gives guests something to grab and makes the board feel generous.
- Drizzle and Garnish (2 minutes) : Drizzle honey over the goat cheese log. Sprinkle a few dried cranberries or apricots in empty spots. Tuck fresh rosemary or thyme sprigs around the board for a festive touch. Step back and adjust anything that looks uneven.
- Serve Immediately or Cover and Refrigerate : This board is best served at room temperature. If you’re making it ahead, cover with plastic wrap and refrigerate. Take it out 30 minutes before serving to let the cheeses soften.
Cooking Tips & Techniques
I’ve made this board a dozen times, and I’ve learned a few things the hard way. Here’s what works.
Don’t Overcrowd the Board : It’s tempting to pile everything on, but a crowded board looks messy. Leave a little space between clusters so guests can easily grab what they want. You can always refill as the board empties.
Slice Cheese at Room Temperature : Cold cheese crumbles and sticks to the knife. Let your cheese sit out for 15 minutes before slicing. It’ll cut cleanly and taste better too.
Use a Mix of Textures : The best boards have something crunchy (nuts, crackers), something creamy (goat cheese, cream cheese), something chewy (dried fruit, salami), and something fresh (grapes, apple slices). This variety keeps people coming back for more.
Make It Ahead : You can prep all the ingredients the night before. Slice the cheese and meats, wash the produce, and store everything in separate containers. Assemble the board 30 minutes before guests arrive. This takes all the pressure off holiday hosting.
Watch the Crackers : Crackers absorb moisture and get soft if they sit on the board too long. If you’re making the board more than an hour ahead, keep the crackers in a separate bag and add them just before serving.
I once forgot to take the cheese out of the fridge before slicing. It crumbled into a mess, and I had to start over. Now I set a timer. Learn from my mistakes.
Variations & Adaptations
This board is endlessly customizable. Here are a few ways to make it your own.
Dietary Adaptations : For a vegetarian version, skip the meats and add more cheese, roasted chickpeas, and marinated artichoke hearts. For a gluten-free board, use rice crackers and gluten-free pretzels. Most cheeses and meats are naturally gluten-free.
Seasonal Twists : In summer, swap the apples for sliced peaches or nectarines, and use fresh berries instead of grapes. In fall, add roasted pumpkin seeds and sliced pears. Christmas calls for pomegranate seeds and fresh cranberries for a pop of red.
Flavor Variations : Spice things up with a drizzle of hot honey over the goat cheese. Add a small bowl of grainy mustard or fig jam for extra flavor. For a sweeter board, include chocolate-covered almonds or small cookies.
Budget Stretcher : If you’re really watching pennies, skip the meat entirely and double up on cheese. A block of cream cheese with pepper jelly costs less than two dollars and looks gorgeous. Add extra nuts and crackers to fill the board.
I tried a version with pickled jalapeños once, and it was a huge hit with the adults. The kids stuck to the grapes and cheddar. Everybody won.
Serving & Storage Suggestions
Serve this board at room temperature for the best flavor. Take it out of the fridge 30 minutes before guests arrive. Arrange it on a coffee table or kitchen island so people can graze while they chat.
This board pairs beautifully with a simple red wine or sparkling water with lemon. For a non-alcoholic option, try a spiced apple cider or cranberry punch. If you’re serving a full meal, this board works as a starter or a light lunch alongside a bowl of soup.
Leftovers? Lucky you. Store cheeses and meats separately in airtight containers in the fridge. They’ll keep for 3-4 days. Grapes and apple slices should be eaten within a day or two. Crackers and nuts stay fresh in a sealed bag at room temperature.
To reheat leftover meats, let them come to room temperature—don’t microwave them, or they’ll dry out. Leftover goat cheese is amazing crumbled over a salad the next day. The honey will keep indefinitely at room temperature.
Flavors actually get better after a day in the fridge. The cheeses meld together, and the olives add their brine to everything nearby. It’s almost better the next day.
Nutritional Information & Benefits
This board is designed for sharing, so nutritional values vary based on what people grab. Here’s an estimate per serving (assuming 12 servings):
- Calories : Approximately 350-450 per serving
- Protein : 15-20 grams (from cheese and meat)
- Fat : 25-30 grams (mostly healthy fats from cheese and nuts)
- Carbohydrates : 20-30 grams (from crackers, fruit, and honey)
- Fiber : 3-5 grams (from nuts, fruit, and vegetables)
The nuts provide heart-healthy fats and protein. Grapes and apples offer vitamins and antioxidants. Cheese gives you calcium and protein. This isn’t a diet food, but it’s real food made from whole ingredients. I feel good serving it to my family because I know exactly what’s in it.
Potential allergens include dairy (cheese), gluten (crackers), and tree nuts. Always check labels if you’re serving guests with allergies.
Conclusion
This budget-friendly Christmas charcuterie board is proof that you don’t need to spend a fortune to host a memorable holiday gathering. It’s smart, it’s simple, and it works every single time. I love this board because it lets me focus on my guests instead of stressing over a complicated recipe. The conversation flows, the wine pours, and the board slowly empties—that’s the sign of a perfect party.
I hope you’ll try this board for your next holiday gathering. Customize it with your family’s favorite flavors, and don’t be afraid to swap things in and out. The beauty of a charcuterie board is that there are no rules—just good food shared with people you love.
I’d love to hear how your board turns out. Drop a comment below and tell me what you added or changed. Share a photo of your creation on Pinterest and tag me—I can’t wait to see your beautiful spread. Until then, happy hosting, and merry Christmas!
Frequently Asked Questions
How far ahead can I make this charcuterie board?
You can prep all the ingredients the night before. Slice the cheese and meats, wash the produce, and store everything separately. Assemble the board 30 minutes before serving for the best presentation.
Can I make this board for a smaller group?
Absolutely. Just halve the ingredients for 4-6 people. The same principles apply—use a smaller board or platter, and adjust the quantities to fit.
What’s the best way to keep crackers from getting soft?
Keep crackers in a separate bag or container until just before serving. Add them to the board right before guests arrive, and they’ll stay crisp throughout the party.
Can I use pre-sliced cheese and meat?
You can, but it’s more expensive and less flexible. Buying block cheese and whole salami and slicing them yourself saves money and lets you control the thickness. Plus, it looks more rustic and homemade.
What if I don’t have a wooden board?
No problem. Use a large baking sheet lined with parchment paper, a clean pizza pan, or even a flat serving tray. The board doesn’t matter—the arrangement does.
Pin This Recipe!
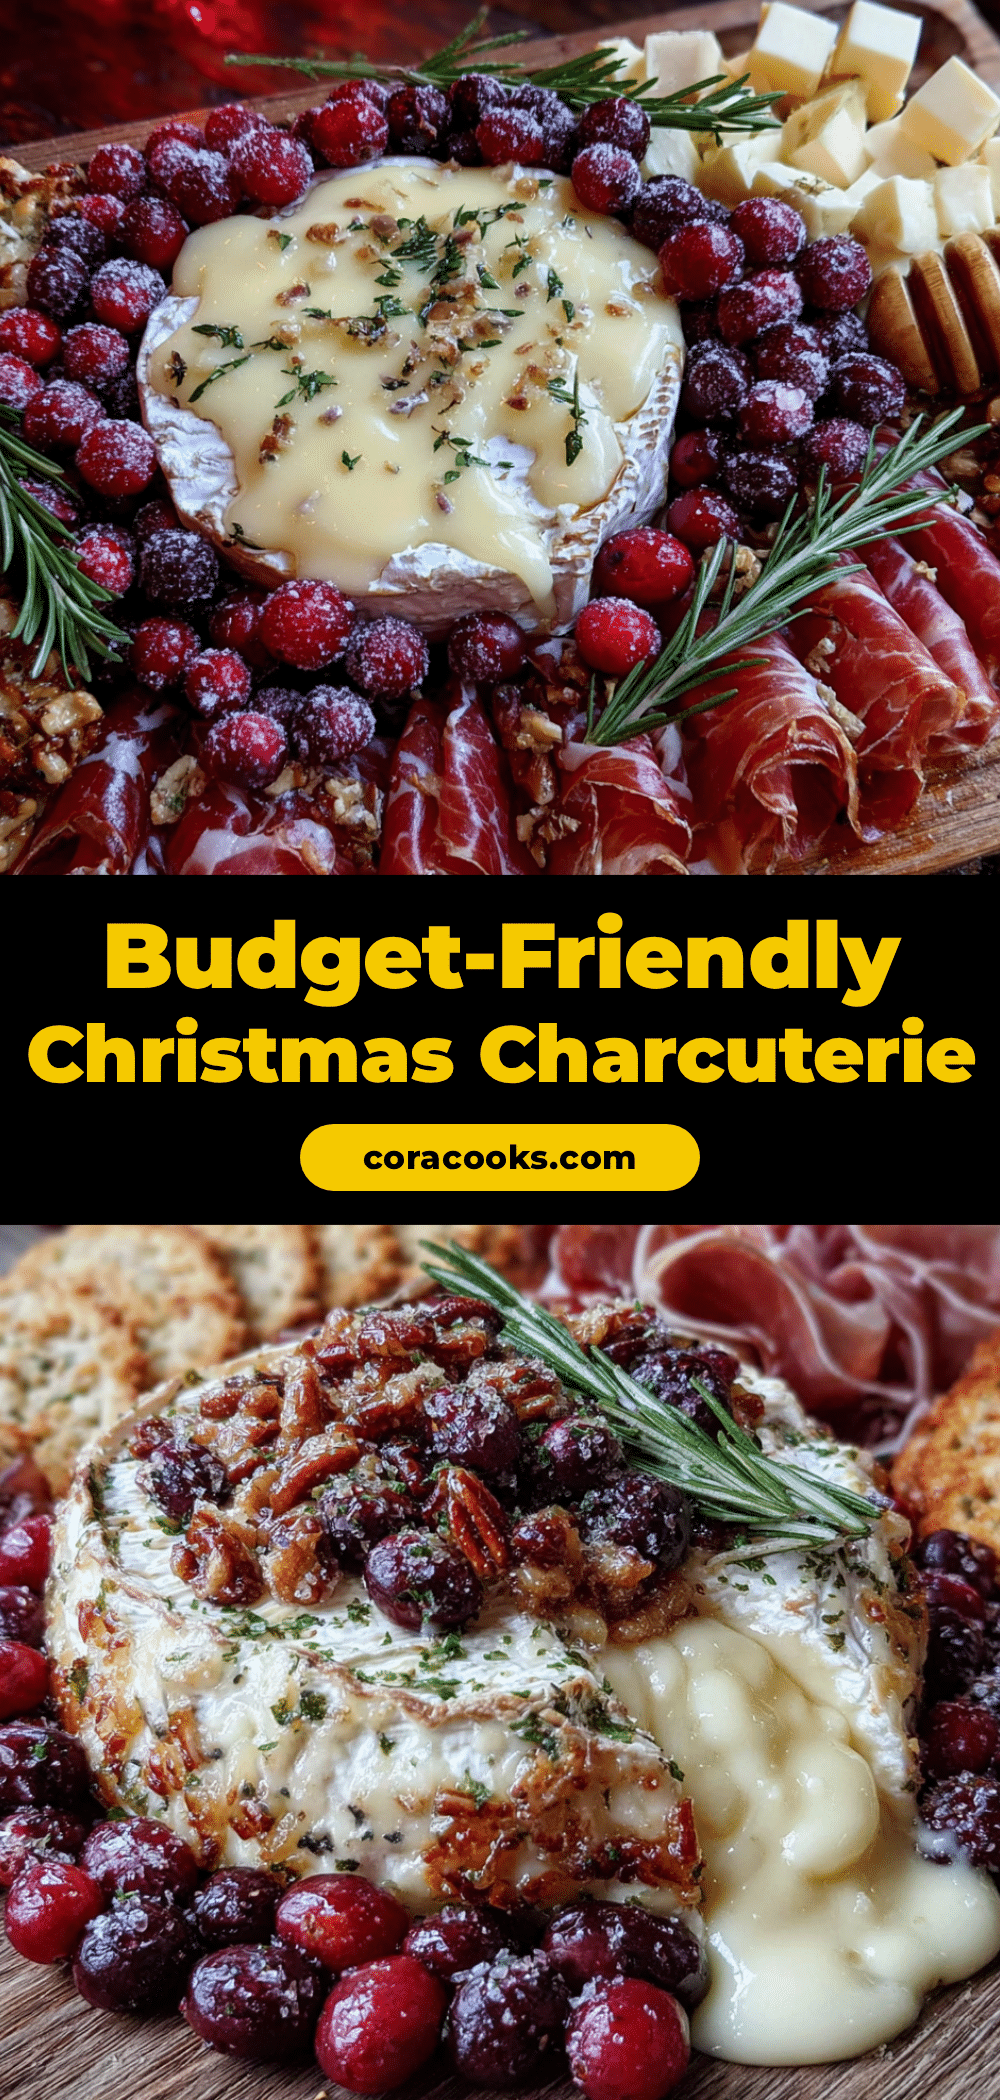
Budget-Friendly Christmas Charcuterie Board Perfect for a Crowd
This budget-friendly Christmas charcuterie board feeds a crowd of twelve for a fraction of what you’d expect, and it looks so impressive your guests will think you spent a fortune. It takes the stress out of holiday hosting with no complicated recipes and no last-minute panic.
- Prep Time: 15 minutes
- Cook Time: 0 minutes
- Total Time: 15 minutes
- Yield: 12 servings
- Category: Appetizer
- Cuisine: American
Ingredients
- Aged Gouda, 8 ounces
- Sharp Cheddar, 8 ounces
- Goat Cheese Log, 4 ounces
- Optional: Cream Cheese, 8 ounces
- Salami, 8 ounces
- Pepperoni, 4 ounces
- Ham or Turkey, 4 ounces
- Red Grapes, 2 cups
- Apple, 1 large
- Baby Carrots, 1 cup
- Cherry Tomatoes, 1 cup
- Mixed Nuts, 1 cup
- Olives, 1 cup
- Honey, 2 tablespoons
- Crackers, 2 boxes
- Breadsticks or Pretzels, 1 bag
- Optional: Dried Apricots or Cranberries, 1/2 cup
- Optional: Dark Chocolate, 2 ounces
- Optional: Fresh Rosemary or Thyme, a few sprigs
Instructions
- Prep Your Ingredients (15 minutes): Slice the aged gouda and sharp cheddar into thin triangles or cubes. Cut the goat cheese log into rounds. Slice the salami into thin rounds. Wash and dry the grapes, cherry tomatoes, and baby carrots. Slice the apple and toss with a little lemon juice to keep it from turning brown.
- Choose Your Board: Place your board or platter on the counter. If you’re using a baking sheet, line it with parchment paper for a rustic look. Make sure the board is clean and dry.
- Place the Bowls First (2 minutes): Set your small bowls or ramekins on the board. Fill one with olives, one with honey, and one with mixed nuts. Spread them out so they create natural sections. This gives your board structure and makes it look intentional.
- Add the Cheeses (5 minutes): Arrange the cheeses around the bowls. Place the goat cheese log in a spot where you can drizzle honey over it later. Fan out the cheddar and gouda slices in small groups. Don’t overcrowd—you want people to see each cheese clearly.
- Add the Meats (5 minutes): Fold the salami slices into quarters or roll them into small cones. Place them in clusters near the cheeses. Lay the ham or turkey slices flat, folded loosely. Group meats together so guests know what they’re grabbing.
- Fill In with Fruits and Vegetables (5 minutes): Scatter the grapes, cherry tomatoes, and baby carrots in the empty spaces. Tuck apple slices near the cheddar (they pair beautifully). Use the produce to fill gaps and add color. This is where the board starts looking full and abundant.
- Add Crackers and Breadsticks (3 minutes): Arrange crackers in small stacks or rows around the edges of the board. Place breadsticks or pretzels in a separate cluster. This gives guests something to grab and makes the board feel generous.
- Drizzle and Garnish (2 minutes): Drizzle honey over the goat cheese log. Sprinkle a few dried cranberries or apricots in empty spots. Tuck fresh rosemary or thyme sprigs around the board for a festive touch. Step back and adjust anything that looks uneven.
- Serve Immediately or Cover and Refrigerate: This board is best served at room temperature. If you’re making it ahead, cover with plastic wrap and refrigerate. Take it out 30 minutes before serving to let the cheeses soften.
Notes
Don’t overcrowd the board; leave space between clusters. Slice cheese at room temperature for clean cuts. Use a mix of textures: crunchy, creamy, chewy, and fresh. Prep ingredients the night before to save time. Keep crackers separate until serving to prevent sogginess.
Nutrition
- Serving Size: 1 serving (1/12 of b
- Calories: 400
- Sugar: 12
- Sodium: 800
- Fat: 27.5
- Saturated Fat: 12
- Carbohydrates: 25
- Fiber: 4
- Protein: 17.5
Keywords: Christmas charcuterie board, budget-friendly charcuterie, holiday appetizer, easy charcuterie board, crowd-pleasing appetizer