Love this? Save it for later!
Share the inspiration with your friends
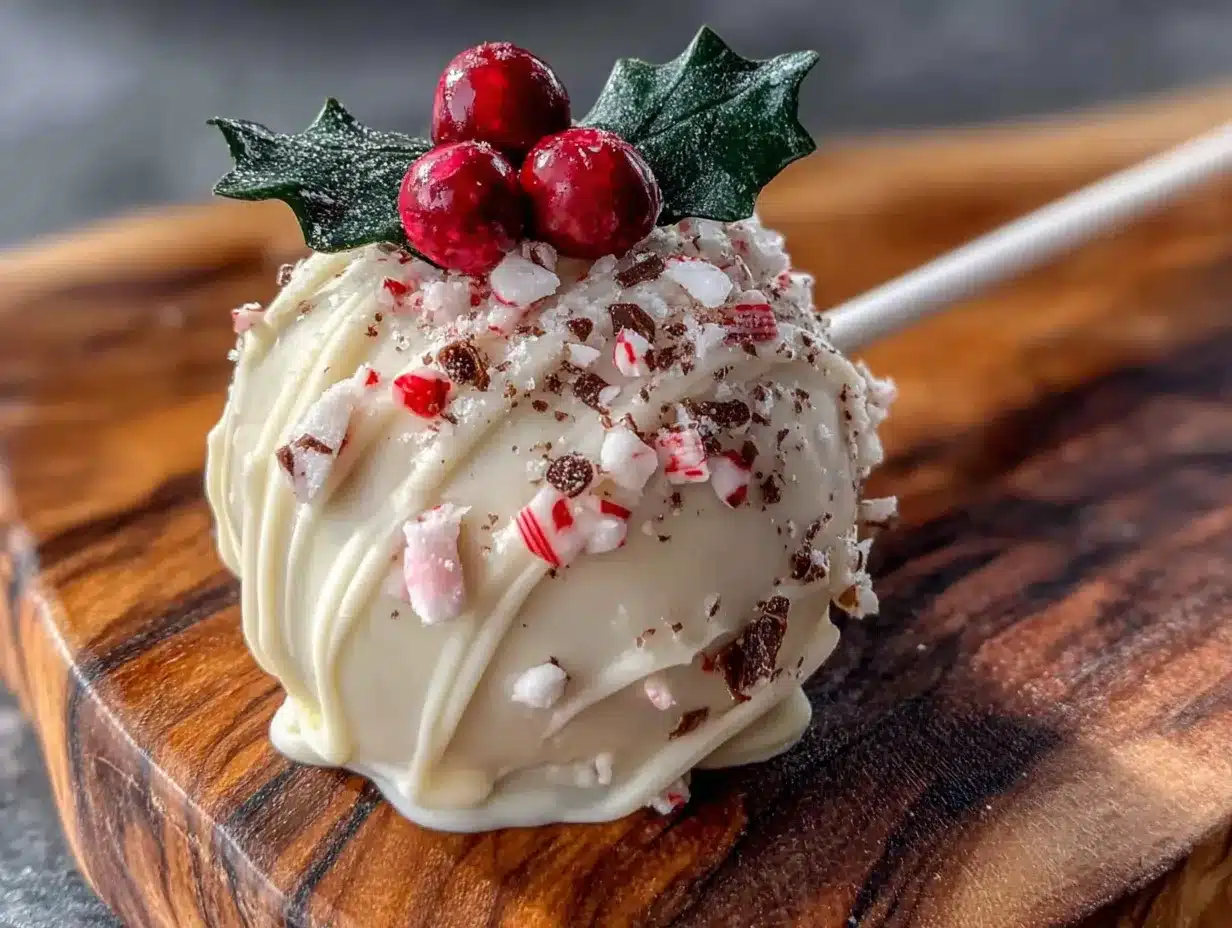
There used to be a tiny bakery tucked next to a dry cleaner on the corner of Elm and 4th that made the most incredible peppermint bark cake pops I have ever tasted. When they closed three years ago—literally overnight, with a handwritten sign taped to the door—I may have stood there for a full minute just staring. I’m not exaggerating when I say I grieved those cake pops. They were the highlight of every holiday season, the thing I brought to every party, the treat that made people close their eyes and sigh. After maybe twelve attempts—some crumbly disasters, a few that looked like sad snowballs—I finally cracked the code.
Here’s the thing, though. Those original cake pops were delicious, but they were also loaded with enough butter and sugar to put you in a food coma by noon. So I started tinkering. I wanted that same festive, minty, chocolatey magic, but I wanted to feel good after eating one. Or, you know, two. This Light Peppermint Bark Christmas Cake Pops recipe is the result of that obsession. It’s got all the nostalgic flavor of that long-lost bakery treat, but with a lighter twist that won’t weigh you down during the busiest season of the year. I honestly think they’re even better than the originals, and that’s not something I say lightly. Let me tell you, when you bite into one of these and get that crunch of peppermint against the tender, fudgy cake center—it’s pure holiday joy. Maybe you’ve been searching for a healthier holiday dessert that doesn’t taste like a compromise? This is it.
Why You’ll Love This Recipe
I’ve tested this recipe more times than I care to admit, and I can tell you with absolute confidence that it delivers on every front. These Light Peppermint Bark Christmas Cake Pops aren’t just another holiday dessert—they’re the one you’ll reach for again and again.
- Quick & Easy: These come together in under 45 minutes of active time, and they’re perfect for those last-minute holiday cravings or unexpected guests dropping by.
- Simple Ingredients: No fancy grocery trips needed here. You likely already have everything in your kitchen, minus maybe the peppermint extract and candy canes.
- Perfect for the Holidays: Whether it’s a cookie swap, a family gathering, or a cozy night by the fire, these cake pops bring instant festive cheer.
- Crowd-Pleaser: I’ve brought these to three different holiday parties this year, and every single time, people ask for the recipe before they’ve even finished the first one.
- Unbelievably Delicious: The texture is what gets me every time—tender, moist cake on the inside with that satisfying snap of peppermint bark coating on the outside.
What makes this recipe different from every other cake pop recipe out there is the technique. Instead of using heavy frosting to bind the cake crumbs, I use a combination of light cream cheese and a splash of milk. It keeps the cake pops tender without making them overly sweet or dense. Plus, the peppermint bark coating is made with a mix of dark chocolate and white chocolate chips, which gives you that classic holiday flavor without the massive sugar spike. This isn’t just another version of a cake pop—it’s my best version, perfected through trial and error. And honestly, it’s the kind of treat that makes you close your eyes after the first bite. It’s comfort food reimagined—lighter, faster, but with the same soul-soothing satisfaction.
What Ingredients You Will Need
This recipe uses simple, wholesome ingredients to deliver that bold peppermint bark flavor and satisfying texture without the fuss. Most of these are pantry staples, especially during the holiday season.
For the Cake Base
- 1 box (15.25 oz) light vanilla cake mix (I prefer Betty Crocker or Duncan Hines for consistent results)
- 1 cup unsweetened applesauce (replaces oil and keeps the cake incredibly moist)
- 3 large egg whites (room temperature works best for even mixing)
- 1/2 cup water
- 1/2 teaspoon peppermint extract (adds that refreshing minty kick)
For the Binding Mixture
- 4 oz light cream cheese, softened (use Neufchâtel for the best texture)
- 2 tablespoons powdered sugar
- 1-2 tablespoons milk (add gradually until the mixture is smooth and spreadable)
- 1/4 teaspoon peppermint extract
For the Coating
- 1 cup dark chocolate chips (look for 60% cacao for a rich, not-too-sweet flavor)
- 1 cup white chocolate chips
- 1 teaspoon coconut oil, divided (helps the chocolate melt smoothly and gives a beautiful shine)
For Decoration
- 2-3 candy canes, crushed into small pieces (about 1/4 cup)
- Optional: 1/4 cup dark chocolate chips for drizzling
- Optional: 1/4 cup white chocolate chips for drizzling
A quick note on ingredients: I’ve tested this with both regular and gluten-free cake mixes, and both work well. If you’re using a gluten-free mix, just be sure to let the cake cool completely before crumbling—it tends to be a bit more delicate. For the peppermint extract, make sure you’re using pure extract, not peppermint oil, which is much stronger and can easily overpower the cake. If you want to make these dairy-free, use a dairy-free cream cheese alternative and dairy-free chocolate chips. The texture will be slightly different, but still delicious.
Equipment Needed
You don’t need any fancy equipment for these cake pops, which is one of the reasons I love making them during the busy holiday season.
- 9×13-inch baking pan (or two 8-inch round pans)
- Large mixing bowls (at least two)
- Electric hand mixer or stand mixer (optional, but makes crumbling the cake easier)
- Fork or potato masher (for crumbling the cake)
- Cookie scoop or tablespoon (for portioning the cake balls evenly)
- Baking sheet lined with parchment paper
- Microwave-safe bowls (for melting chocolate)
- Lollipop sticks (optional, but recommended for the classic cake pop look)
- Styrofoam block or cake pop stand (for drying the coated cake pops upright)
If you don’t have lollipop sticks, no worries! You can shape the cake mixture into small balls and serve them as truffles instead. I actually prefer them this way sometimes—they’re easier to store and you can pop them straight into your mouth without any fuss. For the chocolate melting, I’ve found that a microwave works perfectly, but you can also use a double boiler if you prefer. Just be careful not to overheat the chocolate, or it will seize up and become grainy.
Preparation Method
Let’s get into the nitty-gritty of making these Light Peppermint Bark Christmas Cake Pops. I promise, once you get the hang of it, you’ll be whipping up batches in no time.
- Preheat your oven to 350°F (175°C). Lightly spray your 9×13-inch baking pan with non-stick cooking spray or line it with parchment paper.
- Make the cake batter. In a large mixing bowl, combine the light vanilla cake mix, unsweetened applesauce, egg whites, water, and 1/2 teaspoon of peppermint extract. Mix on medium speed for about 2 minutes until the batter is smooth and well-combined. The batter will be slightly thicker than traditional cake batter because of the applesauce, but that’s exactly what we want.
- Bake the cake. Pour the batter into your prepared pan and spread it evenly. Bake for 22-25 minutes, or until a toothpick inserted into the center comes out clean. The cake should be golden brown around the edges and spring back lightly when touched. Let it cool in the pan for 10 minutes, then transfer it to a wire rack to cool completely. This is crucial—if the cake is even slightly warm when you crumble it, the texture will be off.
- Crumb the cake. Once the cake is completely cool, break it into large chunks and place them in a large bowl. Use your hands, a fork, or a potato masher to crumble the cake into fine, even crumbs. You want it to look like wet sand—no large chunks remaining. This step is oddly satisfying, honestly.
- Make the binding mixture. In a separate small bowl, beat the softened light cream cheese, powdered sugar, milk, and 1/4 teaspoon of peppermint extract until smooth and creamy. The mixture should be spreadable but not runny. If it’s too thick, add another teaspoon of milk.
- Combine the cake crumbs and binding mixture. Pour the cream cheese mixture over the cake crumbs and mix thoroughly with your hands or a spatula. You want every crumb to be coated so the mixture holds together when pressed. It should feel like damp sand that clumps easily when squeezed.
- Shape the cake balls. Using a cookie scoop or a tablespoon, portion out the cake mixture and roll it into 1-inch balls. Place them on a parchment-lined baking sheet. You should get about 24-28 cake balls, depending on size. Pop the baking sheet into the refrigerator for at least 30 minutes, or until the cake balls are firm to the touch. This is non-negotiable—chilling them helps them hold their shape when you dip them in chocolate.
- Melt the chocolate coatings. While the cake balls are chilling, prepare your chocolate. In one microwave-safe bowl, combine the dark chocolate chips and 1/2 teaspoon of coconut oil. In another bowl, combine the white chocolate chips and the remaining 1/2 teaspoon of coconut oil. Microwave each bowl in 30-second intervals, stirring between each, until the chocolate is completely smooth and melted. Be careful not to overheat—chocolate burns easily and turns grainy.
- Dip the cake pops. If you’re using lollipop sticks, dip the tip of each stick into a little bit of melted dark chocolate, then insert it about halfway into a chilled cake ball. Let it set for a minute before dipping the entire cake pop into the melted dark chocolate. Gently tap off any excess, then dip it into the melted white chocolate for that classic peppermint bark look. If you’re making truffles, just drop the cake balls directly into the dark chocolate, then use a fork to transfer them to the parchment paper.
- Add the peppermint crunch. While the chocolate is still wet, sprinkle the crushed candy canes over the top. Work quickly here—the chocolate sets fast, especially if your cake balls are cold.
- Drizzle (optional but gorgeous). If you want that extra bakery-style look, melt a few extra dark and white chocolate chips separately and drizzle them over the set cake pops using a fork or a piping bag.
- Let them set completely. Place the finished cake pops upright in a styrofoam block or lay them on the parchment-lined baking sheet. Allow them to set at room temperature for about 20 minutes, or pop them in the fridge for 10 minutes if you’re in a hurry.
Cooking Tips & Techniques
After making these cake pops more times than I can count, I’ve learned a few things the hard way. Let me save you some trouble.
Don’t overmix the cake batter. I know it’s tempting to keep mixing until it’s perfectly smooth, but overmixing can make the cake tough. Just mix until the ingredients are combined, about 2 minutes on medium speed. Also, the applesauce makes the cake incredibly moist, but it also makes it a bit more delicate. Handle it gently when crumbling.
The biggest mistake people make is not chilling the cake balls long enough. I’ve been there—impatient, hungry, wanting to see the finished product. But if you dip warm or even room-temperature cake balls into melted chocolate, they’ll fall apart. Trust me on this. Thirty minutes in the fridge is the bare minimum. An hour is better.
When melting chocolate, low and slow is the name of the game. I’ve ruined more chocolate than I care to admit by getting impatient and cranking up the microwave power. Use 50% power and stir every 30 seconds. The chocolate will continue to melt from the residual heat, so stop microwaving when there are still a few small lumps. Stir until smooth.
If your chocolate is too thick for dipping, add a tiny bit more coconut oil. Just a teaspoon at a time. This is especially helpful if you’re working in a cold kitchen. The coconut oil keeps the chocolate fluid and gives it that beautiful glossy finish.
Multitasking is your friend. While the cake is baking and cooling, you can crush the candy canes and set up your dipping station. While the cake balls are chilling, you can melt the chocolate. This recipe is all about timing, and once you get the rhythm down, it feels effortless.
Variations & Adaptations
One of the best things about this recipe is how adaptable it is. Here are some of my favorite variations.
Chocolate Peppermint Cake Pops: Use a devil’s food or dark chocolate cake mix instead of vanilla for an even richer, more decadent version. The chocolate and peppermint combination is a classic for a reason. I made these for a Christmas Eve party last year, and they disappeared before the appetizers did.
Gluten-Free Version: Swap the regular cake mix for a gluten-free vanilla cake mix. I’ve tested this with King Arthur’s gluten-free mix, and it works beautifully. Just be extra careful when crumbling the cake, as gluten-free cakes can be a bit more fragile. Add an extra tablespoon of milk to the binding mixture if needed.
Vegan Adaptation: Use a vegan cake mix and replace the egg whites with flax eggs (1 tablespoon ground flaxseed mixed with 3 tablespoons water per egg white). Use a vegan cream cheese alternative and dairy-free chocolate chips. The texture will be a bit denser, but the flavor is still spot-on. I made these for a friend who’s vegan, and she said they were better than any bakery cake pop she’d ever had.
Mint Chocolate Chip Version: Fold 1/4 cup of mini chocolate chips into the cake mixture before shaping the balls. It adds an extra layer of chocolate in every bite and makes the cake pops look even more festive with those little chocolate flecks.
Spiced Peppermint Version: Add 1/2 teaspoon of cinnamon and a pinch of nutmeg to the cake batter. The warm spices complement the cool peppermint beautifully and make these taste even more like Christmas. I stumbled on this combination by accident when I ran out of vanilla extract and used a spice blend instead. Now it’s my go-to.
Serving & Storage Suggestions
These Light Peppermint Bark Christmas Cake Pops are best served at room temperature. The chocolate coating should have a slight snap, while the inside stays tender and moist. If you’ve kept them in the fridge, let them sit out for about 15 minutes before serving.
They’re perfect on a holiday dessert table alongside gingerbread cookies, hot cocoa, or a peppermint mocha. I also love arranging them on a platter with fresh cranberries and sprigs of rosemary for a beautiful, festive presentation. If you’re giving them as gifts, place them in a clear cellophane bag tied with a red ribbon—they look absolutely stunning.
Storage: Store the cake pops in an airtight container in the refrigerator for up to 5 days. I like to layer them between sheets of parchment paper so they don’t stick together. If you’ve made them as truffles (without sticks), they’re even easier to store—just pop them in a container and they’re ready to go.
Freezing: These freeze beautifully. Place the finished cake pops on a baking sheet and freeze them for an hour, then transfer them to a freezer-safe bag or container. They’ll keep for up to 3 months. When you’re ready to enjoy them, let them thaw in the refrigerator overnight or at room temperature for about 30 minutes. The texture stays remarkably good—I’ve tested this extensively, and honestly, they taste just as fresh as the day I made them.
Reheating: You don’t need to reheat these—they’re meant to be enjoyed at room temperature or slightly chilled. But if you want a warm, gooey experience, pop one in the microwave for about 10 seconds. The cake will warm through while the chocolate coating stays firm. It’s a completely different experience, but one I highly recommend trying at least once.
One thing I’ve noticed is that the peppermint flavor actually deepens after a day or two in the fridge. The mint and chocolate meld together beautifully, so these are one of those rare treats that taste even better on day two. Not that they usually last that long in my house.
Nutritional Information & Benefits
Here’s the honest breakdown for one cake pop (based on 24 servings). These numbers are estimates and will vary based on the specific brands you use.
| Nutrient | Amount per Cake Pop |
|---|---|
| Calories | ~115 |
| Total Fat | 4.5g |
| Saturated Fat | 2.5g |
| Cholesterol | 5mg |
| Sodium | 140mg |
| Total Carbohydrates | 18g |
| Dietary Fiber | 1g |
| Sugars | 11g |
| Protein | 2g |
What I love about this recipe is that it’s a lighter take on a traditionally indulgent treat. By using applesauce instead of oil and light cream cheese instead of butter, we’ve cut the fat and calories significantly without sacrificing any of the flavor. The dark chocolate coating provides a dose of antioxidants, and the peppermint extract can actually aid digestion—a welcome bonus after a heavy holiday meal.
These cake pops are also lower in sugar than most store-bought versions, and they’re free from artificial colors and preservatives. If you’re watching your sugar intake, you can even use a sugar-free cake mix and sugar-free chocolate chips. I’ve tested this, and while the texture is slightly different, the taste is still fantastic. For anyone with dietary restrictions, this recipe is easily adaptable to gluten-free, dairy-free, and vegan diets, as I mentioned in the variations section.
Conclusion
These Light Peppermint Bark Christmas Cake Pops have become my signature holiday treat, and I honestly can’t imagine the season without them. They’re the perfect balance of festive flavor, satisfying texture, and guilt-free indulgence. Whether you’re bringing them to a party, gifting them to friends, or just treating yourself after a long day of holiday prep, they never disappoint.
I hope you give this recipe a try and make it your own. Maybe you’ll add extra crushed candy canes on top, or swap in dark chocolate for the white chocolate drizzle, or shape them into little snowmen instead of balls. That’s the beauty of cooking—the recipe is just a starting point. The real magic happens when you put your own spin on it.
If you make these, I’d absolutely love to hear about it. Drop a comment below and let me know how they turned out, or share a photo on social media and tag me. Your feedback and adaptations are what keep this community so vibrant and inspiring. Happy holidays, and happy baking! May your kitchen smell like peppermint and chocolate, and may every bite bring you a little bit of joy.
Frequently Asked Questions
Can I use a homemade cake instead of a box mix?
Absolutely! If you prefer baking from scratch, use your favorite vanilla cake recipe. Just make sure it’s a light, fluffy cake—dense cakes can make the cake pops heavy. You’ll need about 3-4 cups of crumbled cake.
Why did my cake pops fall apart when I dipped them?
This usually happens for one of two reasons: either the cake balls weren’t chilled long enough, or the binding mixture was too dry. Make sure you chill the cake balls for at least 30 minutes, and if the mixture feels crumbly when you shape it, add a little more milk or cream cheese.
Can I make these ahead of time for a party?
Yes, and I actually recommend it! These cake pops taste even better after a day or two in the fridge because the flavors have time to meld. You can make them up to 5 days in advance and store them in an airtight container in the refrigerator.
How do I crush candy canes without making a huge mess?
Place the candy canes in a sealed zip-top bag and gently tap them with a rolling pin or the bottom of a heavy pan. Don’t go overboard—you want small pieces, not powder. I’ve also found that crushing them inside a folded kitchen towel helps contain the mess even better.
Can I use peppermint oil instead of peppermint extract?
You can, but be very careful. Peppermint oil is much more concentrated than extract. Use just 1-2 drops for the entire batch, or you’ll end up with cake pops that taste like toothpaste. I always recommend sticking with peppermint extract for more control over the flavor.
Pin This Recipe!
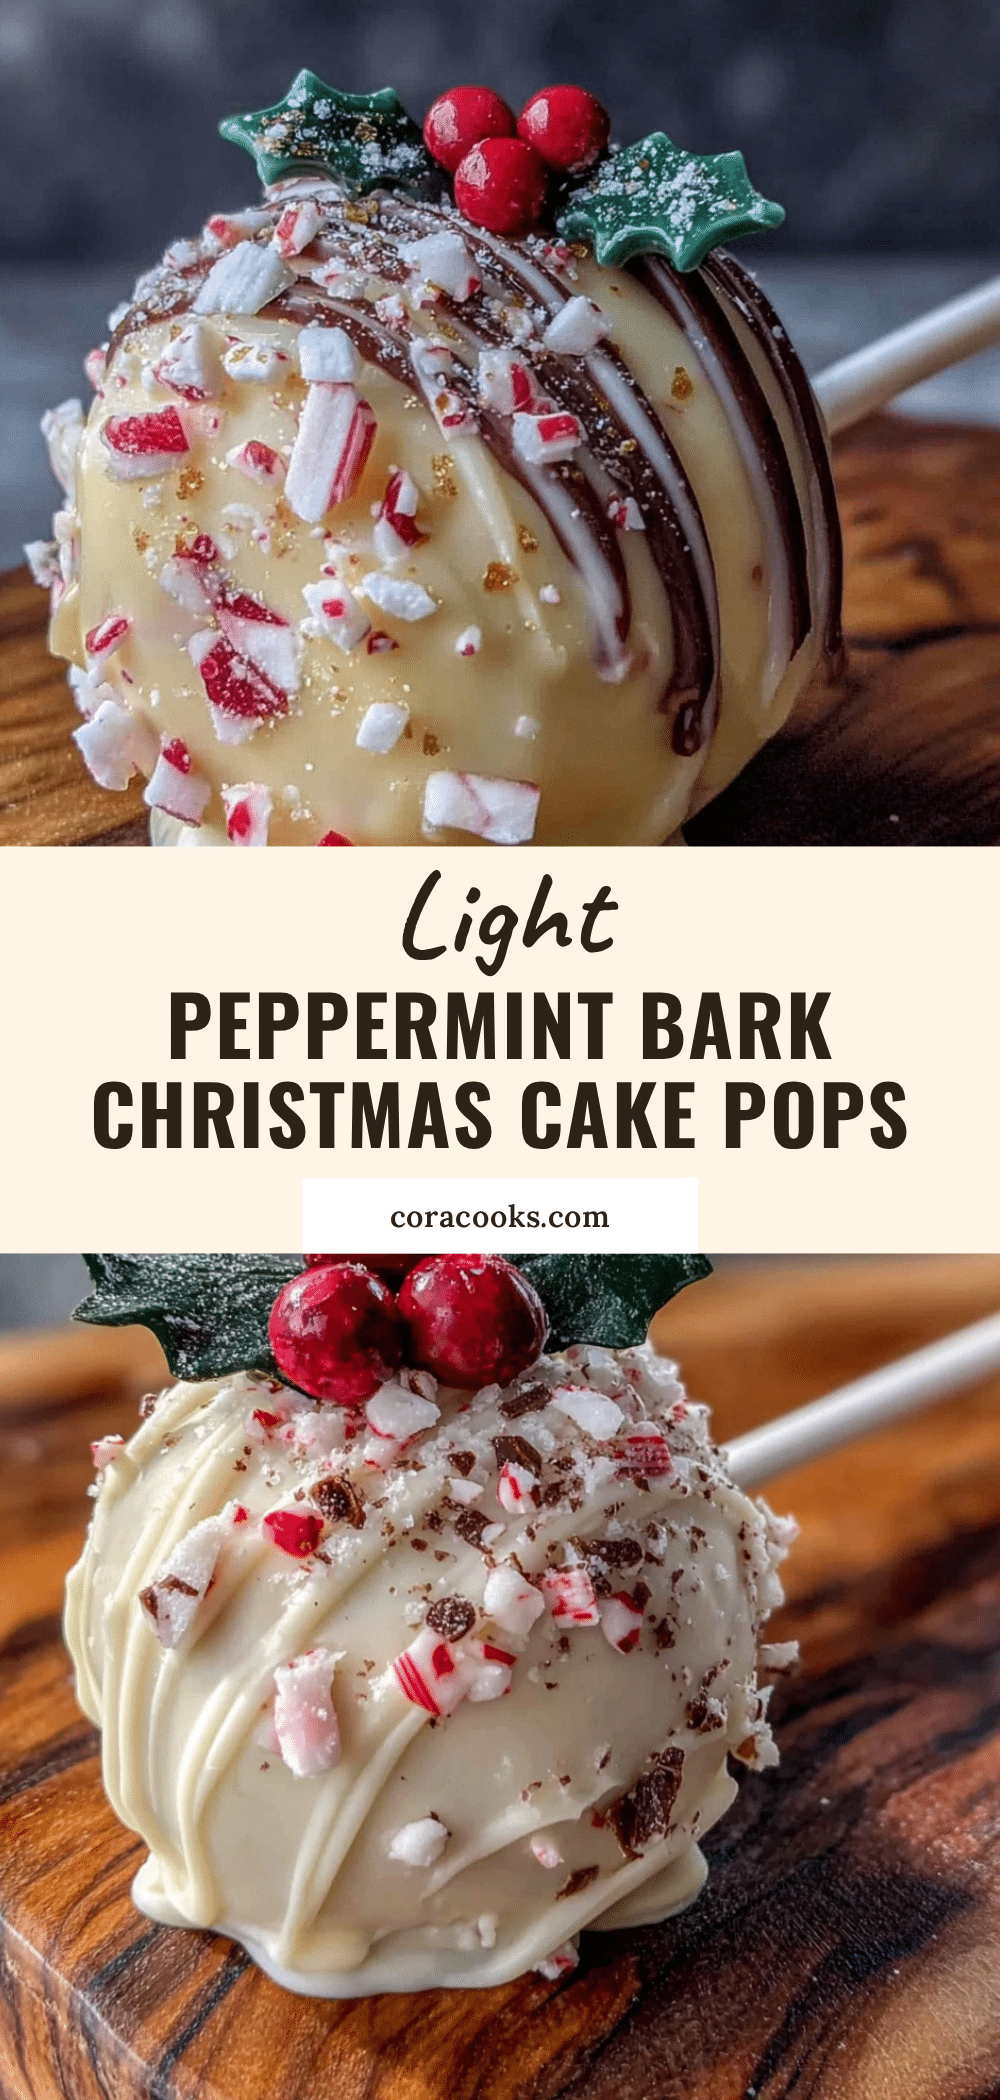
Light Peppermint Bark Christmas Cake Pops: Easy Holiday Treat

These Light Peppermint Bark Christmas Cake Pops are a healthier twist on a classic holiday treat, featuring a tender, moist cake center with a crunchy peppermint bark coating. Perfect for parties, gifts, or a cozy night in, they deliver festive flavor without the guilt.
- Prep Time: 15 minutes
- Cook Time: 25 minutes
- Total Time: 40 minutes
- Yield: 24 servings 1x
- Category: Dessert
- Cuisine: American
Ingredients
- 1 box (15.25 oz) light vanilla cake mix
- 1 cup unsweetened applesauce
- 3 large egg whites
- 1/2 cup water
- 1/2 teaspoon peppermint extract
- 4 oz light cream cheese, softened
- 2 tablespoons powdered sugar
- 1–2 tablespoons milk
- 1/4 teaspoon peppermint extract
- 1 cup dark chocolate chips (60% cacao)
- 1 cup white chocolate chips
- 1 teaspoon coconut oil, divided
- 2–3 candy canes, crushed (about 1/4 cup)
- Optional: 1/4 cup dark chocolate chips for drizzling
- Optional: 1/4 cup white chocolate chips for drizzling
Instructions
- Preheat your oven to 350°F (175°C). Lightly spray a 9×13-inch baking pan with non-stick cooking spray or line it with parchment paper.
- In a large mixing bowl, combine the light vanilla cake mix, unsweetened applesauce, egg whites, water, and 1/2 teaspoon peppermint extract. Mix on medium speed for about 2 minutes until smooth and well-combined.
- Pour the batter into the prepared pan and spread evenly. Bake for 22-25 minutes, or until a toothpick inserted into the center comes out clean. Let cool in the pan for 10 minutes, then transfer to a wire rack to cool completely.
- Once the cake is completely cool, break it into large chunks and crumble into fine, even crumbs using your hands, a fork, or a potato masher.
- In a separate small bowl, beat the softened light cream cheese, powdered sugar, milk, and 1/4 teaspoon peppermint extract until smooth and creamy.
- Pour the cream cheese mixture over the cake crumbs and mix thoroughly until every crumb is coated. The mixture should hold together when pressed.
- Using a cookie scoop or tablespoon, portion out the mixture and roll into 1-inch balls. Place on a parchment-lined baking sheet. Refrigerate for at least 30 minutes until firm.
- While the cake balls chill, melt the dark chocolate chips with 1/2 teaspoon coconut oil in a microwave-safe bowl in 30-second intervals, stirring between each, until smooth. Repeat with the white chocolate chips and remaining 1/2 teaspoon coconut oil in a separate bowl.
- If using lollipop sticks, dip the tip of each stick into a little melted dark chocolate, then insert halfway into a chilled cake ball. Let set for a minute, then dip the entire cake pop into the melted dark chocolate. Gently tap off excess, then dip into the melted white chocolate. If making truffles, drop cake balls directly into dark chocolate and transfer with a fork.
- While the chocolate is still wet, sprinkle crushed candy canes over the top. Work quickly.
- Optional: Melt extra dark and white chocolate chips separately and drizzle over the set cake pops using a fork or piping bag.
- Place finished cake pops upright in a styrofoam block or lay on parchment-lined baking sheet. Let set at room temperature for about 20 minutes, or refrigerate for 10 minutes.
Notes
Chill cake balls for at least 30 minutes before dipping to prevent them from falling apart. Use pure peppermint extract, not oil, for best flavor. For a dairy-free version, use dairy-free cream cheese and chocolate chips.
Nutrition
- Serving Size: 1 cake pop
- Calories: 115
- Sugar: 11
- Sodium: 140
- Fat: 4.5
- Saturated Fat: 2.5
- Carbohydrates: 18
- Fiber: 1
- Protein: 2
Keywords: peppermint bark, cake pops, Christmas, holiday, light, easy, healthy dessert