Love this? Save it for later!
Share the inspiration with your friends
This was supposed to be a proper Thanksgiving turkey. I mean, that was the plan. I had the bird, the brine was ready, and I’d even cleaned the roasting pan. But then my best friend Sarah called, panicking because her oven had died an hour before her own Friendsgiving. So I did what any sensible person would do—I offered her my oven. Which meant my turkey was homeless. And there I was, standing in my kitchen at 4 PM on a Friday, staring at a raw bird with nowhere to go, while my friends were about to show up with side dishes and good wine. Honestly, I almost just ordered pizza.
But then I looked at the gorgeous fall fruit I’d bought for a centerpiece—crisp apples, ripe pears, and a bundle of deep purple grapes. I grabbed a wooden board, the biggest one I owned, and started arranging. I threw on some cheese I’d been saving, a jar of honey, and some nuts I’d forgotten about. The turkey went in the freezer, and this board went on the table. When everyone arrived, they didn’t even ask about the turkey. They just stood there, grabbing slices of apple and Brie, laughing, and pouring wine. It was the best Friendsgiving we ever had, and it happened because nothing went right. Maybe you’ve been there—when the plan falls apart and something better takes its place.
Why You’ll Love This Recipe
Let me tell you, this Best Friendsgiving Charcuterie Board with Fall Fruit is a lifesaver. It’s not just a recipe; it’s a strategy for hosting without the stress. Here is why it works so well for a sensible budget and a happy table:
- Quick & Easy: This board comes together in under 20 minutes. No cooking, no fuss. Perfect for when you’re juggling a dozen other dishes or when your oven is otherwise occupied.
- Simple Ingredients: You don’t need a fancy grocery trip. Most of these items—apples, cheese, crackers—are probably already in your fridge or pantry. I grabbed the pears from a bowl on my counter.
- Perfect for Friendsgiving: It’s the ultimate crowd-pleaser for a casual gathering. Everyone can graze, chat, and build their own little plate. It keeps the vibe relaxed and fun.
- Crowd-Pleaser: Honestly, I’ve never seen a board like this fail. Kids love the fruit and cheese cubes, adults go for the prosciutto and honeycomb, and everyone fights over the last piece of Brie.
- Unbelievably Delicious: The combination of sweet fall fruit, salty meats, and creamy cheese is next-level comfort food. It’s the kind of spread that makes you close your eyes after the first bite.
What makes this board different from the rest? It’s the balance. I’ve tested dozens of combos, and this one hits every note—sweet, salty, tangy, and crunchy. It’s not just another cheese plate. It’s a fall celebration on a board, designed to feed a crowd without breaking the bank. And honestly, it’s the kind of recipe that makes you look like a hero even when your original plan was a disaster.
What Ingredients You Will Need
This recipe uses simple, wholesome ingredients to deliver bold flavor and satisfying texture without the fuss. Most of these are pantry staples or easy to find at any grocery store. Here is what you need to build the Best Friendsgiving Charcuterie Board with Fall Fruit:
For the Fall Fruit
- 2 crisp apples (I prefer Honeycrisp or Fuji), sliced thin (adds a sweet crunch)
- 2 ripe pears (Bosc or Bartlett work well), sliced (brings a soft, juicy sweetness)
- 1 cup red grapes, washed and left in small clusters (adds a pop of color and burst of flavor)
- 1 cup fresh figs, halved (optional but amazing for a touch of elegance)
For the Cheese
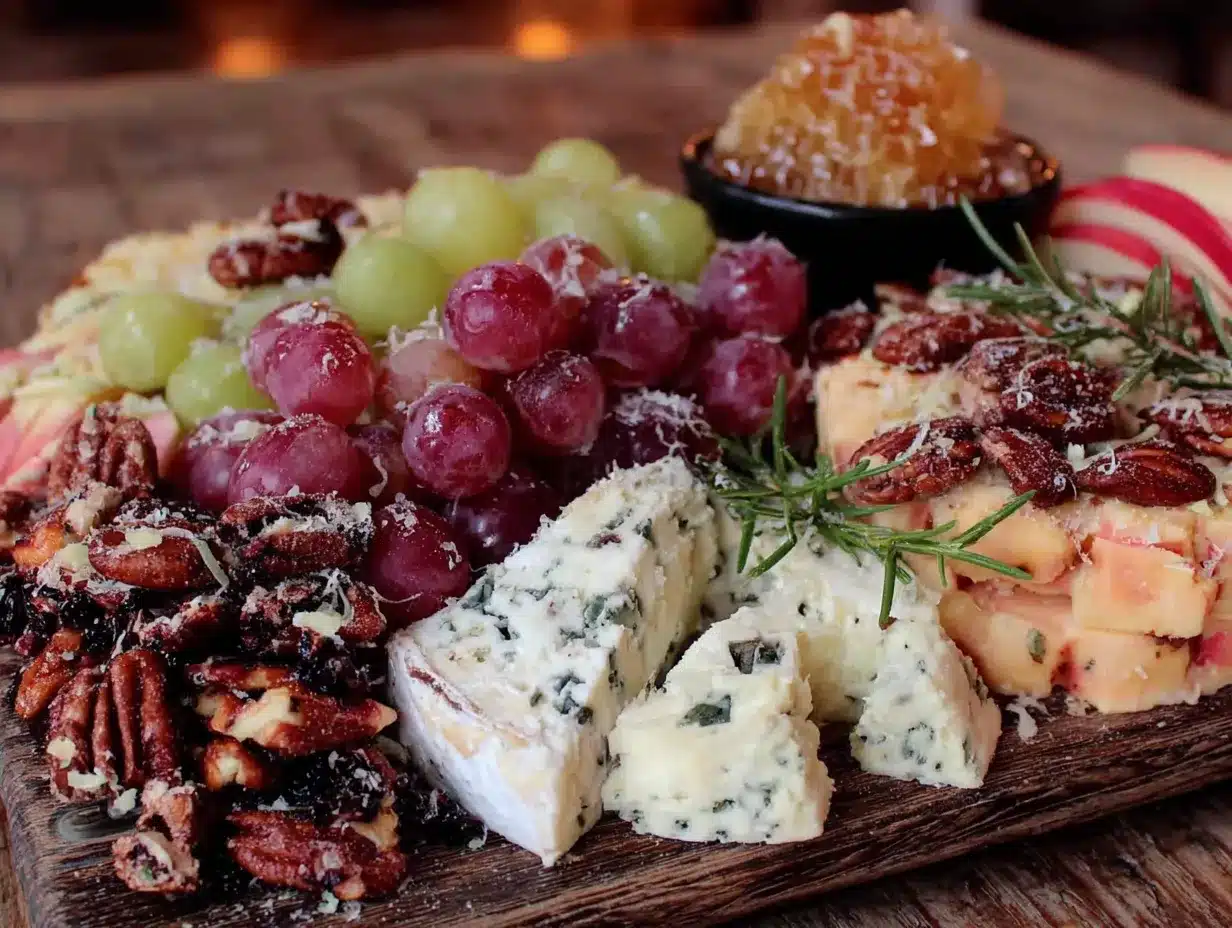
- 8 ounces Brie cheese, at room temperature (creamy and rich; I recommend the double-cream variety)
- 6 ounces sharp cheddar, sliced or cubed (adds a sharp, nutty contrast)
- 4 ounces blue cheese, crumbled (for that tangy, bold kick)
For the Meats
- 4 ounces prosciutto, thinly sliced (salty and silky)
- 4 ounces salami, sliced (I like Genoa salami for its spice)
For the Crunch and Spread
- 1 cup mixed nuts (almonds, walnuts, or pecans; I use lightly salted)
- 1/2 cup honey (local honey is best for flavor)
- 1/2 cup fig jam or apple butter (adds a sweet, spreadable layer)
- 1 box of crackers (I use a mix of water crackers and whole wheat)
For Garnish (Optional but Lovely)
- Fresh rosemary sprigs (for color and aroma)
- Dried cranberries (a handful for tartness)
- Edible flowers (like pansies, if you want to get fancy)
For substitutions, you can swap the Brie for camembert, use turkey slices instead of prosciutto for a lighter option, or replace the blue cheese with goat cheese if you’re feeding picky eaters. I’ve used almond flour crackers for a gluten-free version, and it works perfectly.
Equipment Needed
You don’t need much for this board, which is part of its charm. Here is what I use:
- A large wooden board or platter (about 12×18 inches or bigger; a cutting board works too)
- A sharp knife (for slicing fruit and cheese; I use a chef’s knife)
- A small bowl (for the honey or jam)
- Cheese knives or spreaders (optional but nice for serving)
- Parchment paper (to line the board for easy cleanup)
If you don’t have a wooden board, a large baking sheet or a slate tile works just as well. I’ve used a clean pizza peel in a pinch, and it looked rustic and charming. Just make sure your surface is clean and dry before you start arranging.
Preparation Method
Building this Best Friendsgiving Charcuterie Board with Fall Fruit is more art than science. Here is how I do it, step by step:
- Prepare the fruit (5 minutes): Wash and slice the apples and pears just before assembling to prevent browning. I toss the apple slices with a little lemon juice to keep them bright. Cut the figs in half and leave the grapes in small clusters.
- Set out the cheese (2 minutes): Take the Brie out of the fridge 30 minutes before serving so it’s soft and creamy. Slice the cheddar into thin triangles or cubes. Crumble the blue cheese into a small pile.
- Arrange the meats (3 minutes): Fold the prosciutto slices into loose ribbons and place them in a pile on one corner of the board. Fan out the salami slices in a row next to them. This creates visual contrast.
- Add the fruit (4 minutes): Place the apple and pear slices in a fan pattern along one edge of the board. Scatter the grape clusters and fig halves in small groups around the board. I like to tuck some fruit near the cheese for color.
- Fill in with nuts and crackers (3 minutes): Pour the nuts into a small bowl or just scatter them in an empty space. Arrange the crackers in a neat stack or a fan pattern. I usually put them near the Brie because they pair so well.
- Add spreads and garnishes (2 minutes): Spoon the fig jam or apple butter into a small bowl and place it on the board. Drizzle the honey over the Brie or put it in a small dish. Tuck rosemary sprigs and dried cranberries around the board for a festive look.
- Final touches (1 minute): Step back and look at your board. Fill any gaps with extra nuts or fruit. The goal is a full, abundant look—like a fall harvest. Serve immediately or cover with plastic wrap and refrigerate for up to 2 hours.
A quick tip: if the apples start to brown, just give them a quick spritz of lemon juice. I learned that the hard way when I forgot once and ended up with sad, brown apples. Also, don’t overcrowd the board—leave a little space for people to grab things without knocking over the cheese.
Cooking Tips & Techniques
Over the years, I’ve learned a few tricks to make this board shine. Here is what I wish someone had told me:
- Room temperature cheese is key: Cold Brie is firm and bland. Let it sit out for at least 30 minutes. I once served it straight from the fridge, and everyone politely nibbled. Never again.
- Slice fruit right before serving: Apples and pears oxidize fast. I slice them last, just before guests arrive. If you’re prepping ahead, toss them in a little citrus juice.
- Balance textures: Mix soft cheese (Brie) with hard (cheddar) and crumbly (blue). Add crunchy nuts and smooth jam. This keeps every bite interesting.
- Don’t be afraid of asymmetry: I used to try to make everything symmetrical, but it looked stiff. Now I arrange in organic clusters—it feels more natural and inviting.
- Use small bowls for sticky items: Honey and jam can get messy. I always use a small ramekin or a mini bowl. It saves the board from becoming a sticky mess.
One mistake I made early on was using too many ingredients. I had like five cheeses and three meats, and it was overwhelming. Stick to 2-3 cheeses and 1-2 meats. It’s easier to manage and more budget-friendly.
Variations & Adaptations
This board is endlessly customizable. Here are some ways to make it your own:
- Dietary Swaps: For a vegetarian version, skip the meat and add more cheese or roasted vegetables like bell peppers. For a dairy-free option, use vegan cheese and nut-based spreads. I’ve made it with cashew cheese, and it was a hit.
- Seasonal Twists: In fall, stick with apples and pears. In summer, swap in peaches and berries. In winter, add dried figs and pomegranate seeds. I’ve done a winter version with candied pecans, and it felt so festive.
- Flavor Variations: Add a spicy element like jalapeño jam or honey with chili flakes. Or go savory with olives and pickled vegetables. I once added a small dish of balsamic glaze, and it was gone in minutes.
- Budget-Friendly: Skip the prosciutto and use ham or turkey slices. Use a cheaper cheese like gouda instead of Brie. I’ve done a budget version with just cheddar, apples, and crackers, and it still felt special.
My personal favorite variation is adding a small bowl of dark chocolate chips. It sounds weird, but the chocolate with the salty cheese and sweet fruit is incredible. Try it—you won’t regret it.
Serving & Storage Suggestions
Serve this board at room temperature for the best flavor. I like to put it in the center of the table so everyone can reach it. Pair it with a crisp white wine like Sauvignon Blanc or a light red like Pinot Noir. For drinks, apple cider or a sparkling water with lemon works beautifully.
For storage, this board is best eaten within a few hours of assembly. If you have leftovers, separate the components: wrap the cheese in wax paper, store the fruit in an airtight container, and keep the crackers in a sealed bag. The fruit will last 1-2 days, but the apples will soften. The cheese can last up to a week. Reheat? You don’t need to—just let the cheese come to room temperature again.
The flavors actually improve after a few hours as the honey and jam soak into the cheese. I’ve snacked on leftovers the next day, and it’s still delicious. Just don’t expect the crackers to stay crunchy—they absorb moisture. That’s why I always serve extra crackers on the side.
Nutritional Information & Benefits
Here is an estimated breakdown per serving (assuming 8 servings):
- Calories: 450-500
- Protein: 15g
- Fat: 28g
- Carbohydrates: 35g
- Fiber: 5g
- Sugar: 20g
The fall fruit provides fiber and vitamin C, while the nuts offer healthy fats and protein. Cheese is a good source of calcium, but it’s high in sodium, so enjoy in moderation. This board is naturally gluten-free if you use gluten-free crackers, and it can be made low-carb by skipping the fruit and crackers. It’s a balanced snack that feels indulgent but isn’t terrible for you. I like it because it satisfies cravings without the sugar crash of a dessert.
Conclusion
This Best Friendsgiving Charcuterie Board with Fall Fruit turned a kitchen disaster into one of my favorite hosting memories. It’s proof that the best meals often come from happy accidents. Whether you’re hosting a big gathering or a quiet night in, this board is simple, affordable, and guaranteed to impress. I love how it brings people together—everyone just stands around, chatting and grabbing bites. It’s the opposite of a formal dinner, and that’s what makes it special.
I’d love to hear how you customize yours. Did you add something unexpected? Swap out a cheese? Leave a comment below and share your version—I’m always looking for new ideas. And if you make it, tag me in your photos. Honestly, nothing makes me happier than seeing your boards come to life. Now go grab some apples and cheese, and make your own accident into a masterpiece.
Frequently Asked Questions
Can I make this charcuterie board ahead of time?
Yes, you can assemble it up to 2 hours ahead. Just cover it with plastic wrap and refrigerate. Take it out 30 minutes before serving to let the cheese soften.
What if I don’t have a wooden board?
No problem. Use a large baking sheet, a cutting board, or even a clean pizza peel. Just line it with parchment paper for easy cleanup.
How do I keep the apples from browning?
Toss the apple slices in a little lemon juice or pineapple juice. It slows down oxidation and keeps them looking fresh for hours.
Can I use different fruits?
Absolutely. In fall, stick with apples and pears. In summer, try peaches and berries. Just make sure the fruit is ripe but firm so it holds up on the board.
What are the best cheeses for a budget?
Cheddar, gouda, and mozzarella are affordable and crowd-pleasing. Skip the expensive Brie if you’re on a tight budget—cheddar and a good jam work just as well.
Pin This Recipe!
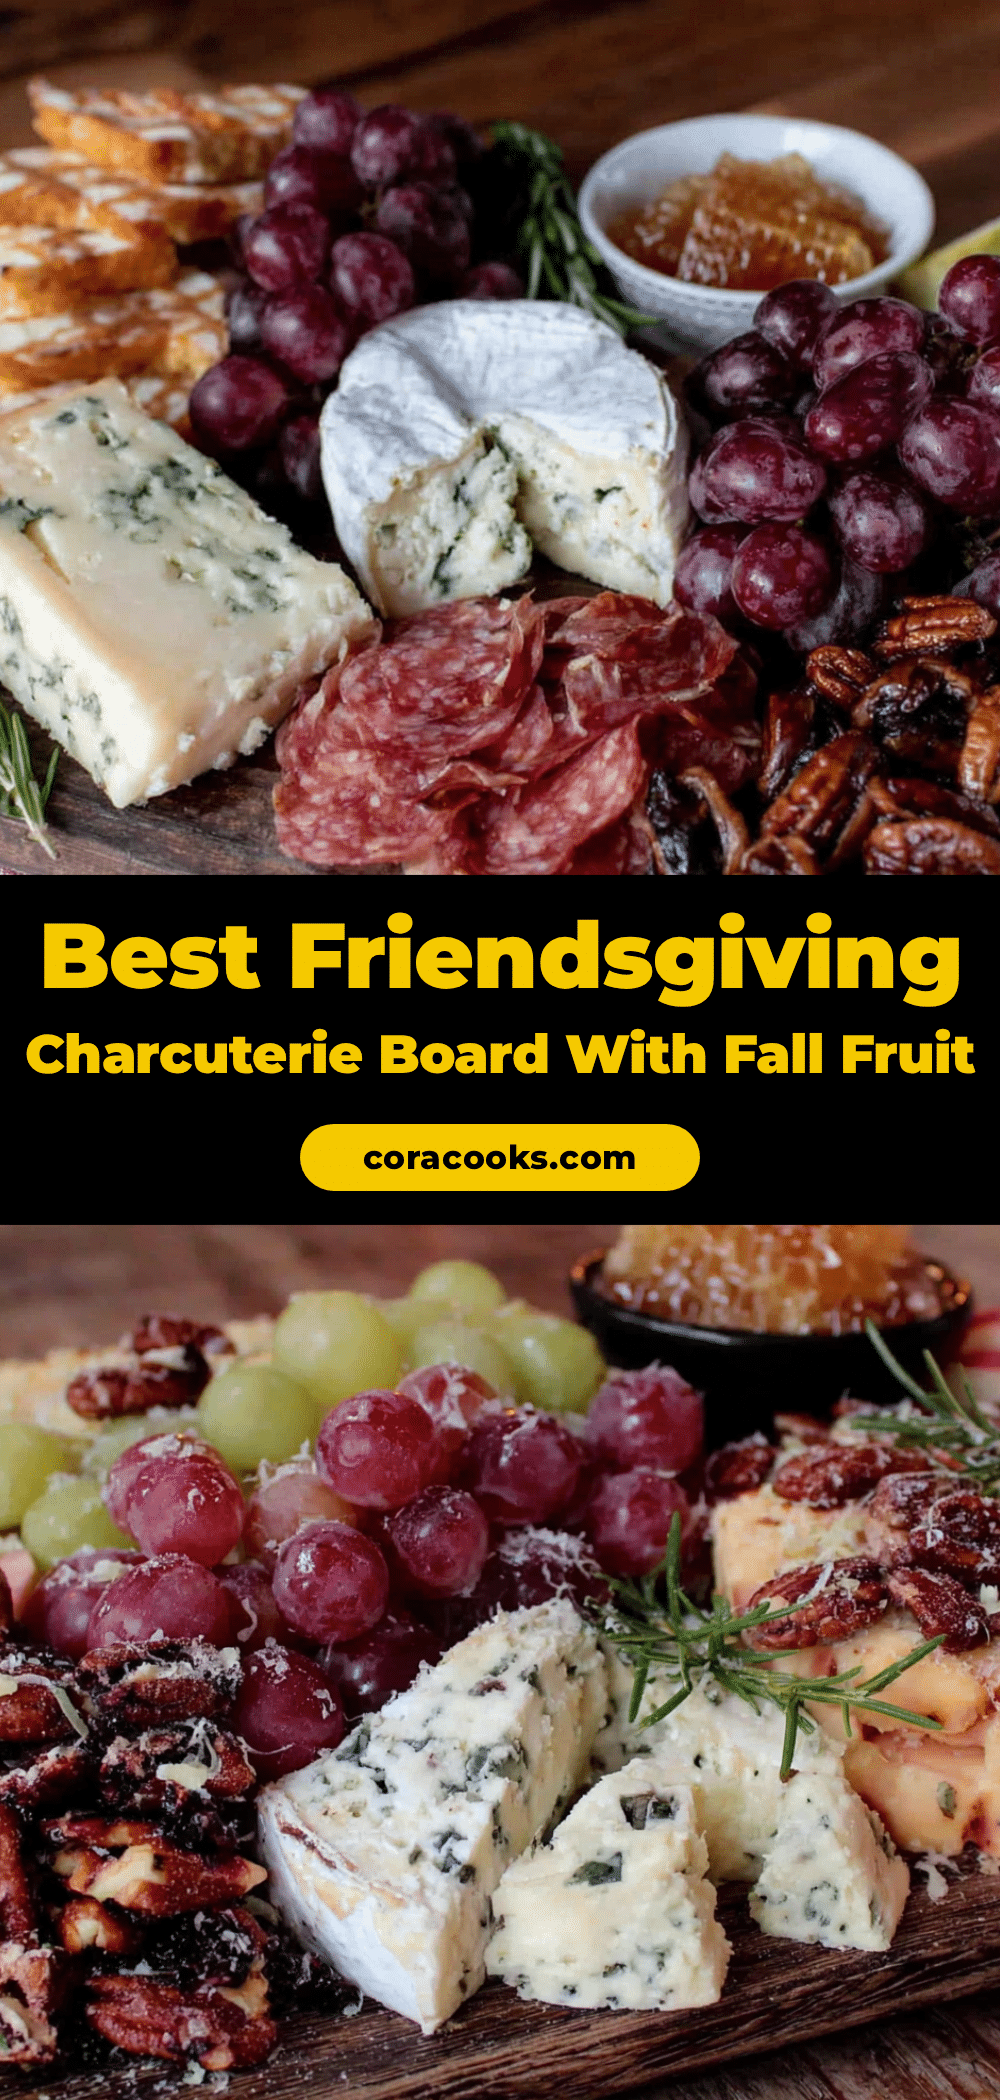
Best Friendsgiving Charcuterie Board with Fall Fruit
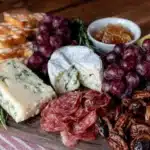
A stunning and stress-free charcuterie board featuring crisp apples, ripe pears, creamy Brie, sharp cheddar, tangy blue cheese, prosciutto, salami, nuts, honey, and fig jam. Perfect for Friendsgiving or any fall gathering, this board comes together in under 20 minutes and is a guaranteed crowd-pleaser.
- Prep Time: 20 minutes
- Cook Time: 0 minutes
- Total Time: 20 minutes
- Yield: 8 servings 1x
- Category: Appetizer
- Cuisine: American
Ingredients
- 2 crisp apples (Honeycrisp or Fuji), sliced thin
- 2 ripe pears (Bosc or Bartlett), sliced
- 1 cup red grapes, washed and left in small clusters
- 1 cup fresh figs, halved (optional)
- 8 ounces Brie cheese, at room temperature
- 6 ounces sharp cheddar, sliced or cubed
- 4 ounces blue cheese, crumbled
- 4 ounces prosciutto, thinly sliced
- 4 ounces salami (Genoa), sliced
- 1 cup mixed nuts (almonds, walnuts, or pecans), lightly salted
- 1/2 cup honey
- 1/2 cup fig jam or apple butter
- 1 box crackers (water crackers and whole wheat)
- Fresh rosemary sprigs (for garnish)
- Dried cranberries (a handful, for garnish)
- Edible flowers (optional, for garnish)
Instructions
- Prepare the fruit: Wash and slice the apples and pears just before assembling to prevent browning. Toss apple slices with a little lemon juice to keep them bright. Cut the figs in half and leave the grapes in small clusters.
- Set out the cheese: Take the Brie out of the fridge 30 minutes before serving so it’s soft and creamy. Slice the cheddar into thin triangles or cubes. Crumble the blue cheese into a small pile.
- Arrange the meats: Fold the prosciutto slices into loose ribbons and place them in a pile on one corner of the board. Fan out the salami slices in a row next to them.
- Add the fruit: Place the apple and pear slices in a fan pattern along one edge of the board. Scatter the grape clusters and fig halves in small groups around the board. Tuck some fruit near the cheese for color.
- Fill in with nuts and crackers: Pour the nuts into a small bowl or scatter them in an empty space. Arrange the crackers in a neat stack or fan pattern, preferably near the Brie.
- Add spreads and garnishes: Spoon the fig jam or apple butter into a small bowl and place it on the board. Drizzle the honey over the Brie or put it in a small dish. Tuck rosemary sprigs and dried cranberries around the board for a festive look.
- Final touches: Step back and look at your board. Fill any gaps with extra nuts or fruit. Serve immediately or cover with plastic wrap and refrigerate for up to 2 hours.
Notes
For best results, let cheese come to room temperature before serving. Slice fruit just before serving to prevent browning. If prepping ahead, toss apple slices in lemon juice. Use small bowls for sticky items like honey and jam. The board can be assembled up to 2 hours ahead and refrigerated; remove 30 minutes before serving.
Nutrition
- Serving Size: 1 serving (approxima
- Calories: 475
- Sugar: 20
- Sodium: 800
- Fat: 28
- Saturated Fat: 12
- Carbohydrates: 35
- Fiber: 5
- Protein: 15
Keywords: charcuterie board, Friendsgiving, fall fruit, appetizer, cheese board, easy entertaining, no-cook recipe