Love this? Save it for later!
Share the inspiration with your friends
Introduction
The neighborhood potluck was in six hours and I’d completely forgotten. Everyone else would be bringing those elaborate dishes you see on cooking shows—the kind with fancy garnishes and complicated sauces that take two days to prepare. I had a pound of ground beef thawing on the counter, a half-empty bag of rice, and honestly, a growing sense of panic. My neighbor Karen always brings her famous seven-layer dip, and last year, someone actually brought a homemade phyllo pastry thing that looked like it belonged in a bakery window.
I stood there staring into my fridge like it held the answers to life itself. A block of cheddar, some sad-looking bell peppers, and a carton of chicken broth. Not exactly dinner party material, right? I mean, I was this close to ordering pizza and showing up with a store-bought pie, which felt like culinary surrender.
But then I remembered this cheesy ground beef and rice skillet recipe my aunt used to throw together on busy weeknights. It wasn’t fancy. It wasn’t pretty. But it was good—the kind of good that makes people go quiet while they eat. I figured I had nothing to lose, so I started cooking with the frantic energy of someone racing against a clock.
Here’s the thing about that skillet: it won. Not just a polite “oh, this is nice” kind of win, but the “can I get that recipe?” kind. The empty pan kind. The kind where Karen asked for seconds and someone actually licked their spoon. And I stood there, slightly stunned, realizing that the simplest thing I’d thrown together in a hurry had beaten out all those elaborate dishes. Maybe you’ve been there—that moment when panic cooking turns into something unexpectedly brilliant. That’s this recipe. It’s the underdog that steals the show.
Why You’ll Love This Recipe
Let me tell you why this cheesy ground beef and rice skillet has become my secret weapon for every gathering. After testing this recipe at least a dozen times for different occasions, I can honestly say it delivers every single time without the stress.
- Quick & Easy: From fridge to table in under 30 minutes. Perfect for those moments when guests are arriving and you realize you need one more hearty dish.
- Simple Ingredients: No fancy grocery trips needed. Ground beef, rice, cheese, and pantry staples—you probably have everything right now.
- Perfect for Hosting: This dish scales beautifully for crowds, keeps warm on the stove while you mingle, and pairs with almost any side dish you’re serving.
- Crowd-Pleaser: Kids devour it, adults ask for seconds, and I’ve never brought home leftovers from a potluck. Ever.
- Unbelievably Delicious: The combination of savory beef, tender rice, and melted cheese creates this comfort food magic that feels like a warm hug.
What makes this version different from every other ground beef and rice recipe out there? It’s the technique. I cook the rice directly in the same skillet with the beef, letting it absorb all those savory flavors instead of boiling it separately. Plus, I’ve perfected the cheese-to-everything-else ratio, because honestly, nobody wants a skimpy cheese situation.
This recipe isn’t just good—it’s the kind that makes people close their eyes after the first bite. It’s comfort food reimagined: faster, cheesier, and with the same soul-soothing satisfaction you’d get from something that took hours. Perfect for impressing guests without stress, or turning a simple Tuesday dinner into something memorable.
What Ingredients You Will Need
This recipe uses simple, wholesome ingredients to deliver bold flavor and satisfying texture without the fuss. Most of these are pantry staples you probably already have on hand, which is exactly what you want when you’re cooking for a crowd.
For the Base:
- 1 pound ground beef (80/20 works best for flavor, but lean is fine too)
- 1 medium yellow onion, diced (about 1 cup)
- 3 cloves garlic, minced (or 1 teaspoon garlic powder in a pinch)
- 1 bell pepper, diced (any color works—I prefer red for sweetness)
- 1 cup long-grain white rice (uncooked—I recommend Jasmine or Basmati for best texture)
- 2 cups beef broth (low-sodium so you can control the salt)
- 1 can (14.5 oz) diced tomatoes with juices (fire-roasted adds amazing flavor)
- 1 teaspoon salt (plus more to taste)
- ½ teaspoon black pepper
- 1 teaspoon smoked paprika (regular works too, but smoked is magic here)
- ½ teaspoon onion powder
- ½ teaspoon dried oregano
For the Cheesy Finish:
- 1 ½ cups shredded cheddar cheese (sharp cheddar gives the best flavor)
- ½ cup shredded mozzarella (for that stretchy, gooey texture)
- Optional: ¼ cup sour cream stirred in at the end for extra creaminess
For Garnish (Optional but Recommended):
- Fresh parsley or cilantro, chopped
- Green onions, sliced
- Hot sauce on the side for those who want heat
A few ingredient notes from my kitchen to yours: I recommend Tillamook or Cabot cheddar for the best melting properties—they’re worth the extra dollar. If you’re using pre-shredded cheese, look for one without anti-caking agents, or better yet, shred your own. It melts so much smoother. For the rice, avoid minute rice or instant varieties—they’ll turn mushy. Long-grain rice holds its shape and texture perfectly.
For substitutions: use ground turkey or chicken instead of beef, swap in brown rice (just increase cooking time and liquid), or use dairy-free cheese if needed. If you’re watching sodium, use no-salt-added tomatoes and low-sodium broth, then season to taste at the end.
Equipment Needed
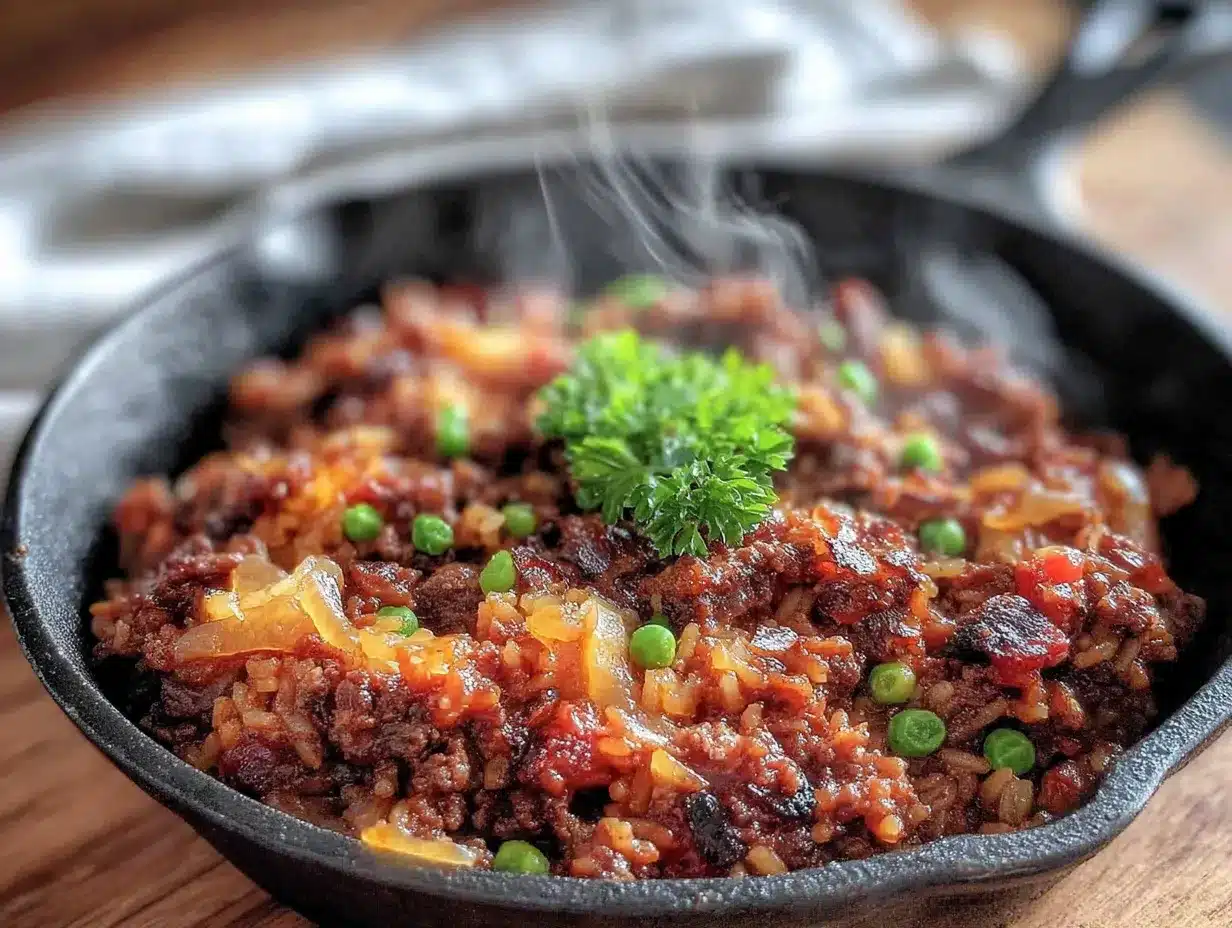
You don’t need a fancy kitchen to make this cheesy ground beef and rice skillet work. Here’s what you’ll actually use:
- Large skillet or Dutch oven: A 12-inch skillet with a tight-fitting lid is ideal. Cast iron works beautifully for even heat distribution. If you don’t have a lid, aluminum foil works in a pinch.
- Wooden spoon or spatula: For breaking up the ground beef and stirring. A flat-edged wooden spoon works best for scraping up any browned bits.
- Cheese grater: If you’re buying block cheese (which I highly recommend), a box grater or microplane does the job.
- Measuring cups and spoons: For accuracy, especially with the rice-to-liquid ratio.
- Cutting board and knife: For dicing the onion and bell pepper.
I’ve made this in everything from a nonstick skillet to a cast iron Dutch oven, and honestly, they all work. My personal favorite is my 12-inch cast iron skillet—it holds heat beautifully and gives the beef a nice sear. If you’re using nonstick, just be careful not to use metal utensils that could scratch the surface.
Budget-friendly tip: You don’t need a fancy brand. A basic 12-inch skillet with a lid from any kitchen store will work perfectly. Just make sure it’s deep enough to hold everything without spilling over.
Preparation Method
Let me walk you through this step by step. Trust me, it’s easier than you think, and I’ve included all the little tricks I’ve learned from making this dozens of times.
- Brown the ground beef (5-7 minutes): Heat your skillet over medium-high heat. Add the ground beef and cook, breaking it apart with your spoon, until it’s nicely browned. Don’t rush this step—you want some golden-brown bits on the bottom of the pan because that’s where the flavor lives. Drain off excess fat, leaving about 1 tablespoon in the pan. If you’re using lean beef, you might need to add a tablespoon of oil instead.
- Sauté the aromatics (3-4 minutes): Reduce heat to medium. Add the diced onion and bell pepper to the skillet. Cook until the onion turns translucent and the pepper softens, about 3 minutes. Add the minced garlic and cook for another 30 seconds until fragrant—don’t let it burn or it’ll taste bitter.
- Toast the rice (2 minutes): This is my secret step. Add the uncooked rice to the skillet and stir it around for about 2 minutes. You’ll see it start to turn slightly translucent at the edges. This toasting step prevents the rice from getting mushy and gives it a lovely nutty flavor. Your kitchen will smell amazing right about now.
- Add liquids and seasonings (1 minute): Pour in the beef broth and diced tomatoes with their juices. Add the salt, pepper, smoked paprika, onion powder, and oregano. Stir everything together, scraping up any browned bits from the bottom of the pan. That’s all flavor you want in the final dish.
- Simmer until rice is tender (15-18 minutes): Bring the mixture to a boil, then reduce heat to low. Cover the skillet with a tight-fitting lid and let it simmer gently. Don’t peek too often—every time you lift that lid, steam escapes and your rice takes longer to cook. After 15 minutes, check the rice. It should be tender and most of the liquid should be absorbed. If it’s still a bit crunchy, add ¼ cup more broth or water and cook for another 3-5 minutes.
- Add the cheese (2-3 minutes): Once the rice is perfectly tender, remove the skillet from heat. Sprinkle the shredded cheddar and mozzarella evenly over the top. Cover the skillet again and let it sit for 2-3 minutes until the cheese melts into a glorious, gooey blanket. If you want a bubbly, golden top, you can pop it under the broiler for 1-2 minutes—just watch it carefully so it doesn’t burn.
- Finish and serve: If you’re using sour cream, stir it in gently now. Garnish with fresh parsley or green onions for a pop of color and freshness. Serve hot straight from the skillet—it’s the kind of dish that looks beautiful on the table in its cooking vessel.
A few sensory cues to help you along: when the beef is properly browned, you’ll smell that rich, savory aroma that makes your stomach growl. The rice should look plump and tender, not swollen and mushy. When you stir the cheese in, it should create silky ribbons throughout the dish. And when you take that first bite, the combination of savory beef, perfectly cooked rice, and melted cheese should make you close your eyes for just a second.
Cooking Tips & Techniques
After making this cheesy ground beef and rice skillet more times than I can count, I’ve collected a few tricks that make the difference between good and unforgettable.
Don’t skip the rice toasting step. I learned this the hard way after making a batch with gummy, sticky rice that just didn’t taste right. Toasting the rice in the beef fat for those two minutes changes everything. It creates a barrier that keeps the grains separate and adds a depth of flavor you can’t get any other way.
Watch your heat levels. One of my biggest failures was cooking this on too high heat. The liquid evaporated too quickly, leaving me with undercooked rice and burnt bits on the bottom of the pan. Keep it at a gentle simmer—you want small bubbles, not a vigorous boil. If you’re unsure, err on the side of lower heat and check a few minutes later.
Shred your own cheese. I know, I know—it’s an extra step. But pre-shredded cheese has anti-caking agents that prevent it from melting smoothly. When you shred your own, you get that beautiful, stretchy, homogenous melt that makes this dish so satisfying. Do it while the rice simmers to save time.
Let it rest before serving. I’m guilty of digging in immediately, but giving the skillet 5 minutes off the heat before serving allows the flavors to meld and the cheese to set slightly. The texture improves, and it’s less likely to burn your mouth. Trust me on this one.
Make extra for leftovers. This is one of those rare dishes that tastes even better the next day. The flavors have time to marry, and the rice absorbs any remaining liquid, creating an even more cohesive dish. Double the recipe if you’re feeding a crowd—you’ll thank yourself later.
Variations & Adaptations
One of the best things about this cheesy ground beef and rice skillet is how adaptable it is. Here are some variations I’ve tried and loved:
Mexican-Style: Swap the oregano for cumin and chili powder. Add a can of drained black beans and some corn kernels. Top with pepper jack cheese instead of cheddar, and serve with a dollop of sour cream and fresh salsa. This version is always a hit at potlucks.
Italian-Inspired: Use Italian seasoning instead of paprika and oregano. Stir in a handful of fresh spinach at the end until it wilts. Top with mozzarella and a sprinkle of Parmesan. Serve with crusty bread for dipping into the cheesy goodness.
Vegetarian Version: Replace the ground beef with two cans of drained and rinsed black beans or a package of plant-based crumbles. Use vegetable broth instead of beef broth. The texture is slightly different, but the flavor is just as satisfying.
Low-Carb Adaptation: Substitute the rice with cauliflower rice. Cook it separately and stir it in at the end, since cauliflower rice doesn’t need the same simmering time. Reduce the broth to 1 cup since cauliflower releases water as it cooks.
Spicy Kick: Add a diced jalapeño with the onions, or stir in ½ teaspoon of red pepper flakes with the seasonings. Top with pepper jack cheese and serve with hot sauce on the side. My brother-in-law requests this version every time he visits.
I once made a Greek-inspired version with ground lamb, feta cheese instead of cheddar, and a sprinkle of dried mint. It was completely different but absolutely delicious. Don’t be afraid to experiment—this recipe is forgiving and welcomes creativity.
Serving & Storage Suggestions
This cheesy ground beef and rice skillet is incredibly versatile when it comes to serving. Here’s how I recommend presenting it for maximum impact:
Serving Temperature: Serve hot, straight from the skillet. The cheese should still be melty and stretchy. I like to place the skillet on a trivet in the center of the table and let everyone serve themselves family-style. It creates this wonderful communal feeling that’s perfect for gatherings.
What to Serve Alongside: A simple green salad with a tangy vinaigrette cuts through the richness beautifully. Roasted vegetables like broccoli or asparagus add color and nutrition. Crusty bread or garlic bread is perfect for sopping up any cheesy bits left in the skillet. For drinks, a light beer or crisp white wine complements the savory flavors well.
Presentation Tips for Hosting: Garnish generously with fresh herbs—the green contrast against the golden cheese is gorgeous. Serve in colorful bowls or on bright plates to make the dish pop. If you’re feeling fancy, add a sprinkle of red pepper flakes for visual interest and a hint of heat.
Storage Instructions: Leftovers keep beautifully in an airtight container in the refrigerator for up to 4 days. The flavors actually deepen and meld overnight, making it even more delicious the next day. To reheat, add a splash of broth or water and warm gently on the stovetop or in the microwave, stirring occasionally.
Freezing: This dish freezes well for up to 3 months. Let it cool completely, then transfer to a freezer-safe container. Thaw overnight in the refrigerator before reheating. The rice texture might change slightly, but the flavor remains excellent.
Flavor Development: Like many one-pot dishes, this skillet actually improves after a day in the fridge. The rice absorbs any remaining liquid, and the flavors meld together into something even more cohesive. I sometimes make it a day ahead on purpose for this reason.
Nutritional Information & Benefits
Here’s the nutritional breakdown for one serving of this cheesy ground beef and rice skillet (based on 6 servings):
| Nutrient | Amount per Serving |
|---|---|
| Calories | 485 |
| Protein | 28g |
| Carbohydrates | 38g |
| Fat | 24g |
| Saturated Fat | 11g |
| Fiber | 3g |
| Sodium | 780mg |
This dish offers several nutritional benefits. The ground beef provides high-quality protein and essential nutrients like iron, zinc, and B vitamins. The rice offers energy-sustaining carbohydrates, and the bell peppers add a good dose of vitamin C. The cheese contributes calcium for bone health.
For those with dietary considerations: this recipe contains dairy (cheese) and gluten-free as written if you use certified gluten-free broth. To reduce sodium, use low-sodium broth and no-salt-added tomatoes, then season to taste. For a lower-fat option, use lean ground beef and reduced-fat cheese.
From a wellness perspective, I love that this dish feels indulgent but is made from whole, recognizable ingredients. It’s the kind of meal that satisfies deeply without leaving you feeling heavy or sluggish. Perfect for when you want comfort food that still respects your body.
Conclusion
This cheesy ground beef and rice skillet has become my go-to for every occasion, from frantic weeknight dinners to potlucks where I need to impress without stress. It’s proof that you don’t need fancy ingredients or complicated techniques to create something truly memorable. Sometimes the best dishes come from the simplest combinations—good beef, tender rice, and plenty of melted cheese.
I love that this recipe adapts to whatever you have on hand and whatever crowd you’re feeding. It’s forgiving, flexible, and always delivers. Whether you’re cooking for your family on a Tuesday or bringing a dish to a neighborhood gathering, this skillet will never let you down.
I’d love to hear how yours turns out! Did you try any variations? Did it disappear as fast at your table as it does at mine? Drop a comment below and share your experience. And if you loved it, please share this recipe with a friend who needs a reliable, delicious dish in their rotation. Happy cooking, friends—you’ve got this!
Frequently Asked Questions
Can I use brown rice instead of white rice?
Yes, but you’ll need to adjust the cooking time and liquid. Brown rice typically requires about 40-45 minutes to cook and needs about 2 ½ cups of liquid per cup of rice. Increase the broth by ½ cup and cook covered for 35-40 minutes, checking for doneness.
How do I prevent the rice from becoming mushy?
The key is to toast the rice before adding liquid, maintain a gentle simmer rather than a vigorous boil, and avoid lifting the lid too often during cooking. Using long-grain rice instead of short-grain also helps maintain separate, fluffy grains.
Can I make this in advance for a party?
Absolutely! This dish actually improves overnight. Make it completely, let it cool, and refrigerate. Reheat gently on the stovetop with a splash of broth, then add fresh cheese on top and let it melt before serving. The flavors will be even better.
What’s the best cheese to use?
Sharp cheddar provides the best flavor, while mozzarella adds that wonderful stretchy texture. A combination of the two is perfect. Other great options include Monterey Jack, Colby, or a Mexican blend. Avoid pre-shredded cheese for the smoothest melt.
Can I add vegetables to this dish?
Definitely! Diced zucchini, mushrooms, or carrots work well. Add firmer vegetables like carrots with the onions, and softer ones like zucchini or spinach toward the end of cooking. Frozen peas stirred in at the end add color and sweetness.
Pin This Recipe!
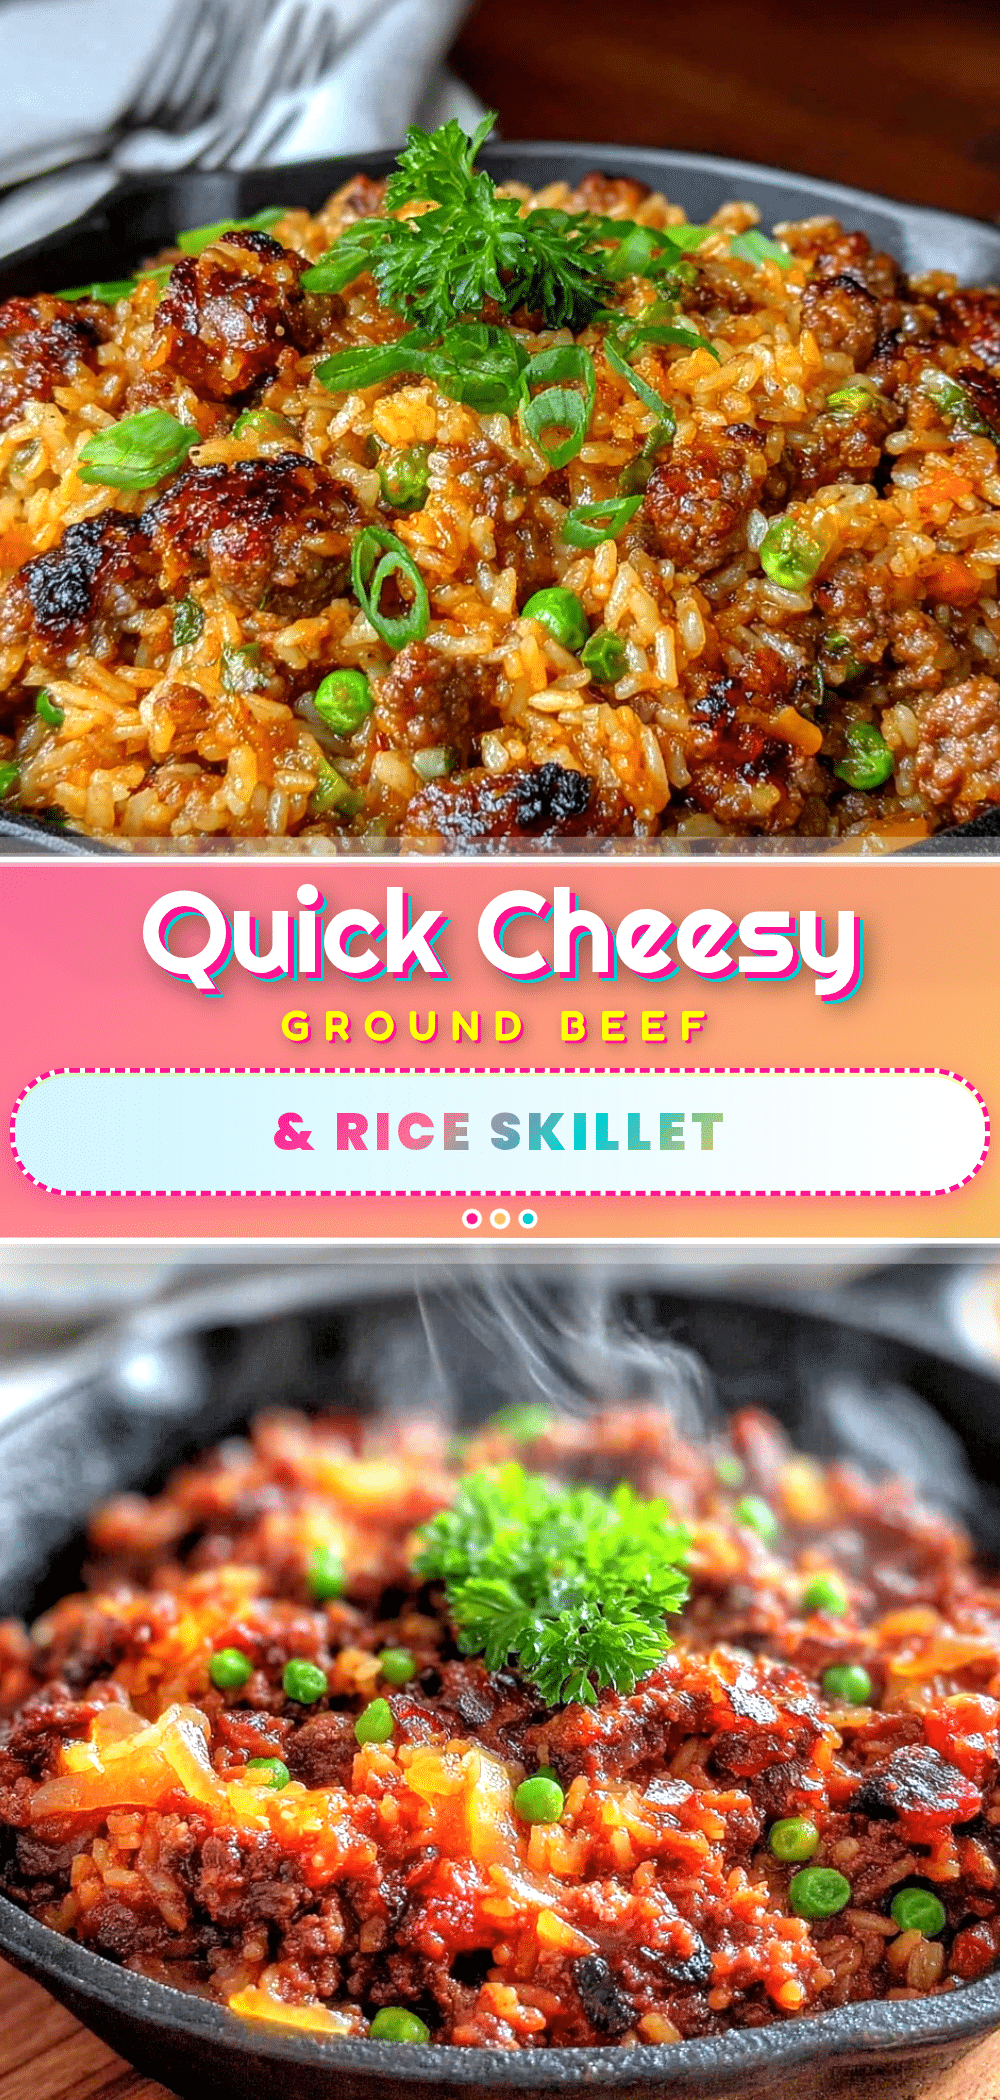
Best Cheesy Ground Beef and Rice Skillet

A quick and easy one-pot meal featuring savory ground beef, tender rice, and melted cheese. Perfect for busy weeknights or potlucks, this comforting dish comes together in under 30 minutes with simple pantry staples.
- Prep Time: 10 minutes
- Cook Time: 20 minutes
- Total Time: 30 minutes
- Yield: 6 servings 1x
- Category: Main Course
- Cuisine: American
Ingredients
- 1 pound ground beef (80/20 works best)
- 1 medium yellow onion, diced (about 1 cup)
- 3 cloves garlic, minced (or 1 teaspoon garlic powder)
- 1 bell pepper, diced (any color, red preferred)
- 1 cup long-grain white rice (uncooked, Jasmine or Basmati recommended)
- 2 cups beef broth (low-sodium)
- 1 can (14.5 oz) diced tomatoes with juices (fire-roasted preferred)
- 1 teaspoon salt
- ½ teaspoon black pepper
- 1 teaspoon smoked paprika
- ½ teaspoon onion powder
- ½ teaspoon dried oregano
- 1 ½ cups shredded cheddar cheese (sharp cheddar preferred)
- ½ cup shredded mozzarella cheese
- ¼ cup sour cream (optional, for extra creaminess)
- Fresh parsley or cilantro, chopped (for garnish, optional)
- Green onions, sliced (for garnish, optional)
- Hot sauce (for serving, optional)
Instructions
- Brown the ground beef: Heat a large skillet over medium-high heat. Add the ground beef and cook, breaking it apart, until browned (5-7 minutes). Drain excess fat, leaving about 1 tablespoon in the pan.
- Sauté the aromatics: Reduce heat to medium. Add diced onion and bell pepper; cook until onion is translucent and pepper softens (3-4 minutes). Add minced garlic and cook for 30 seconds until fragrant.
- Toast the rice: Add uncooked rice to the skillet and stir for about 2 minutes until edges turn translucent and rice smells nutty.
- Add liquids and seasonings: Pour in beef broth and diced tomatoes with juices. Add salt, pepper, smoked paprika, onion powder, and oregano. Stir, scraping up browned bits from the bottom.
- Simmer until rice is tender: Bring to a boil, then reduce heat to low. Cover and simmer gently for 15-18 minutes until rice is tender and liquid is absorbed. If rice is still crunchy, add ¼ cup more broth or water and cook 3-5 minutes longer.
- Add the cheese: Remove skillet from heat. Sprinkle cheddar and mozzarella evenly over the top. Cover and let sit for 2-3 minutes until cheese melts. Optionally, broil for 1-2 minutes for a bubbly golden top.
- Finish and serve: If using, stir in sour cream gently. Garnish with fresh parsley or green onions. Serve hot straight from the skillet.
Notes
Toast the rice in the beef fat for 2 minutes to prevent mushiness and add nutty flavor. Shred your own cheese for the smoothest melt. Let the skillet rest 5 minutes off the heat before serving to allow flavors to meld. Leftovers keep in the refrigerator for up to 4 days and freeze well for up to 3 months.
Nutrition
- Serving Size: 1 serving (about 1.5
- Calories: 485
- Sugar: 4
- Sodium: 780
- Fat: 24
- Saturated Fat: 11
- Carbohydrates: 38
- Fiber: 3
- Protein: 28
Keywords: cheesy ground beef and rice skillet, one-pot meal, ground beef recipe, easy dinner, comfort food, potluck dish, quick weeknight dinner