Love this? Save it for later!
Share the inspiration with your friends
There used to be a tiny panadería tucked between a laundromat and a bodega on a corner in Boyle Heights that made the most incredible pan de muerto. When they closed their doors after thirty years—the owner, Señora Elvira, finally retired—I honestly felt a little lost. That specific, slightly floral, deeply comforting scent of orange and anise was gone from my world. After seven tries—the first was a dense, sad disk that my neighbor’s dog refused to even sniff—I finally got it. This is that bread.
This cozy pan de muerto with orange zest and anise isn’t just a recipe to me anymore. It’s the smell of a specific November morning, the feel of flour on my hands, and the taste of a memory I refused to let disappear. I mean, maybe you’ve been there—obsessed with a dish from a place that no longer exists, trying to capture lightning in a jar. Let me tell you, it’s a journey, but this bread is the happy ending.
The first few attempts were, honestly, a mess. I used the wrong type of flour, forgot the anise seeds entirely once, and another time, the orange zest was so bitter it made the whole loaf taste like regret. But I kept at it, taking notes each time, tweaking the hydration, the proofing time, the amount of orange. The day I pulled this version out of the oven, the kitchen smelled exactly like Señora Elvira’s shop. I actually teared up a little. This recipe stays with me because it’s a connection to a place and a person, and now, it’s a connection I can share with you.
Why You’ll Love This Recipe
This cozy pan de muerto with orange zest and anise is more than just a holiday bread. It’s a project that fills your home with the most incredible aroma and your heart with a sense of accomplishment. I’ve tested this version over a dozen times to make sure it’s as forgiving as it is delicious.
- Unforgettable Aroma: The combination of orange zest and anise seeds creates a fragrance that is warm, floral, and deeply comforting. It’s the kind of smell that makes everyone wander into the kitchen asking, “What’s baking?”
- Perfectly Soft & Fluffy: This bread has a tender, pillowy crumb that stays fresh for days. The secret is the right balance of fat and hydration, which I’ve dialed in for you.
- Simple, Authentic Ingredients: You don’t need any hard-to-find items. Flour, butter, eggs, sugar, orange, and anise—that’s it. No fancy stabilizers or weird additives.
- Great for Beginners: Don’t be scared of yeasted doughs. This recipe is forgiving and includes plenty of visual cues so you know exactly what to look for at each stage.
- Perfect for Día de Muertos or Cozy Weekends: While it’s traditional for the holiday, this bread is wonderful for any fall or winter morning. Serve it with coffee or hot chocolate for a truly special treat.
This isn’t just another bread recipe. The technique of blooming the anise seeds in warm milk and butter ensures their flavor is distributed evenly, while the orange zest is added at the perfect moment to keep its bright, essential oils intact. It’s the kind of bread that makes you close your eyes after the first bite, transported back to a memory or forward to a cozy moment you’re creating right now.
What Ingredients You Will Need
This recipe uses simple, wholesome ingredients to deliver a bold, authentic flavor. You likely have most of these in your pantry already. Let’s talk about each one.
- All-Purpose Flour (4 cups / 500g): The backbone of the bread. I use King Arthur Flour for its consistent protein content, which gives a great structure. You can use a generic brand, just spoon and level it for accuracy.
- Active Dry Yeast (2 ¼ teaspoons / 7g, or 1 packet): This is what makes the bread rise. Make sure your yeast is not expired. I prefer active dry for its robust flavor, but instant yeast works too—you can mix it directly with the dry ingredients.
- Warm Milk (½ cup / 120ml): Whole milk is best for richness, but 2% works fine. We’ll warm it to about 110°F to activate the yeast. Don’t let it get too hot or it will kill the yeast!
- Unsalted Butter (½ cup / 113g, softened): Butter adds incredible flavor and tenderness. I always use unsalted so I can control the salt level. Let it come to room temperature for easy creaming.
- Large Eggs (3, room temperature): Eggs provide structure and richness. For the best texture, let them sit on the counter for 30 minutes before you start.
- Granulated Sugar (½ cup / 100g): Sweetness, of course, but also food for the yeast and tenderness for the crumb.
- Orange Zest (2 tablespoons, from about 2 large oranges): This is the star flavor. Use a microplane or fine grater to get just the outer orange part—avoid the white pith, which is bitter. I recommend organic oranges for the best, cleanest flavor.
- Anise Seeds (1 ½ teaspoons): These tiny seeds pack a huge, licorice-like punch. Toasting them lightly in a dry pan for a minute before adding them to the milk really wakes up their flavor.
- Salt (1 teaspoon): Balances the sweetness and strengthens the gluten structure. I use fine sea salt.
- For the Topping: You’ll need an extra egg (for the wash) and about ¼ cup of granulated sugar mixed with 1 teaspoon of orange zest for sprinkling on top.
That’s it! No weird ingredients, just pure, cozy flavor. If you don’t have anise seeds, you can use fennel seeds for a milder, sweeter licorice note, or star anise ground in a mortar and pestle for a more intense flavor.
Equipment Needed
You don’t need a professional bakery setup for this cozy pan de muerto. Here’s what you’ll need:
- Large Mixing Bowl: For mixing and kneading the dough. Glass or stainless steel is great.
- Stand Mixer with Dough Hook (Optional but Helpful): You can absolutely knead this by hand, but a stand mixer makes it easier. I’ve done both, and honestly, hand-kneading is very therapeutic.
- Measuring Cups and Spoons: For accurate ingredient amounts. A kitchen scale is even better for the flour.
- Microplane or Fine Grater: For zesting the oranges. This is non-negotiable—a box grater will give you big, bitter chunks.
- Small Saucepan: For warming the milk and blooming the anise seeds.
- Baking Sheet: A standard half-sheet pan, lined with parchment paper.
- Clean Kitchen Towel: For covering the dough while it rises.
- Pastry Brush: For the egg wash. If you don’t have one, you can use a paper towel.
A bench scraper is nice for dividing the dough, but a sharp knife works perfectly. Remember, the best tool is your hands—don’t be afraid to get in there and feel the dough.
Preparation Method
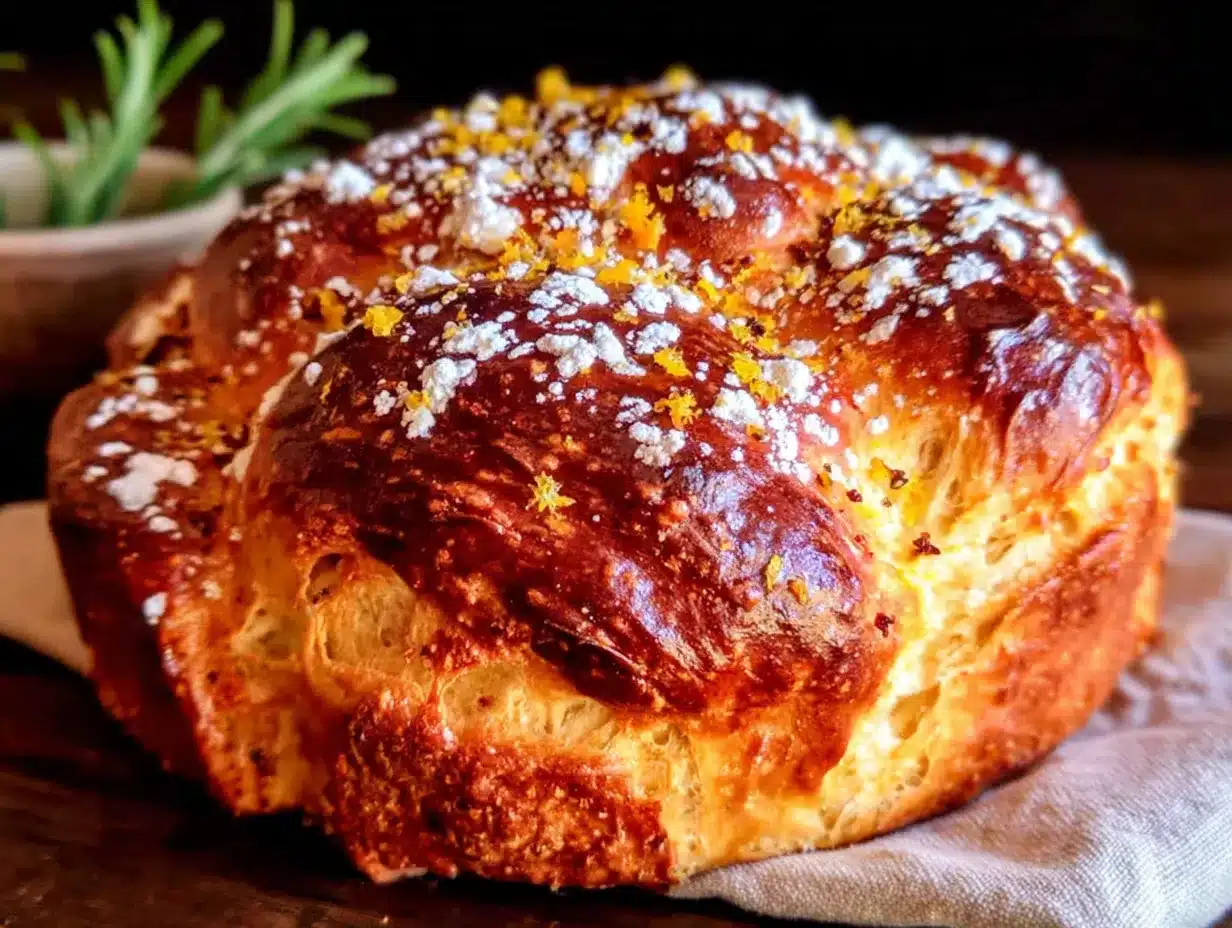
Let’s bake some bread! This process takes about 3 hours total, with most of that being hands-off rising time. Here’s how to do it.
- Bloom the Anise & Activate the Yeast (5 minutes): In a small saucepan, combine the warm milk and anise seeds. Heat over low heat until the milk is warm to the touch (about 110°F). Don’t let it boil. Remove from heat and let it steep for 5 minutes. Then, sprinkle the yeast over the milk and let it sit for 5-10 minutes until it gets frothy and smells like bread. If it doesn’t get frothy, your milk was too hot or your yeast is dead—start over!
- Cream the Butter and Sugar (3 minutes): In your large mixing bowl (or the bowl of your stand mixer), beat the softened butter and sugar together until light and fluffy. This should take about 2-3 minutes. Scrape down the sides of the bowl.
- Add the Eggs and Orange Zest (2 minutes): Add the eggs one at a time, beating well after each addition. Then, mix in the orange zest. The mixture should look smooth and slightly creamy.
- Combine Wet and Dry (5 minutes): In a separate bowl, whisk together the flour and salt. Add half of the flour mixture to the butter mixture and mix on low speed until just combined. Then, add the yeast-anise milk mixture and mix again. Finally, add the remaining flour. Mix until a shaggy dough forms.
- Knead the Dough (8-10 minutes by machine, 12-15 by hand): Switch to your dough hook. Knead on medium-low speed for about 8 minutes, or until the dough is smooth, elastic, and pulls away from the sides of the bowl. If kneading by hand, turn the dough out onto a lightly floured surface and push, fold, and turn it for 12-15 minutes. The dough should be soft and slightly tacky but not sticky. If it’s too sticky, add a tablespoon of flour at a time.
- First Rise (1 – 1.5 hours): Shape the dough into a ball. Place it in a lightly greased bowl, turning to coat. Cover the bowl with a clean kitchen towel and let it rise in a warm, draft-free place (like your oven with the light on) until it has doubled in size. This usually takes about 1 to 1.5 hours. It’s ready when you poke it gently and the indentation stays.
- Shape the Loaf (10 minutes): Punch down the dough to release the gas. Turn it out onto a lightly floured surface. Divide the dough into two parts: one large piece (about ¾ of the dough) for the main loaf, and one small piece (about ¼) for the decorations. Shape the large piece into a smooth, round ball and place it on your parchment-lined baking sheet.
- Create the Bones and Tear Drops (5 minutes): Divide the smaller piece of dough into several pieces. Roll a few into long ropes (about 6-8 inches long) to form the “bones.” Roll a few small balls for the “teardrops” that go on top. Place the bones crossing over the top of the loaf and the teardrop in the center.
- Second Rise (45 minutes – 1 hour): Cover the shaped loaf loosely with the kitchen towel and let it rise again until it’s puffy and almost doubled in size. This second rise is crucial for a light, airy texture.
- Preheat and Bake (25-30 minutes): About 20 minutes before the second rise is done, preheat your oven to 350°F (175°C). In a small bowl, whisk the extra egg with a tablespoon of water to make your egg wash. Gently brush the entire loaf (including the decorations) with the egg wash. Bake for 25-30 minutes, or until the top is a deep golden brown and the loaf sounds hollow when you tap it on the bottom.
- Finish with Orange Sugar (5 minutes): While the bread is still warm, mix the ¼ cup of granulated sugar with the remaining teaspoon of orange zest. Brush the top of the hot bread with a little melted butter (optional, but amazing) and then generously sprinkle the orange sugar all over it.
Let the bread cool on a wire rack for at least 30 minutes before slicing. The hardest part is waiting, I know!
Cooking Tips & Techniques
I’ve made every mistake in the book with this bread, so you don’t have to. Here are my best tips for success.
- Don’t Skip the Yeast Proof: I know it seems like an extra step, but proofing your yeast in the warm milk ensures it’s alive and active. There’s nothing sadder than waiting 2 hours for a dough that never rises. If your yeast doesn’t get foamy, toss it and start over.
- Temperature is Everything: Yeast is a living thing. Milk that’s too hot (over 130°F) will kill it. Milk that’s too cold (under 90°F) will make it sleepy. Aim for that perfect 110°F—it should feel like warm bath water on your wrist.
- The “Windowpane” Test: To know if your dough is kneaded enough, pinch off a small piece and gently stretch it. If you can stretch it thin enough to see light through it without it tearing, it’s ready. If it tears easily, knead for another 2 minutes.
- Zest Before You Juice: Always zest your oranges before you cut them or juice them. It’s so much easier to get a clean, dry zest from a whole orange. I learned this the hard way, trying to zest a slippery, juiced half—don’t do it.
- My Biggest Failure: I once forgot the salt entirely. The bread rose like a balloon, but it tasted flat and one-dimensional. Salt isn’t just for flavor—it strengthens the gluten and controls the yeast’s activity. Don’t skip it!
Variations & Adaptations
This recipe is a wonderful base for your own creativity. Here are a few ways I’ve adapted it.
- Citrus Swap: Not a fan of orange? Use lemon zest or a mix of lemon and grapefruit zest. The bright, floral notes will still be amazing.
- Chocolate Twist: For a richer version, knead in ½ cup of mini chocolate chips or chopped dark chocolate after the dough comes together. The chocolate pairs beautifully with the anise.
- Spiced Version: Add 1 teaspoon of ground cinnamon and ¼ teaspoon of ground cloves to the flour mixture. It turns the bread into a cozy, winter-spiced loaf.
- Gluten-Free Adaptation: I’ve tested this with a 1:1 gluten-free baking flour blend with good results. Add an extra tablespoon of milk as gluten-free doughs tend to be a bit drier. The texture will be slightly more cake-like, but still delicious.
- Vegan Version: Substitute the butter with a high-quality vegan butter stick, the eggs with flax eggs (1 tablespoon flaxseed meal + 3 tablespoons water per egg), and the milk with oat milk. The flavor will change slightly, but the cozy factor remains.
I’ve personally fallen in love with the chocolate twist version. I made it for a friend’s birthday, and it disappeared in minutes. It’s a fantastic way to make the bread feel even more like a special occasion.
Serving & Storage Suggestions
This cozy pan de muerto is best served warm, the same day you bake it, when the orange sugar is still a little crunchy and the crumb is impossibly soft.
- Serving Temperature: Serve it at room temperature or gently warmed in a 300°F oven for 5 minutes. Pair it with a cup of Mexican hot chocolate, a café de olla, or a simple cup of black coffee.
- Presentation: Place the whole loaf on a beautiful wooden board or a colorful plate. Let everyone tear off a piece—it’s a sharing bread, meant for gathering around.
- Storage: Store any leftover bread in an airtight container or wrapped tightly in plastic wrap at room temperature for up to 3 days. Do not refrigerate it, as the cold will dry it out.
- Freezing: This bread freezes beautifully. Wrap the completely cooled loaf tightly in plastic wrap, then in a layer of foil. Freeze for up to 3 months. Thaw at room temperature for a few hours, then warm it in the oven before serving.
- Flavor Development: Honestly, the bread is even better the next day. The flavors of the orange and anise seem to meld together overnight. It’s a great make-ahead option for a holiday gathering.
Nutritional Information & Benefits
While this is definitely a treat, it does have some redeeming qualities! Please note these are estimates based on the recipe as written, for one slice of the loaf.
- Calories (approx.): 280 per slice
- Carbohydrates: 45g
- Protein: 6g
- Fat: 9g
- Fiber: 1g
The anise seeds are the star here from a health perspective. They are known for their digestive properties and can help soothe an upset stomach. The orange zest provides a small dose of vitamin C and antioxidants. The eggs and butter provide a good amount of protein and healthy fats, which help keep you full and satisfied. Of course, this is a celebration bread, meant to be enjoyed in the moment. I believe that food made with love and shared with joy is always good for the soul.
Conclusion
This cozy pan de muerto with orange zest and anise is more than just a recipe—it’s a little piece of tradition you can bring into your own kitchen. It’s the smell of a memory, the taste of comfort, and the feeling of creating something beautiful with your own hands. I hope you give it a try, whether it’s for Día de Muertos, a chilly Sunday morning, or just because you need a little warmth in your day.
Don’t be afraid to make it your own. Change the citrus, add some chocolate, or just follow the recipe exactly. The most important thing is to enjoy the process. I’d absolutely love to hear how it turns out for you! Drop a comment below and tell me about your first bite, or share a photo of your beautiful loaf. Happy baking, friends!
Frequently Asked Questions
1. Can I use instant yeast instead of active dry yeast?
Yes, you can! If using instant yeast, you can skip the proofing step and mix it directly with the dry ingredients. The rising times may be slightly shorter, so keep an eye on the dough.
2. My dough is too sticky. What should I do?
A slightly tacky dough is normal. If it’s truly sticky and unmanageable, add one tablespoon of flour at a time while kneading until it comes together. Be careful not to add too much, or the bread will be dense.
3. Can I make this bread without a stand mixer?
Absolutely! Kneading by hand is a wonderful way to connect with the dough. It will take a bit longer (about 12-15 minutes), but the result is just as good. It’s a great arm workout!
4. Why didn’t my bread rise?
This is usually a yeast issue. Either your milk was too hot and killed the yeast, or your yeast was old and dead. Always check the expiration date on your yeast and proof it first to make sure it’s active.
5. Can I make the dough ahead of time?
Yes! After the first rise, you can punch down the dough, wrap it tightly in plastic wrap, and refrigerate it for up to 24 hours. When you’re ready, take it out, let it come to room temperature, and then proceed with shaping and the second rise.
Pin This Recipe!
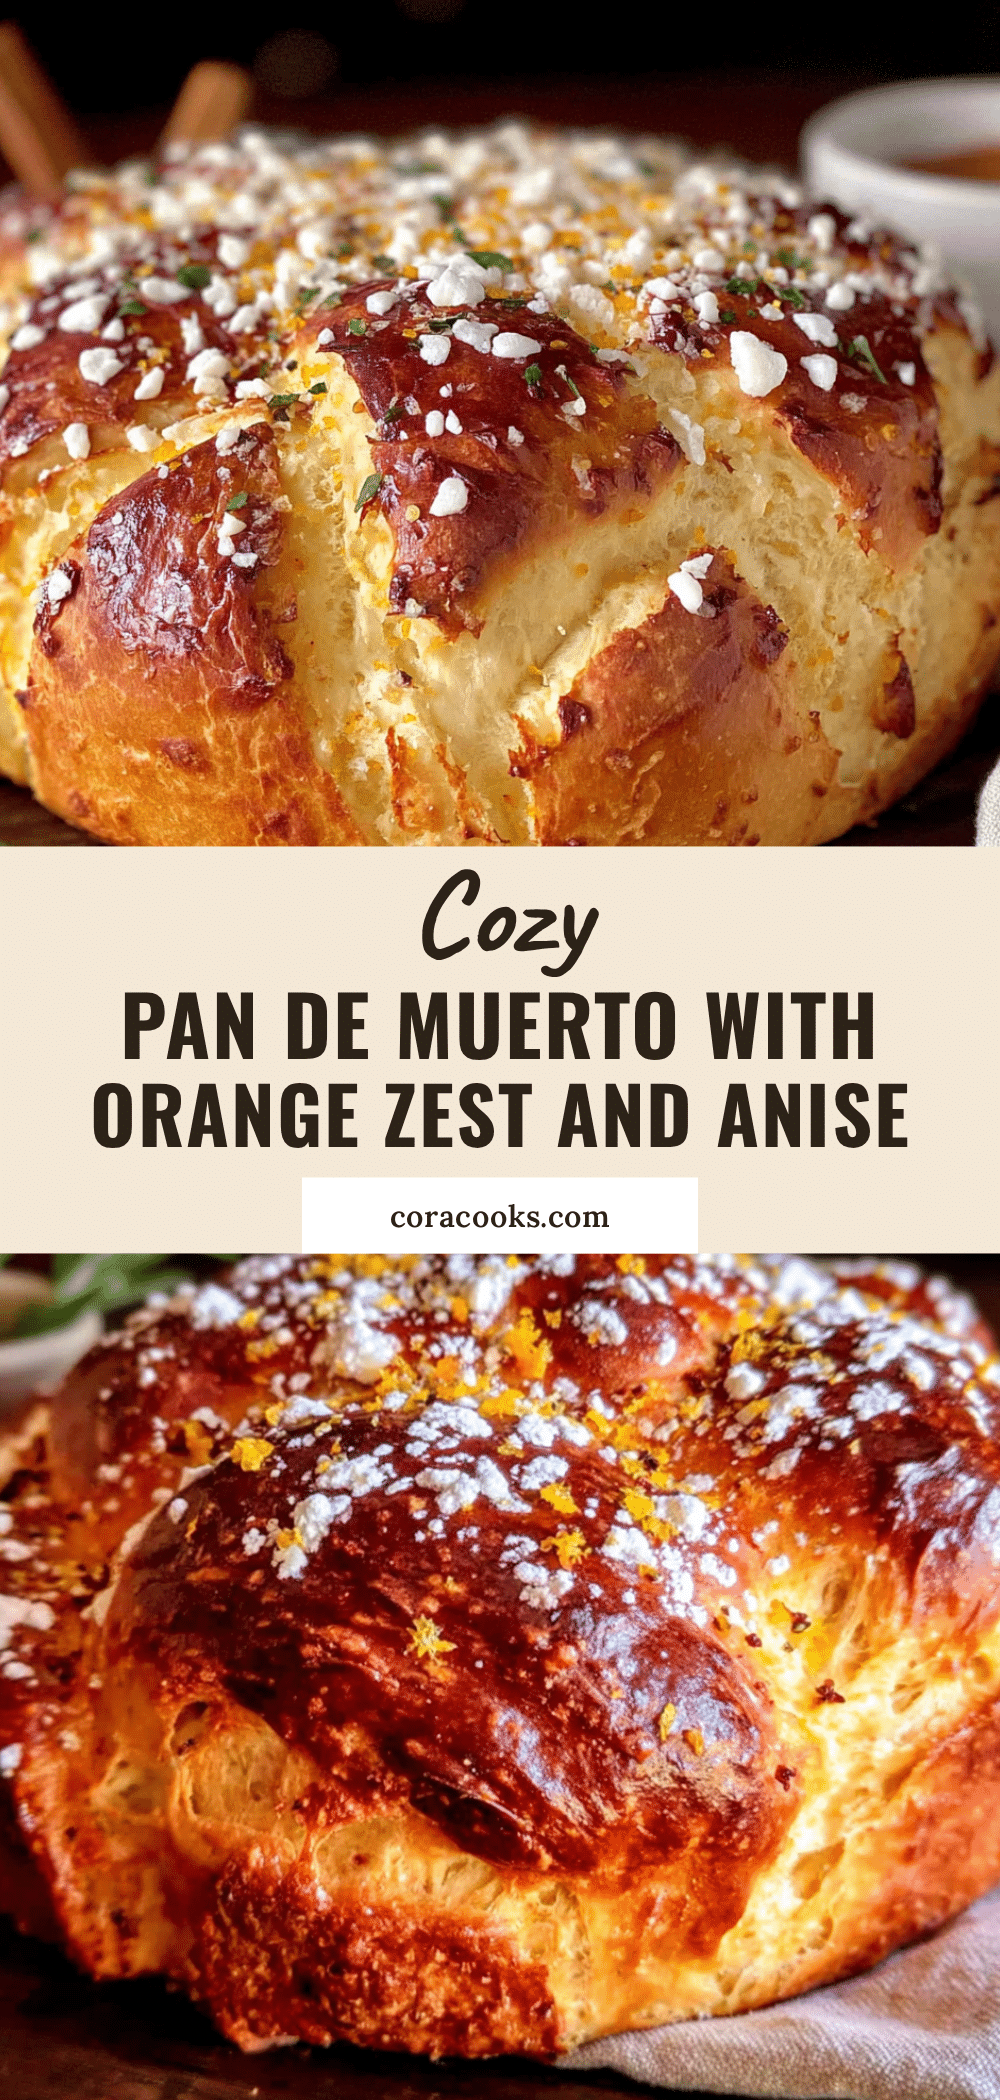
Cozy Pan de Muerto with Orange Zest and Anise

This cozy pan de muerto with orange zest and anise is a soft, fluffy bread filled with the warm, floral aroma of orange and anise. It’s a perfect treat for Día de Muertos or any cozy weekend, and it’s surprisingly forgiving for beginners.
- Prep Time: 20 minutes
- Cook Time: 30 minutes
- Total Time: 3 hours (including rising time)
- Yield: 8 servings 1x
- Category: Bread
- Cuisine: Mexican
Ingredients
- 4 cups (500g) all-purpose flour
- 2 ¼ teaspoons (7g) active dry yeast (1 packet)
- ½ cup (120ml) warm milk (whole or 2%)
- ½ cup (113g) unsalted butter, softened
- 3 large eggs, room temperature
- ½ cup (100g) granulated sugar
- 2 tablespoons orange zest (from about 2 large oranges)
- 1 ½ teaspoons anise seeds
- 1 teaspoon fine sea salt
- For the topping: 1 extra egg (for egg wash), ¼ cup granulated sugar mixed with 1 teaspoon orange zest
Instructions
- Bloom the Anise & Activate the Yeast: In a small saucepan, combine warm milk and anise seeds. Heat over low heat until milk is warm (about 110°F). Remove from heat and let steep for 5 minutes. Sprinkle yeast over milk and let sit for 5-10 minutes until frothy.
- Cream the Butter and Sugar: In a large mixing bowl, beat softened butter and sugar together until light and fluffy (2-3 minutes). Scrape down sides.
- Add the Eggs and Orange Zest: Add eggs one at a time, beating well after each. Mix in orange zest until smooth and creamy.
- Combine Wet and Dry: In a separate bowl, whisk together flour and salt. Add half the flour mixture to the butter mixture and mix on low until just combined. Add the yeast-anise milk mixture and mix again. Add remaining flour and mix until a shaggy dough forms.
- Knead the Dough: Switch to dough hook and knead on medium-low for 8-10 minutes (or 12-15 minutes by hand) until dough is smooth, elastic, and pulls away from the bowl. Dough should be soft and slightly tacky.
- First Rise: Shape dough into a ball and place in a lightly greased bowl, turning to coat. Cover with a clean kitchen towel and let rise in a warm, draft-free place until doubled in size (1-1.5 hours).
- Shape the Loaf: Punch down dough. Turn out onto a lightly floured surface. Divide into two parts: ¾ for the main loaf, ¼ for decorations. Shape the large piece into a smooth round ball and place on a parchment-lined baking sheet.
- Create the Bones and Tear Drops: Divide the smaller piece into several pieces. Roll a few into long ropes (6-8 inches) for ‘bones’ and a few small balls for ‘teardrops’. Place bones crossing over the top of the loaf and teardrop in the center.
- Second Rise: Cover shaped loaf loosely with towel and let rise until puffy and almost doubled (45 minutes to 1 hour).
- Preheat and Bake: About 20 minutes before second rise is done, preheat oven to 350°F (175°C). Whisk extra egg with 1 tablespoon water for egg wash. Gently brush entire loaf with egg wash. Bake for 25-30 minutes until deep golden brown and loaf sounds hollow when tapped.
- Finish with Orange Sugar: While bread is still warm, mix ¼ cup granulated sugar with remaining 1 teaspoon orange zest. Brush top of hot bread with melted butter (optional) and generously sprinkle orange sugar all over.
Notes
For best results, use organic oranges for zest. If your yeast doesn’t get frothy, start over. The bread is even better the next day. Store at room temperature for up to 3 days or freeze for up to 3 months.
Nutrition
- Serving Size: 1 slice
- Calories: 280
- Sugar: 15
- Sodium: 200
- Fat: 9
- Saturated Fat: 5
- Carbohydrates: 45
- Fiber: 1
- Protein: 6
Keywords: pan de muerto, orange zest, anise, Mexican bread, Día de Muertos, holiday bread, yeast bread, cozy bread