Love this? Save it for later!
Share the inspiration with your friends
I was standing in the frozen food aisle last October, staring at a box of pre-made hot dogs and feeling completely uninspired. The fluorescent lights hummed overhead, and honestly, I was this close to just grabbing a frozen pizza and calling it a Halloween dinner win. But then the weirdest thing happened — the smell of that cheap, slightly plasticky hot dog packaging hit me, and suddenly I was seven years old again, sitting on a sticky vinyl stool at my aunt Rita’s kitchen counter.
Aunt Rita wasn’t a fancy cook. She used canned biscuits for everything and thought black pepper was too spicy. But every Halloween, she’d pull out this dusty cookie sheet and start wrapping hot dogs in crescent roll strips, and my cousins and I would lose our minds. The kitchen would get all steamy, and she’d let us press the little mustard eyes into each one. I can still hear her saying, “Don’t make ’em too pretty — mummies are supposed to be messy.” She passed away a few years back, and I haven’t thought about those hot dog mummies in forever. But standing in that freezer aisle, I knew I had to try making them myself.
Maybe you’ve been there — that moment when a random grocery store smell just grabs you by the collar. So I grabbed a pack of hot dogs, some crescent rolls, and a box of toothpicks (for the eyes, obviously), and I headed home to figure it out. And you know what? They came out better than I remembered. A little crispier, a little cheesier, and way more fun than any frozen pizza could ever be.
Why You’ll Love These Quick Mummy Hot Dog Bites
Let me tell you — these Quick Mummy Hot Dog Bites are about to become your go-to Halloween dinner, and I mean that with my whole heart. I’ve tested this recipe about six times now (my kids are very patient taste testers), and every single batch disappeared in under ten minutes. That’s the kind of track record you can trust.
- Ready in 20 Minutes : From fridge to table in under half an hour. Perfect for those nights when the kids are bouncing off the walls and you need dinner done yesterday.
- Only 3 Main Ingredients : Hot dogs, crescent roll dough, and cheese. That’s it. No fancy grocery store trips, no weird ingredients you’ll never use again.
- Perfect for Halloween Dinner : They’re spooky without being scary, fun without being fussy. Even picky eaters will gobble these up.
- Crowd-Pleaser Guaranteed : I brought these to a Halloween block party last week, and the adults were sneaking extras when the kids weren’t looking. No judgment here.
- Unbelievably Fun : The wrapping process is weirdly satisfying, and the mustard eyes make everyone smile. It’s the kind of dinner that turns a regular Tuesday into a mini celebration.
What makes these different from every other hot dog recipe out there? It’s the cheese. I tuck a thin strip of cheddar under the dough strips, and when it melts, it gets all bubbly and golden around the edges. That little extra step takes these from “cute snack” to “oh wow, I need the recipe.” Trust me on this one.
What Ingredients You Will Need
This recipe uses simple, everyday ingredients to create something that feels way more special than it actually is. Here’s what you’ll need to grab:
For the Mummy Hot Dog Bites:
- 8 hot dogs (I prefer all-beef for better flavor, but any kind works — even turkey or plant-based options)
- 1 can (8 oz) refrigerated crescent roll dough (Pillsbury is my go-to, but store brands work fine too)
- 4 slices cheddar cheese (cut into thin strips, about 1/2 inch wide — you’ll use half a slice per mummy)
- Mustard (yellow or Dijon, for the eyes — I like using a squeeze bottle for better control)
- Toothpicks (for dotting on the mustard eyes, optional but helpful)
For Serving (Optional but Recommended):
- Ketchup (for dipping — let’s be real, hot dogs need ketchup)
- Extra mustard (for dipping, if you’re a mustard person)
- Pumpkin-shaped plates or napkins (because presentation matters, even on a Tuesday)
Let me share a little tip I learned the hard way — don’t use the reduced-fat crescent rolls. They don’t brown as nicely, and the texture gets a bit sad and doughy. Stick with the original version for that perfect golden crispiness.
If you’re feeding a crowd, just double the recipe. One batch makes 8 mummies, which is perfect for a family of four (two each, plus maybe one extra for the cook). And if you have leftover crescent dough strips, you can bake them separately with a sprinkle of cinnamon sugar for a quick dessert. Waste not, want not!
Equipment Needed
You don’t need a fancy kitchen to pull these off. Here’s what you’ll want on hand:
- Baking sheet (a standard 13×18 inch sheet works perfectly — line it with parchment paper for easy cleanup)
- Parchment paper (or a silicone baking mat — both prevent sticking and make cleanup a breeze)
- Sharp knife (for cutting the cheese strips — a pizza cutter works great too)
- Small bowl (for the mustard, if you’re using toothpicks to dot on the eyes)
- Toothpicks (for applying the mustard eyes — or you can use a squeeze bottle if you have one)
- Cutting board (for prepping the hot dogs and cheese)
Honestly, I’ve made these with just a butter knife and a fork before, and they still turned out great. The parchment paper is the one thing I wouldn’t skip — crescent roll dough has a habit of sticking to everything, and scrubbing baked-on dough is nobody’s idea of a good time.
Preparation Method
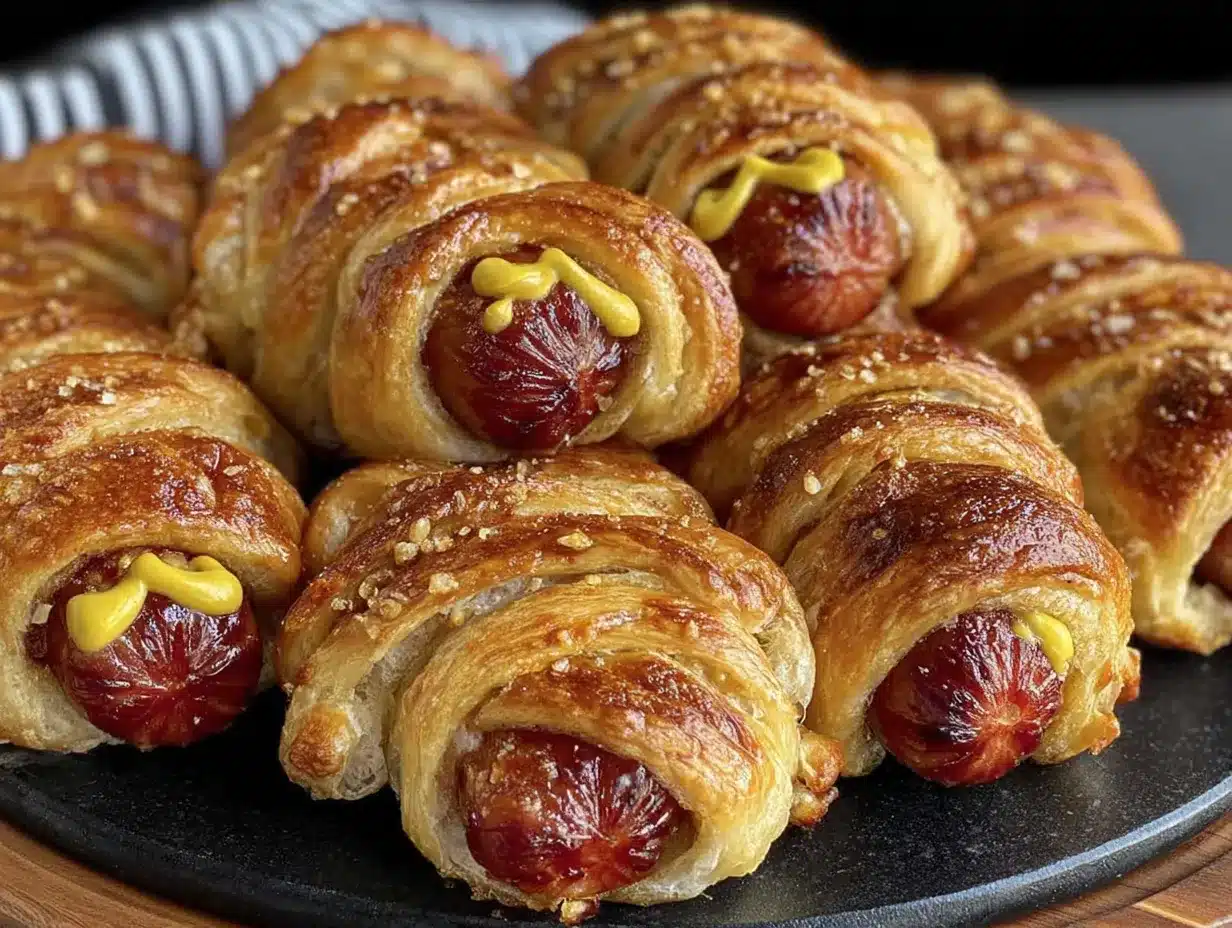
Alright, let’s get these mummies wrapped up! Here’s the step-by-step process:
- Preheat your oven to 375°F (190°C). Line your baking sheet with parchment paper and set it aside. This gives the oven time to come to temperature while you prep.
- Prepare the crescent roll dough. Unroll the can of crescent roll dough and separate it into 8 triangles along the perforated lines. Using a sharp knife or pizza cutter, cut each triangle lengthwise into 3 thin strips. You’ll end up with 24 strips total. Don’t worry if they’re not perfectly even — mummies are supposed to look a bit ragged.
- Cut the cheese. Take your 4 slices of cheddar cheese and cut each one into 3 thin strips, about 1/2 inch wide. You’ll use one cheese strip per mummy, so you need 8 total. The extra strips? Well, those are for the cook to snack on while working. No shame.
- Wrap the mummies. Take one hot dog and place a cheese strip along its length. Starting at one end, wrap a crescent roll strip around the hot dog at a slight angle, leaving a small gap (about 1/4 inch) between each wrap. The cheese should peek through the gaps. Use 3 strips per hot dog — one for the top, one for the middle, one for the bottom. Press the ends of the dough gently to seal them against the hot dog.
- Bake the mummies. Place the wrapped hot dogs on your prepared baking sheet, leaving about 1 inch of space between each one. Bake for 12-15 minutes, or until the dough is golden brown and the cheese is bubbly. The hot dogs will be nice and plump, and the kitchen will smell amazing.
- Add the eyes. Let the mummies cool for 2-3 minutes on the baking sheet — they’ll be hot! Dip a toothpick into the mustard and dot two small eyes onto each mummy. You can make them look scared, angry, or just confused — whatever feels right. My kids always make one eye bigger than the other, and honestly, it adds character.
- Serve immediately. Arrange the mummies on a platter with dipping sauces on the side. Watch them disappear in about 4.5 seconds flat.
A quick note: if the dough strips feel too sticky to handle, just dip your fingers in a little flour. And if some dough tears while wrapping, don’t stress — just press it back together. The gaps actually make the mummies look more authentic, like they just crawled out of a tomb.
Cooking Tips & Techniques
After making these about a dozen times, I’ve picked up a few tricks that make the process smoother:
Don’t over-wrap the hot dogs. I know it’s tempting to cover every inch, but the gaps are what make them look like mummies. Leave about 1/4 inch between each dough strip so the hot dog and cheese peek through. Plus, those exposed bits get a little crispy and caramelized, which is honestly the best part.
Use room temperature crescent dough. Cold dough is harder to work with and tends to crack. Let the can sit on the counter for about 10 minutes before opening. Not too long though — you don’t want it getting all puffy and hard to handle.
Press the dough ends firmly. The ends of the dough strips can uncurl during baking if they’re not sealed properly. Give each end a little pinch against the hot dog to keep everything in place. I learned this the hard way after a batch of mummies came out looking like they’d unwrapped themselves mid-bake.
Bake on the middle rack. This ensures even browning without burning the bottoms. If your oven runs hot, check them at the 10-minute mark. You want golden brown, not “oh no, I burned dinner” brown.
Let them rest before serving. Those 2-3 minutes of cooling time aren’t just for safety — they let the cheese set slightly so it doesn’t ooze out everywhere when you bite into it. Trust me on this one. Burnt tongues are not fun.
Variations & Adaptations
One of the best things about this recipe is how easy it is to tweak. Here are some variations I’ve tried and loved:
Cheese Swap: Not a cheddar fan? Try mozzarella for a stretchier, gooier texture, or pepper jack for a little kick. I made a batch with smoked gouda once, and it was honestly life-changing — that smoky flavor pairs beautifully with the hot dog.
Veggie Version: Use plant-based hot dogs and vegan cheese for a completely meatless version. The cooking time stays the same, and they’re just as satisfying. My vegetarian friend brought these to a potluck, and nobody even noticed they weren’t the real deal.
Spicy Mummies: Brush the dough strips with a little hot sauce or sprinkle red pepper flakes on top before baking. The heat cuts through the richness of the cheese and adds a nice kick. Just don’t go overboard if you’re serving kids.
Breakfast Mummies: Swap the hot dogs for breakfast sausages and use American cheese. Serve them with a side of scrambled eggs for a fun Halloween morning surprise. My kids lost their minds when I made these for breakfast on October 31st last year.
Gluten-Free Option: Use gluten-free crescent roll dough (yes, it exists!) or puff pastry sheets cut into strips. The texture will be slightly different, but the mummy effect still works perfectly.
Serving & Storage Suggestions
These are best served warm, straight from the oven, when the cheese is still melty and the dough is at its crispiest. I like to arrange them on a platter with little bowls of ketchup and mustard for dipping, and maybe some carrot sticks and apple slices on the side to pretend we’re eating healthy.
For a full Halloween dinner spread, pair these with:
- Pumpkin-shaped fruit salad (use a cookie cutter to shape melon or cantaloupe)
- “Witch’s brew” punch (limeade with green food coloring and gummy worms)
- Spider web cupcakes for dessert (chocolate frosting with white icing webs)
Storage: Leftover mummies (if you have any) can be stored in an airtight container in the refrigerator for up to 3 days. To reheat, pop them in a 350°F oven for 5-7 minutes, or until warmed through. The microwave works in a pinch, but the dough will lose its crispiness. I don’t recommend freezing them — the texture gets a bit sad and soggy after thawing.
One thing I love about these is that the flavors actually get better after a day in the fridge. The hot dog and cheese meld together, and the dough soaks up all those savory juices. They’re great cold too, straight from the fridge as a quick snack.
Nutritional Information & Benefits
Let’s be real — these are not health food. But they’re a fun treat, and sometimes that’s exactly what you need. Here’s a rough estimate per mummy (based on one hot dog with cheese and dough):
- Calories: Approximately 280-320
- Protein: 12g
- Fat: 18g
- Carbohydrates: 20g
- Sodium: 800mg (hot dogs are salty, folks)
Dietary Considerations: This recipe contains wheat (gluten), dairy (cheese), and processed meats. For a lighter version, use turkey hot dogs and reduced-fat cheese. For a dairy-free option, skip the cheese entirely or use a plant-based alternative. The mummies will still be delicious — just a little less gooey.
On the bright side, hot dogs do provide some protein and iron, and the crescent roll dough gives you carbohydrates for energy. Plus, the mustard is basically zero calories, so load up on those eyes! I like to balance these out with a big side of veggies or a fresh salad to round out the meal.
Conclusion
These Quick Mummy Hot Dog Bites are the kind of recipe that makes Halloween feel special without making you spend all day in the kitchen. They’re fun, they’re fast, and they’re exactly what a busy weeknight needs — something that brings a smile to everyone’s face without a ton of effort.
I love that this recipe has become a little tradition in my house. Every October, my kids ask when we’re making “mummy dogs,” and we spend an evening wrapping and laughing and getting mustard everywhere. It’s not fancy, and it’s not complicated, but it’s ours. And honestly, that’s the best kind of recipe.
So go ahead — grab some hot dogs and crescent rolls, and make your own mummy magic. And if you come up with a fun variation (spicy mummies, breakfast mummies, whatever you dream up), I’d love to hear about it. Drop a comment below and share your creation. Happy Halloween, and happy cooking!
Frequently Asked Questions
Can I make these ahead of time for a party?
Absolutely! You can assemble the mummies up to 24 hours in advance and keep them covered in the refrigerator. Just pop them in the oven when you’re ready to bake. Add a few extra minutes to the baking time if they’re going in cold.
Can I use puff pastry instead of crescent rolls?
Yes, puff pastry works great! Just thaw it first, cut it into thin strips, and wrap the hot dogs the same way. The texture will be flakier and more buttery, which is honestly a nice upgrade. Bake at 400°F for about 15 minutes.
How do I keep the dough from unrolling during baking?
Make sure to press the ends of the dough strips firmly against the hot dog. You can also place the mummies seam-side down on the baking sheet to help keep everything in place. A little pinch goes a long way!
Can I use different types of hot dogs?
Definitely! Turkey, chicken, beef, or plant-based hot dogs all work well. Just keep in mind that thinner hot dogs might need slightly less baking time, and thicker ones might need a minute or two more. Watch for that golden brown color as your cue.
What’s the best way to apply the mustard eyes?
A toothpick is my go-to method — just dip it in mustard and dot it on. You can also use a squeeze bottle with a fine tip for more control, or even a piping bag if you’re feeling fancy. For a less messy option, use small dots of regular mustard from a squeeze bottle.
Pin This Recipe!
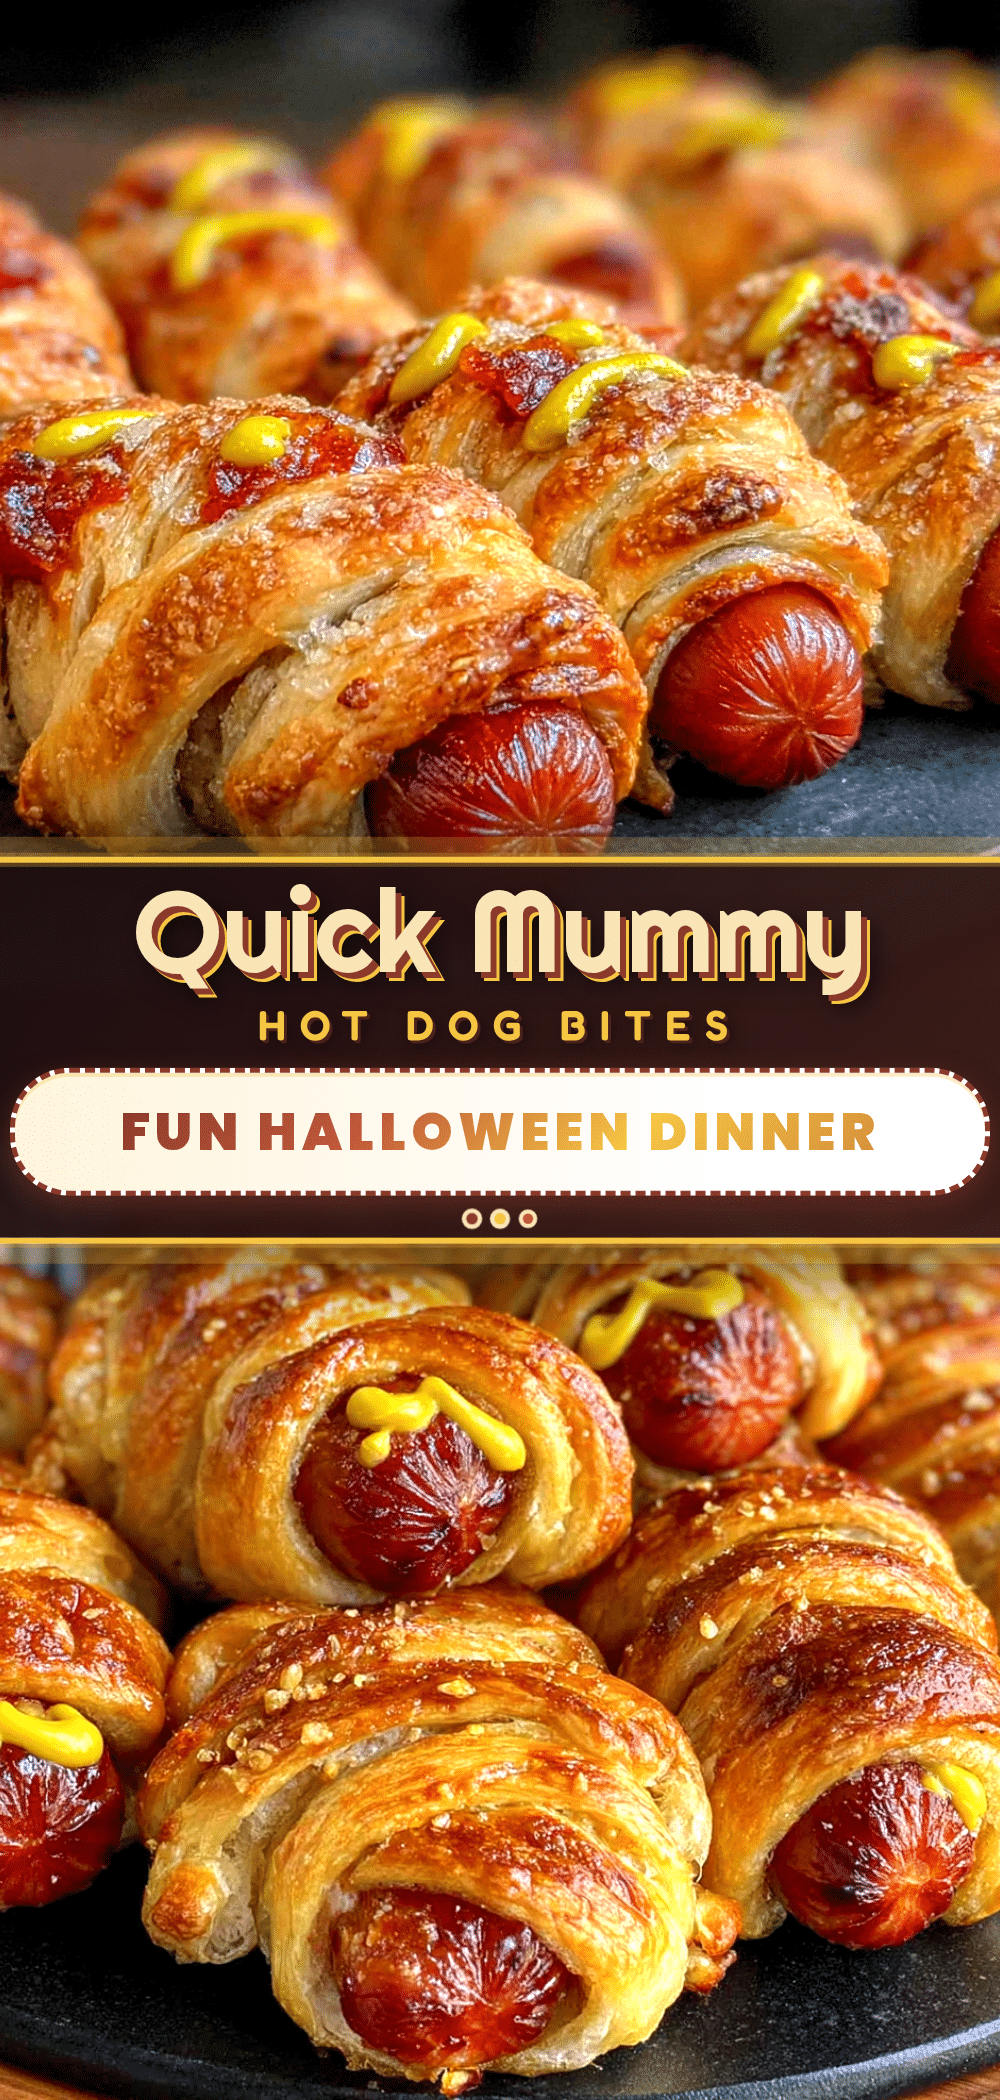
Quick Mummy Hot Dog Bites: Easy Halloween Dinner

These Quick Mummy Hot Dog Bites are a fun and easy Halloween dinner made with just hot dogs, crescent roll dough, and cheese. Ready in 20 minutes, they’re perfect for busy weeknights and guaranteed to be a crowd-pleaser.
- Prep Time: 10 minutes
- Cook Time: 15 minutes
- Total Time: 25 minutes
- Yield: 8 servings 1x
- Category: Main Course
- Cuisine: American
Ingredients
- 8 hot dogs (all-beef preferred, but any kind works)
- 1 can (8 oz) refrigerated crescent roll dough
- 4 slices cheddar cheese, cut into thin strips (about 1/2 inch wide)
- Mustard (yellow or Dijon, for the eyes)
- Toothpicks (for dotting on the mustard eyes, optional)
- Ketchup (for serving, optional)
- Extra mustard (for serving, optional)
Instructions
- Preheat your oven to 375°F (190°C). Line your baking sheet with parchment paper and set it aside.
- Unroll the can of crescent roll dough and separate it into 8 triangles along the perforated lines. Using a sharp knife or pizza cutter, cut each triangle lengthwise into 3 thin strips. You’ll end up with 24 strips total.
- Take your 4 slices of cheddar cheese and cut each one into 3 thin strips, about 1/2 inch wide. You’ll use one cheese strip per mummy, so you need 8 total.
- Take one hot dog and place a cheese strip along its length. Starting at one end, wrap a crescent roll strip around the hot dog at a slight angle, leaving a small gap (about 1/4 inch) between each wrap. Use 3 strips per hot dog. Press the ends of the dough gently to seal them against the hot dog.
- Place the wrapped hot dogs on your prepared baking sheet, leaving about 1 inch of space between each one. Bake for 12-15 minutes, or until the dough is golden brown and the cheese is bubbly.
- Let the mummies cool for 2-3 minutes on the baking sheet. Dip a toothpick into the mustard and dot two small eyes onto each mummy.
- Serve immediately with dipping sauces on the side.
Notes
Don’t over-wrap the hot dogs; leave gaps for a mummy look. Use room temperature crescent dough for easier handling. Press dough ends firmly to prevent unrolling. Bake on the middle rack for even browning. Let rest 2-3 minutes before serving to set the cheese. For a gluten-free option, use gluten-free crescent roll dough or puff pastry. For a dairy-free option, skip the cheese or use a plant-based alternative.
Nutrition
- Serving Size: 1 mummy
- Calories: 300
- Sugar: 4
- Sodium: 800
- Fat: 18
- Saturated Fat: 7
- Carbohydrates: 20
- Protein: 12
Keywords: Halloween dinner, hot dog mummies, crescent roll hot dogs, easy Halloween recipe, kid-friendly dinner, quick dinner, mummy hot dog bites