Love this? Save it for later!
Share the inspiration with your friends
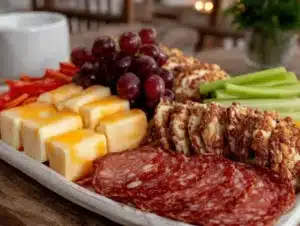
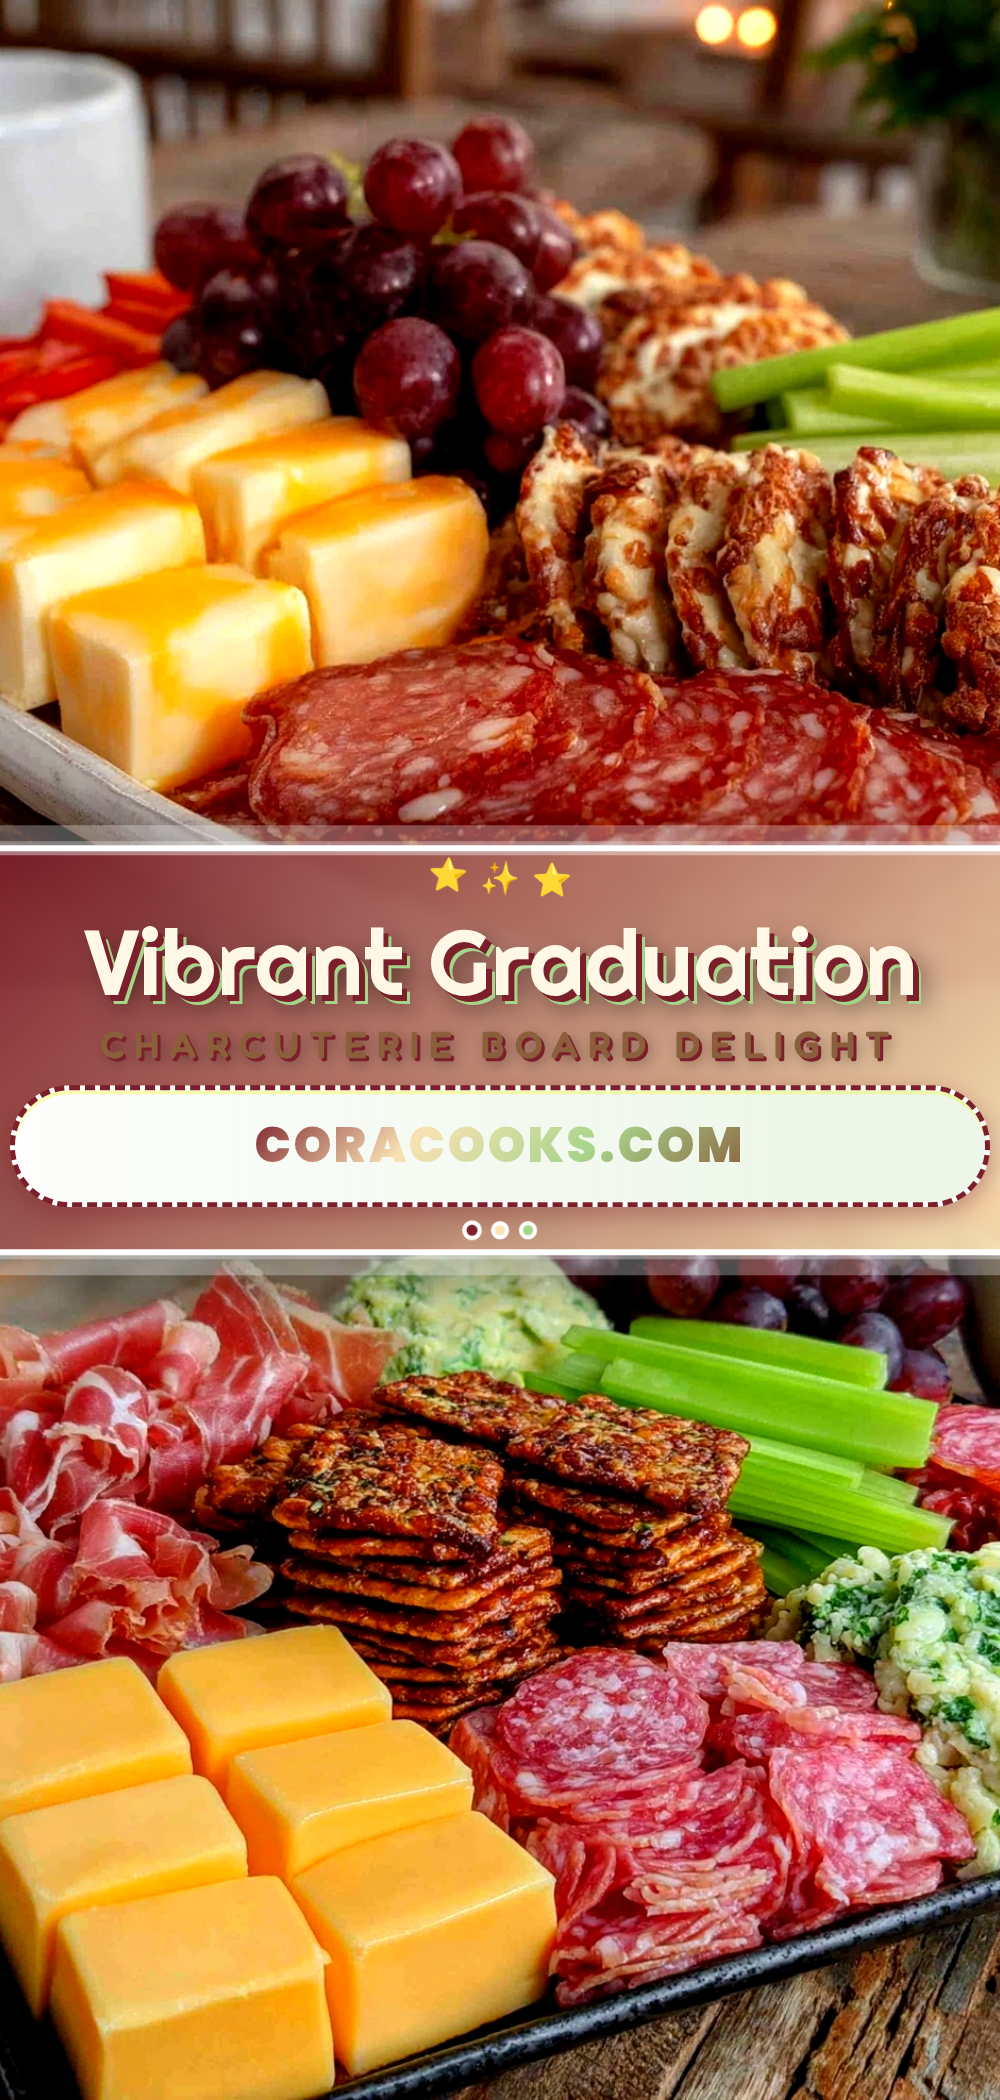
“I never thought I’d be the one obsessing over tiny details like the exact shade of red and blue on a cheese platter,” I confessed to my friend last June, balancing a slightly wobbly tray in one hand and a cup of coffee in the other. It was the week before my niece’s graduation, and she was adamant about celebrating with a charcuterie board that screamed her school spirit. The idea seemed simple enough until I realized that matching school colors with delicious, crowd-pleasing bites is an art form all its own.
It all started when I stumbled upon a dusty old notebook at a local flea market—half filled with doodles and half with charcuterie sketches from what looked like a catering gig in the late ’90s. The scribbles weren’t just pretty designs; they inspired me to take that classic graduation party snack table up a notch. Since then, the “Perfect Graduation Charcuterie Board in School Colors” has become my go-to for those big celebratory moments. Honestly, it’s more than just food; it’s a festive statement that pulls guests in from the driveway, curious and excited before they even taste a bite.
Maybe you’ve been there—wanting to do something special, but worried about the fuss of coordinating colors and flavors. Trust me, this recipe will guide you through creating a show-stopping charcuterie board that’s as vibrant as your favorite alma mater. Plus, it’s flexible enough to suit any school colors, tastes, and guest list. Let me tell you, once you nail this, every graduation party will have you on speed dial.
Why You’ll Love This Recipe
After testing countless combinations, tweaking placement, and balancing flavors, I’m confident this graduation charcuterie board idea is a winner. Here’s why it stands out:
- Quick & Easy: You can assemble it in under 30 minutes, making it perfect for last-minute celebrations or busy party days.
- Simple Ingredients: No need for fancy or hard-to-find items — everything can be sourced at your local grocery store, which I love for convenience.
- Perfect for Graduations: Tailored to match any school colors, this board is a festive centerpiece that sparks conversation and photo ops.
- Crowd-Pleaser: It offers a balance of savory, sweet, crunchy, and creamy that appeals to kids and adults alike.
- Unbelievably Delicious: The way the salty meats pair with sweet fruits and creamy cheeses is pure magic.
What makes this recipe truly different? It’s not just about color coordination; it’s about flavor harmony. For example, I blend soft cheeses with a bit of honey and cracked pepper to create a smooth, flavorful spread that contrasts beautifully with crisp crackers. Plus, there’s a personal touch: I always include a small, handwritten card with fun facts about the school or a congratulatory note. It’s that little detail that turns a tasty platter into a cherished memory.
Honestly, food is about feelings, and this board is all about celebrating accomplishment with joy and style. Whether you’re a seasoned host or a first-time party planner, this recipe will help you create something unforgettable.
What Ingredients You Will Need
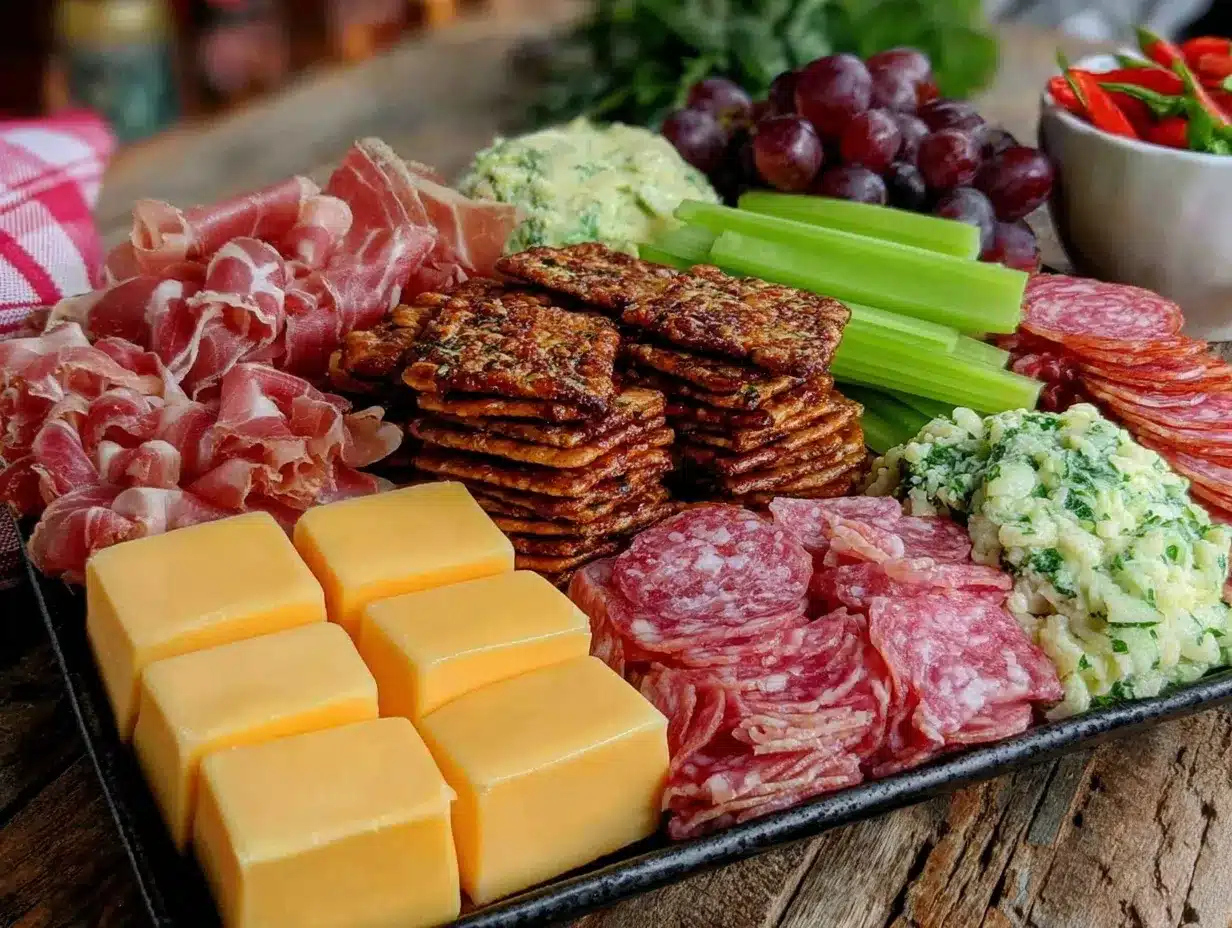
This graduation charcuterie board uses simple, fresh ingredients to deliver a bold look and satisfying taste without fuss. Most of these are pantry staples, but I’ve included some tips on picking the best items to really make those school colors pop.
- Cured Meats: Slices of pepperoni, salami, or prosciutto. I prefer Boar’s Head for its rich flavor and consistent quality.
- Cheeses:
- Sharp white cheddar (for creaminess and color contrast)
- Blue cheese or blue-veined cheese (for a touch of blue tones)
- Mozzarella balls (fresh, for a clean white accent)
- Fresh Fruits & Vegetables:
- Red grapes or strawberries (for red hues)
- Blueberries or blackberries (to mimic blue school colors)
- Cherry tomatoes (adds brightness and freshness)
- Snap peas or green grapes (optional green accent if your school colors include green)
- Crackers & Bread:
- Assorted crackers (I recommend Triscuit for texture)
- Mini baguette slices or crostini, lightly toasted
- Accents & Extras:
- Honey or fig jam (adds sweetness and pairs well with blue cheese)
- Roasted nuts like almonds or pecans (for crunch)
- Olives (black or green, based on color scheme)
- Fresh herbs such as rosemary or thyme to garnish
If your school colors aren’t red and blue, don’t worry! You can swap berries and vegetables to fit purple, green, gold, or whatever shade you need. For example, orange slices work great for orange hues, and edible flowers add a whimsical touch for pastel colors. I once made a purple and gold board using blackberries and golden raisins — it was a hit!
Equipment Needed
To craft the perfect graduation charcuterie board, you don’t need fancy gear, but a few tools will make your life easier:
- Large wooden or slate serving board: A sturdy surface makes arranging everything easier and looks great for presentation.
- Small bowls or ramekins: For jams, olives, and nuts to keep things tidy.
- Sharp knives: A cheese knife and a paring knife are must-haves for clean cuts.
- Tongs or small forks: Helpful for picking up delicate items like berries or mozzarella balls.
- Cutting board: For prepping fruits and slicing cheeses.
If you don’t have a large board, a few smaller plates or trays arranged together work just as well. I’ve used a set of bamboo trays before, and they cleaned up easily afterward. Also, keep a damp cloth handy — trust me, a little juice spill happens!
Preparation Method
- Prep Your Ingredients (10-15 minutes): Start by washing all fresh fruits and vegetables thoroughly. Pat dry to avoid soggy spots on your board. Slice cheeses into bite-sized chunks or wedges. Cut mini baguette slices and toast lightly if desired. Set aside.
- Arrange Bowls for Wet Ingredients (5 minutes): Fill small ramekins with honey, fig jam, and olives. Place these strategically around your serving board — these act as visual anchors and keep sticky or oily items contained.
- Place Main Cheese Blocks (5 minutes): Position your cheeses first because they’re the stars. Space them out evenly to balance the board visually. For a personal touch, add a small cheese marker or label if you like.
- Add Cured Meats (10 minutes): Fold or roll slices of pepperoni and salami to create height and texture. Cluster these near cheeses for easy pairing. Pro tip: layering meats in small piles looks more inviting than spreading them thin.
- Fill in with Fruits and Vegetables (10 minutes): Scatter grapes, berries, and cherry tomatoes around meats and cheeses. Group similar colors together but leave some contrast for visual pop. Remember, the goal is to reflect school colors, so be deliberate in placement!
- Fill Gaps with Crackers and Bread (5 minutes): Create little piles or fan out crackers and baguette slices around the board’s edges or near dips. This invites guests to nibble and creates a sense of fullness.
- Finish with Nuts and Herbs (5 minutes): Sprinkle roasted nuts for crunch and tuck fresh herb sprigs here and there for a fresh scent and elegant look.
Watch out for overcrowding; you want the board to feel abundant but not chaotic. If you notice colors blending too much, add a slice of white cheese or a small cluster of contrasting berries to break it up. When I first tried this, I forgot to toast the bread, and the softer slices got soggy fast — lesson learned: keep those toasts crisp!
Cooking Tips & Techniques
Building a charcuterie board is as much about technique as it is about ingredients. Here are some tips I picked up along the way:
- Balance Textures: Combining creamy cheeses with crunchy crackers and juicy fruits keeps each bite interesting.
- Color Contrast is Key: To really make those school colors stand out, place light and dark items next to each other. For example, white mozzarella balls next to dark blueberries create a striking effect.
- Keep Cold Items Chilled: Prepare your board close to serving time to prevent cheeses and fruits from warming up too much, especially on hot days.
- Use Odd Numbers: When grouping items like grapes or nuts, odd numbers (3, 5, 7) look more natural and appealing.
- Don’t Overload: It’s tempting to pile on everything, but negative space lets your ingredients shine and makes grabbing easier.
Once, I layered the meats too thickly and guests struggled to separate slices—so folding and fanning slices thinly is a simple fix. Also, multitasking is your friend: prep fruits while breads toast, and arrange bowls while cheeses rest on the board. This way, you save time and avoid last-minute scrambles.
Variations & Adaptations
This graduation charcuterie board is wonderfully adaptable to suit different tastes and dietary needs. Here are a few ideas you might try:
- Vegetarian Version: Skip meats and add more nuts, hummus, roasted vegetables, and flavored cheeses like herbed goat cheese.
- Gluten-Free Option: Use gluten-free crackers or crispbread, and make sure jams and dips are certified gluten-free.
- Seasonal Twist: Swap fruits based on the season — raspberries and blackberries in summer, pomegranate seeds and sliced pears in fall.
- International Flair: Incorporate international cheeses like Manchego or Gouda, and add unique dips such as tzatziki or pesto.
- Personal Favorite: I once added mini grilled cheese sandwiches cut into bite-sized squares as a fun, kid-friendly addition that matched the colors perfectly.
Serving & Storage Suggestions
Serve your graduation charcuterie board at room temperature for the best flavor and texture. Arrange it on a sturdy table where guests can gather around comfortably. Pair it with refreshing beverages like sparkling water with lemon or a chilled white wine if adults are celebrating.
If you have leftovers (unlikely but possible!), cover the board tightly with plastic wrap and refrigerate. Most components, like cheeses and meats, keep well for up to 48 hours. Fruits and crackers fare better if stored separately to prevent sogginess. When reheating bread or crackers, a quick 5-minute toast in a 350°F (175°C) oven revives their crunch.
Interestingly, flavors on a charcuterie board often deepen after a few hours as cheeses soften and jams mingle with nuts. If you’re prepping in advance, resting the board slightly before guests arrive can be a surprisingly good move.
Nutritional Information & Benefits
This graduation charcuterie board offers a balanced mix of protein, healthy fats, and fiber-rich fruits and nuts. An average serving (about 150 grams) contains approximately:
| Nutrient | Amount |
|---|---|
| Calories | 350-400 kcal |
| Protein | 15-18 g |
| Fat | 25-30 g |
| Carbohydrates | 15-20 g |
| Fiber | 3-5 g |
The key ingredients like nuts and fresh fruits provide antioxidants and heart-healthy fats, while cheeses supply calcium and protein. For gluten-sensitive guests, ensuring crackers are gluten-free keeps the board inclusive. Personally, I appreciate how this board combines indulgence with nutritional benefits — perfect for celebrating milestones without guilt.
Conclusion
This Perfect Graduation Charcuterie Board in School Colors isn’t just a recipe; it’s a way to bring people together in celebration. Whether you’re honoring a high school senior or a college grad, this board offers a festive and delicious focal point that feels thoughtful and personal. The best part? It’s totally customizable to fit any color palette or taste preference, making it a versatile party must-have.
Honestly, I love how it turns simple ingredients into something magical — a true testament that the best celebrations are often the ones crafted with care and a bit of creativity. I can’t wait for you to try making your own version and add your unique spin. Let me know how it goes, share your photos, or drop your favorite board-building tips in the comments below — I’m all ears!
Here’s to tasty celebrations that bring smiles and memories!
FAQs
How do I choose the best cheeses for my charcuterie board?
Look for a variety of textures and flavors: a soft cheese like brie, a sharp cheddar, and something with a bit of funk like blue cheese. Fresh mozzarella balls add a nice mild contrast. Remember to pick cheeses that can hold their shape when sliced or cubed.
Can I prepare the charcuterie board in advance?
You can prep most ingredients a few hours ahead, but assemble the board close to serving time to keep fruits fresh and crackers crisp. Cover prepped ingredients separately to avoid sogginess.
What are good substitutes for traditional cured meats?
Try marinated tofu slices, smoked tempeh, or savory roasted chickpeas for vegetarian options. They add protein and texture without meat.
How do I keep the crackers from getting soggy?
Place crackers on the board just before serving and avoid stacking them under moist items. Store them in an airtight container if prepping early.
What’s a simple way to add school colors if they’re unusual?
Use colored toothpicks, edible flowers, or small bowls filled with colored dips or candies. You can also arrange fruits and veggies in patterns or shapes that represent the school colors creatively.
Pin This Recipe!
Perfect Graduation Charcuterie Board Ideas in School Colors to Impress Guests
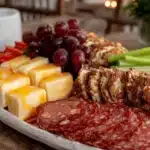
A festive and customizable charcuterie board designed to match any school colors, perfect for graduation celebrations. Combines savory, sweet, crunchy, and creamy elements for a crowd-pleasing centerpiece.
- Prep Time: 15 minutes
- Cook Time: 0 minutes
- Total Time: 30 minutes
- Yield: 8 servings
- Category: Appetizer
- Cuisine: American
Ingredients
- Cured meats: slices of pepperoni, salami, or prosciutto (Boar’s Head recommended)
- Sharp white cheddar cheese
- Blue cheese or blue-veined cheese
- Fresh mozzarella balls
- Red grapes or strawberries
- Blueberries or blackberries
- Cherry tomatoes
- Snap peas or green grapes (optional)
- Assorted crackers (Triscuit recommended)
- Mini baguette slices or crostini, lightly toasted
- Honey or fig jam
- Roasted nuts like almonds or pecans
- Olives (black or green)
- Fresh herbs such as rosemary or thyme
Instructions
- Prep your ingredients (10-15 minutes): Wash all fresh fruits and vegetables thoroughly and pat dry. Slice cheeses into bite-sized chunks or wedges. Cut mini baguette slices and toast lightly if desired. Set aside.
- Arrange bowls for wet ingredients (5 minutes): Fill small ramekins with honey, fig jam, and olives. Place these strategically around your serving board.
- Place main cheese blocks (5 minutes): Position cheeses first, spacing them evenly to balance the board visually. Optionally add cheese markers or labels.
- Add cured meats (10 minutes): Fold or roll slices of pepperoni and salami to create height and texture. Cluster near cheeses for easy pairing.
- Fill in with fruits and vegetables (10 minutes): Scatter grapes, berries, and cherry tomatoes around meats and cheeses. Group similar colors together but leave some contrast for visual pop.
- Fill gaps with crackers and bread (5 minutes): Create little piles or fan out crackers and baguette slices around the board’s edges or near dips.
- Finish with nuts and herbs (5 minutes): Sprinkle roasted nuts for crunch and tuck fresh herb sprigs here and there for scent and look.
Notes
Prepare the board close to serving time to keep fruits and cheeses fresh. Toast bread slices to avoid sogginess. Use odd numbers when grouping items for a natural look. Avoid overcrowding the board to maintain visual appeal and ease of grabbing.
Nutrition
- Serving Size: About 150 grams per
- Calories: 350400
- Fat: 2530
- Carbohydrates: 1520
- Fiber: 35
- Protein: 1518
Keywords: charcuterie board, graduation party, school colors, appetizer, party food, easy recipe, crowd-pleaser