Love this? Save it for later!
Share the inspiration with your friends
Introduction
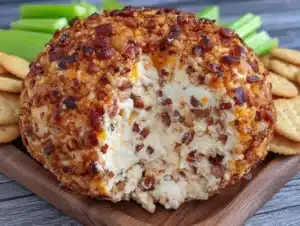
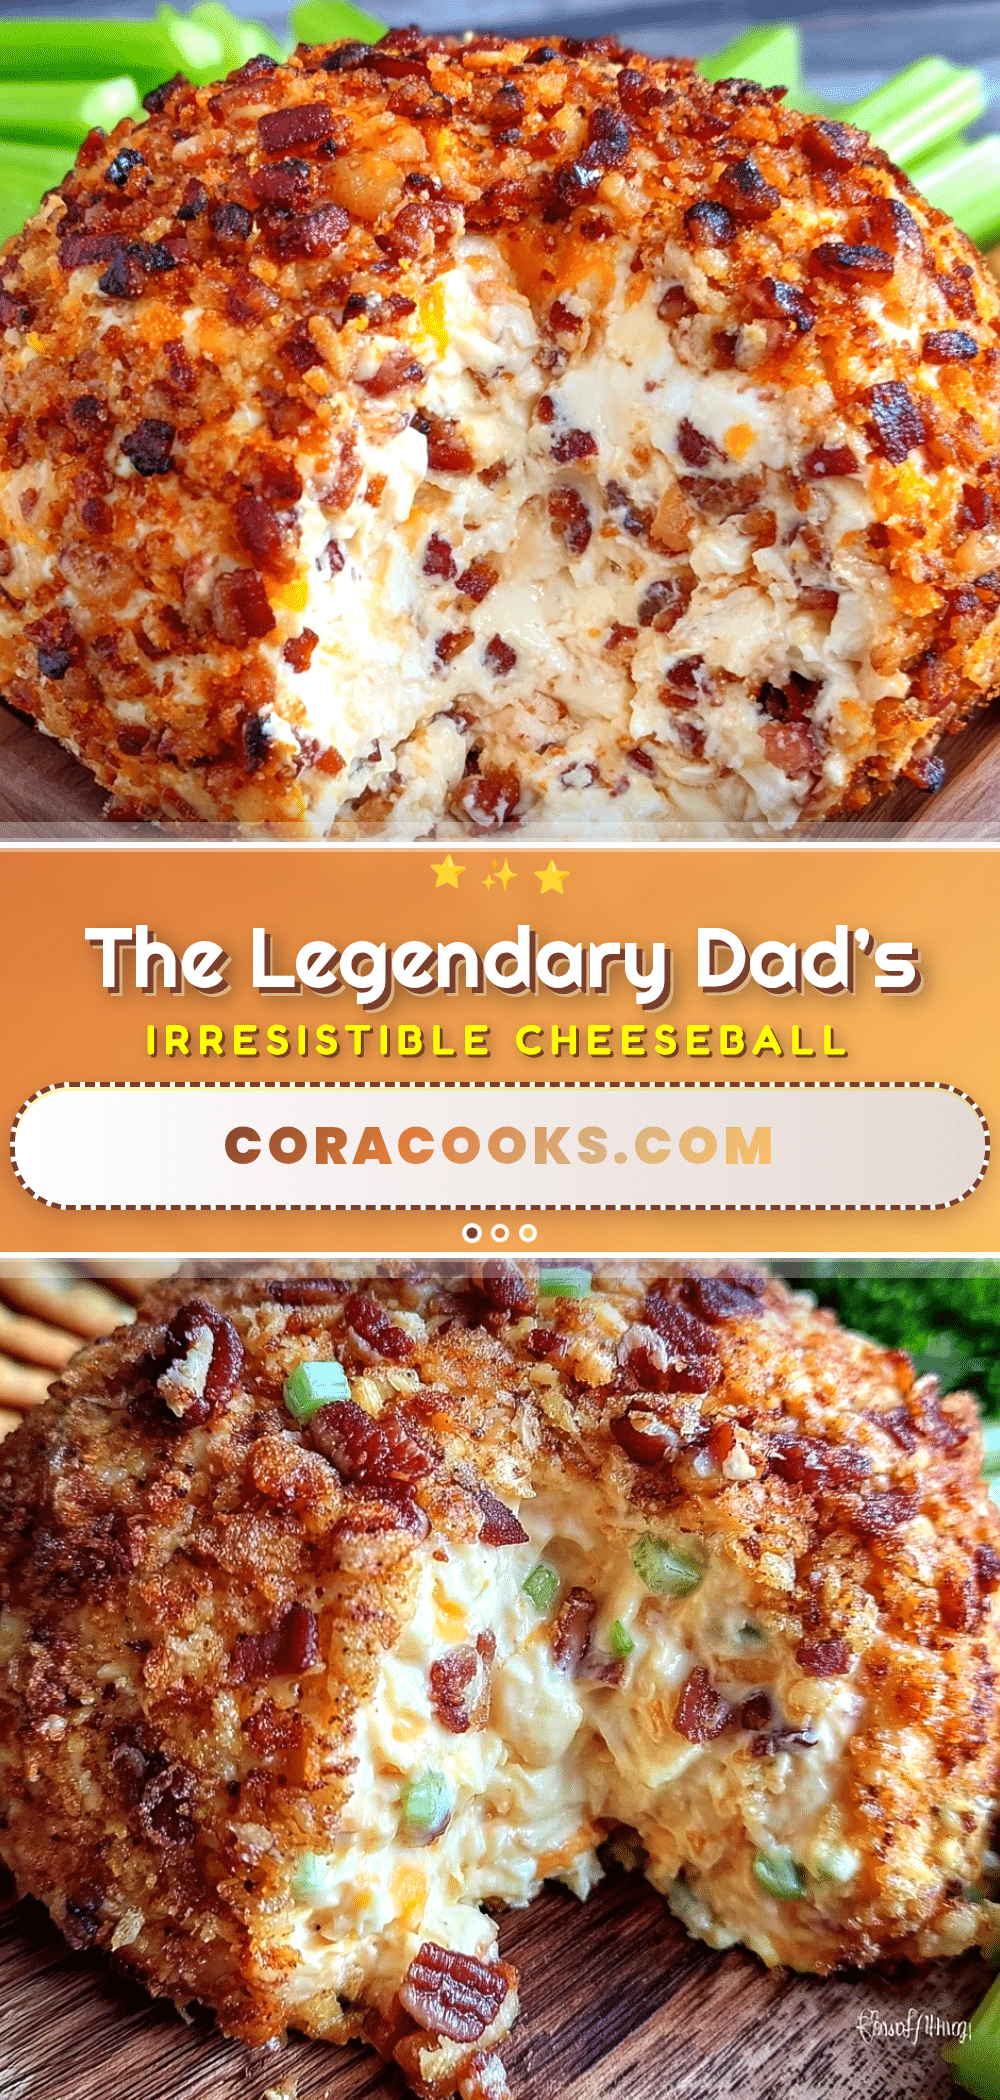
“You know, I never thought a simple cheeseball could cause such a stir,” my neighbor Tom said one Saturday afternoon, handing me his famous creation wrapped in wax paper. It was the summer of ’09, and I was at his backyard barbecue, trying to balance a plate full of grilled goodies and a beer. The moment I tasted that cheeseball—sharp cheddar mingling with a hint of garlic and the perfect crunch of pecans—I was hooked. Honestly, it wasn’t just the flavors but the memories wrapped in that recipe. Tom told me it was his dad’s go-to party starter, the kind of dish that made every family gathering feel a little warmer.
That cracked ceramic bowl, stained from years of use, sat on the picnic table, a quiet testament to countless celebrations. I forgot my napkin, spilled a bit on my shirt, but I didn’t care. Maybe you’ve been there—at a party where a simple dish steals the spotlight and sticks in your mind long after the last guest leaves. This classic dad’s cheeseball recipe isn’t fancy, but it’s got soul, and I keep coming back to it for potlucks, holidays, or just that craving for comfort food with a nostalgic punch.
Why You’ll Love This Recipe
After testing this recipe over the years and sharing it at family and neighborhood gatherings, I can say it’s one of those dishes that never disappoints. Here’s why this classic dad’s cheeseball recipe has earned a permanent spot in my recipe book:
- Quick & Easy: Ready in under 20 minutes, perfect when you need a last-minute party favorite.
- Simple Ingredients: Uses pantry staples you probably already have—no fancy or hard-to-find items.
- Perfect for Any Occasion: Whether it’s a casual game night, holiday spread, or a friendly potluck, this cheeseball fits right in.
- Crowd-Pleaser: Kids, adults, picky eaters—everyone reaches for seconds.
- Unbelievably Delicious: The creamy, tangy cheese blend combined with a crunchy nut coating makes for a fantastic texture and flavor combo.
What sets this recipe apart? The secret is in the balance—the blend of sharp cheddar and cream cheese, a touch of savory spices, and the pecan crunch that wraps it all up. I’ve tried other cheeseballs before, but this one hits that perfect nostalgic note that feels like a warm hug from Dad’s kitchen. It’s comfort food without fuss, and trust me, no one’s walking away hungry.
What Ingredients You Will Need
This recipe keeps things straightforward by using familiar ingredients that come together for a bold, satisfying flavor. You don’t need to hunt down anything obscure—just a few staples from your fridge and pantry.
- For the Cheeseball Base:
- 8 oz (225 g) cream cheese, softened (I like Philadelphia for the smoothest texture)
- 2 cups (200 g) sharp cheddar cheese, shredded (try Tillamook for a rich bite)
- 1 teaspoon garlic powder (adds a subtle savory kick)
- 1/2 teaspoon onion powder
- 1/4 teaspoon smoked paprika (optional, but adds a nice depth)
- 1-2 tablespoons Worcestershire sauce (for that classic umami flavor)
- 1/4 teaspoon freshly ground black pepper
- For the Coating:
- 1 cup (100 g) chopped pecans or walnuts (toasted for extra crunch)
- 2 tablespoons chopped fresh parsley or chives (for a fresh, colorful finish)
- Serving Suggestions:
- Assorted crackers, pretzels, or sliced baguette
- Fresh vegetable sticks like celery, carrots, or bell peppers
If you want a dairy-free option, swapping cream cheese with a dairy-free variety works surprisingly well, and almond flour can replace nuts for a nut-free version. For seasonal twists, try mixing in dried cranberries or swapping pecans for toasted pumpkin seeds in the fall.
Equipment Needed
- Mixing bowl (a medium-sized one works best; I prefer glass because it’s easy to see if everything’s combined)
- Electric mixer or sturdy spoon (electric hand mixer speeds things up, but a wooden spoon works if you don’t mind a workout)
- Measuring cups and spoons (accuracy helps here, especially for spices)
- Plastic wrap or parchment paper (to shape and chill the cheeseball)
- Serving plate or small platter (something pretty to showcase your creation!)
- Optional: food processor (for finely chopping nuts quickly, but a sharp knife does just fine)
Personally, I’ve found that making this in a glass bowl and chilling on a ceramic plate gives the best results—keeps the cheeseball firm but easy to slice. If you don’t have an electric mixer, no worries—just mix well and be patient. And trust me, the mess is worth it.
Preparation Method
- Soften the Cream Cheese: Take the cream cheese out of the fridge about 30 minutes before starting. It should be soft enough to mix easily but not melted. This makes blending smooth and avoids lumps.
- Combine the Base Ingredients: In your mixing bowl, add the softened cream cheese, shredded sharp cheddar, garlic powder, onion powder, smoked paprika, Worcestershire sauce, and black pepper. Using an electric mixer or sturdy spoon, mix everything together until fully combined and creamy. This usually takes about 3–5 minutes. You’ll notice the mixture becomes thick but spreadable.
- Chill the Mixture: Cover the bowl with plastic wrap and refrigerate for 15 minutes. This step firms up the mixture, making it easier to shape.
- Shape the Cheeseball: After chilling, scoop the mixture onto a piece of plastic wrap or parchment paper. Use the wrap to help form it into a tight ball about 5–6 inches (12–15 cm) in diameter. Twist the wrap to keep the shape firm, then place it on a plate.
- Prepare the Coating: Toast the chopped pecans in a dry skillet over medium heat for 3–5 minutes until fragrant and lightly browned. Let cool slightly. Then, mix the toasted nuts with chopped parsley or chives.
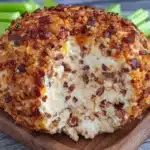
- Coat the Cheeseball: Roll the shaped ball in the nut mixture, pressing gently so the nuts stick evenly all around. This adds texture and a beautiful rustic look.
- Final Chill: Wrap the cheeseball again and refrigerate for at least 1 hour before serving. This allows flavors to meld and texture to firm up.
- Serve: Place the cheeseball on a nice platter, surround with crackers and veggies, and watch it disappear fast!
If you notice the mixture is too soft to shape, pop it back in the fridge for 10 more minutes. And if you want to speed things up, you can prepare the base the night before—just make sure to mix well right before shaping.
Cooking Tips & Techniques
Making a cheeseball sounds simple, but a few tricks can make it even better. Here’s what I’ve learned (sometimes the hard way!) over the years:
- Softening is Key: Don’t skip bringing the cream cheese to room temperature. Cold cream cheese leads to lumps and a tough texture.
- Mix Thoroughly: Use an electric mixer if you can. It gives a smoother texture and helps evenly distribute the spices and Worcestershire sauce.
- Toast Your Nuts: Never underestimate toasting nuts—it wakes up their flavor and adds a lovely crunch that raw nuts just can’t match.
- Chill Twice: First chilling the mixture before shaping, then chilling the finished ball, is what helps the cheeseball keep its shape and taste fresh.
- Avoid Overmixing: While thorough mixing is important, overdoing it can make the cheese grainy. Stop mixing as soon as everything is combined.
- Multitasking: Toasting nuts while mixing the base saves time. Also, prepping the coating ahead lets you focus on shaping later.
Once, I tried skipping the second chill (because I was hungry!), and the cheeseball was a gooey mess. Lesson learned—patience pays off. Also, I’ve noticed that a little extra Worcestershire sauce gives a richer flavor, but start small—you can always add more.
Variations & Adaptations
This classic dad’s cheeseball recipe is a fantastic base, but you can tweak it to suit your tastes or dietary needs.
- Spicy Kick: Add 1/2 teaspoon cayenne pepper or chopped jalapeños to the base for a little heat.
- Herb Lover’s: Mix in fresh dill, basil, or thyme instead of parsley for a fragrant twist.
- Gluten-Free & Nut-Free: Use crushed gluten-free crackers or seeds like sunflower or pumpkin instead of nuts for the coating.
- Smoky Bacon: Fold in 1/4 cup finely crumbled cooked bacon for smoky depth and extra texture.
- Dairy-Free Option: Swap cream cheese with your favorite dairy-free alternative and use a vegan cheddar-style cheese for a plant-based version.
I once tried mixing in a handful of finely diced dried apricots and it added a surprising sweet contrast that my friends loved. Don’t be afraid to experiment; just keep the overall texture creamy and the coating crunchy.
Serving & Storage Suggestions
Serving this cheeseball is fun and flexible. I like to bring it out cold from the fridge, letting it sit for 5–10 minutes so it’s easy to spread but still firm.
- Arrange an assortment of crackers, pretzels, and fresh veggies around the cheeseball for an inviting platter.
- Pair it with a crisp white wine or a refreshing iced tea to complement the rich, tangy flavors.
- Store leftovers tightly wrapped in the refrigerator for up to 5 days—trust me, there usually aren’t many leftovers!
- To freeze, wrap the cheeseball securely in plastic wrap and place in a freezer-safe bag for up to 2 months. Thaw overnight in the fridge before serving.
- Reheat isn’t recommended, but allowing it to come to room temperature before serving really brings out the flavors.
Over time, the flavors meld and deepen, so if you make it a day ahead, it often tastes even better. I like to make this for game days or cozy family nights, knowing it’ll be a hit every time.
Nutritional Information & Benefits
This classic dad’s cheeseball recipe is indulgent but also packs some nutritional perks thanks to its wholesome ingredients.
- Each serving (about 2 tablespoons) contains approximately 120 calories, 10g fat, 3g protein, and 1g carbohydrates.
- The sharp cheddar provides a good source of calcium and protein, supporting bone health and muscle maintenance.
- Walnuts or pecans add heart-healthy fats and antioxidants, contributing to overall wellness.
- Though this recipe contains dairy and nuts, it’s easy to adapt for gluten-free and dairy-free diets as mentioned earlier.
From a wellness perspective, it’s a treat that can fit in moderation with a balanced diet—perfect for sharing and enjoying without guilt.
Conclusion
So, why try this classic dad’s cheeseball recipe? Because it’s a simple, tasty way to bring a little nostalgia and joy to your table. Whether you’re a seasoned host or just looking for an easy appetizer, it’s a recipe that has stood the test of time for good reason. Customize it, make it your own, and watch it become a crowd favorite in your circle too.
I love this recipe because it’s more than just cheese and nuts—it’s a reminder of good times with good people. Now, go ahead and make your own batch, then tell me how it went! If you have any twists or stories to share, I’m all ears. Happy munching!
Frequently Asked Questions
Can I make the cheeseball ahead of time?
Absolutely! It actually tastes better after chilling overnight, which lets the flavors meld perfectly.
What nuts work best for the coating?
Pecans and walnuts are classic choices, but toasted almonds or even pumpkin seeds can add a nice crunch and flavor.
How long can I store leftover cheeseball?
Keep it wrapped in the fridge, and it should stay fresh for up to 5 days without losing texture or taste.
Can I freeze the cheeseball?
Yes, wrap it tightly in plastic wrap and freeze for up to 2 months. Thaw in the fridge overnight before serving.
Is this recipe suitable for gluten-free diets?
The cheeseball itself is gluten-free, but be sure to serve with gluten-free crackers or veggies to keep it safe.
For those interested in similar crowd-pleasing starters, you might appreciate the hearty flavors of my crispy garlic chicken or the creamy goodness in homemade spinach artichoke dip.
Pin This Recipe!
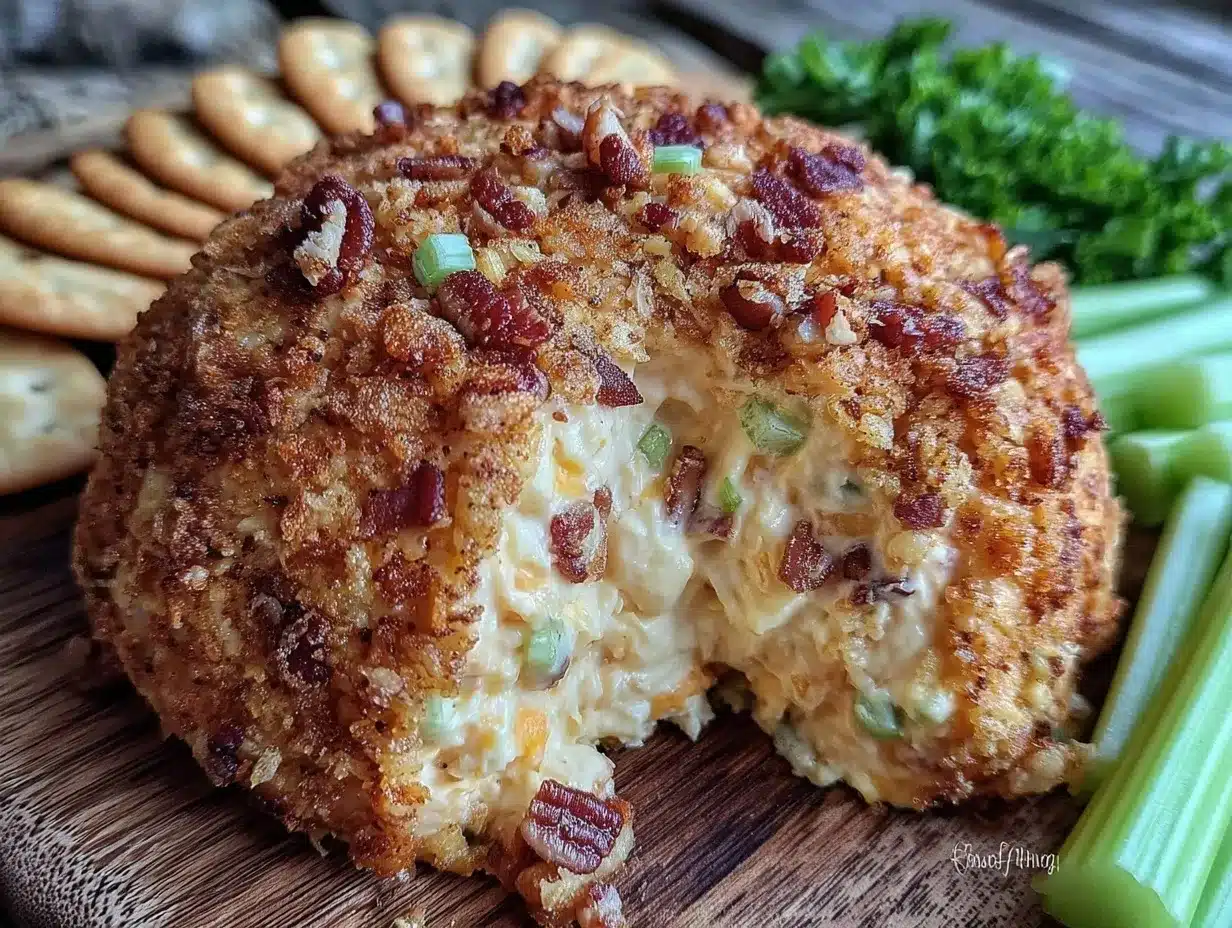
Classic Dads Cheeseball Recipe Easy Homemade Party Favorite
A nostalgic and easy-to-make cheeseball combining sharp cheddar and cream cheese with a crunchy pecan coating, perfect for parties and gatherings.
- Prep Time: 10 minutes
- Cook Time: 5 minutes
- Total Time: 1 hour 15 minutes
- Yield: 12 servings 1x
- Category: Appetizer
- Cuisine: American
Ingredients
- 8 oz cream cheese, softened
- 2 cups sharp cheddar cheese, shredded
- 1 teaspoon garlic powder
- 1/2 teaspoon onion powder
- 1/4 teaspoon smoked paprika (optional)
- 1–2 tablespoons Worcestershire sauce
- 1/4 teaspoon freshly ground black pepper
- 1 cup chopped pecans or walnuts, toasted
- 2 tablespoons chopped fresh parsley or chives
- Assorted crackers, pretzels, or sliced baguette (for serving)
- Fresh vegetable sticks like celery, carrots, or bell peppers (for serving)
Instructions
- Soften the cream cheese by taking it out of the fridge about 30 minutes before starting.
- In a mixing bowl, combine softened cream cheese, shredded sharp cheddar, garlic powder, onion powder, smoked paprika, Worcestershire sauce, and black pepper. Mix with an electric mixer or sturdy spoon until fully combined and creamy, about 3–5 minutes.
- Cover the bowl with plastic wrap and refrigerate for 15 minutes to firm up the mixture.
- Scoop the mixture onto plastic wrap or parchment paper and shape into a tight ball about 5–6 inches in diameter. Twist the wrap to keep the shape firm and place on a plate.
- Toast the chopped pecans in a dry skillet over medium heat for 3–5 minutes until fragrant and lightly browned. Let cool slightly.
- Mix toasted nuts with chopped parsley or chives.
- Roll the shaped cheeseball in the nut mixture, pressing gently to coat evenly.
- Wrap the cheeseball again and refrigerate for at least 1 hour before serving.
- Serve on a platter surrounded by crackers and fresh veggies.
Notes
Bring cream cheese to room temperature before mixing to avoid lumps. Toast nuts for extra flavor and crunch. Chill mixture twice for best texture and shape. Can be made ahead and tastes better after overnight chilling. For dairy-free, use dairy-free cream cheese and vegan cheddar. For nut-free, replace nuts with almond flour or seeds.
Nutrition
- Serving Size: About 2 tablespoons
- Calories: 120
- Fat: 10
- Carbohydrates: 1
- Protein: 3
Keywords: cheeseball, party appetizer, easy recipe, sharp cheddar, cream cheese, pecans, holiday appetizer, crowd-pleaser