Love this? Save it for later!
Share the inspiration with your friends
I wasn’t supposed to be in anyone’s kitchen that Tuesday. I’d stopped by to borrow a ladder—mine had mysteriously vanished during a garage cleanup—and the smell of something warm and sweet hit me before I even made it past the screen door. My neighbor, a woman named Carla who never seems to rush anything, was pulling a loaf pan out of her oven with one hand while balancing her phone between her ear and her shoulder. She waved me in like it was nothing, like she hadn’t just created the kind of aroma that makes you forget why you even came over in the first place.
She hung up, slid the banana bread onto a cooling rack, and said, “Grab a knife if you want.” No fuss. No apology for the mess of flour on the counter or the single mixing bowl sitting in the sink. She just sliced me a piece that was still steaming, the edges dark and caramelized, the center so tender it barely held together. I took one bite and honestly, I think I forgot to answer her question about the ladder for a solid thirty seconds. That’s the kind of effect this banana bread has on you.
I asked her for the recipe, expecting some elaborate list of specialty ingredients or a secret technique passed down through generations. But she just shrugged and said, “It’s the one-bowl thing. I don’t even measure half the time anymore.” And that was it. No stand mixer. No sifting. No separating wet and dry ingredients like some kind of baking scientist. Just one bowl, a fork, and the kind of banana bread that makes you close your eyes on the first bite. Maybe you’ve been there—standing in someone else’s kitchen, watching them make something extraordinary look completely ordinary. That’s this recipe.
I’ve made it at least twice a month since that day. It’s become my go-to for using up those spotty bananas sitting on the counter, the ones that look past their prime but are actually holding all the flavor. And every time I pull that loaf out of the oven, I think about Carla, her nonchalant wave, and the way she made me feel like I’d stumbled onto something special. Because honestly? I had.
Why You’ll Love This Recipe
This isn’t just another banana bread recipe floating around the internet. This is the one that actually delivers on its promises—moist, tender, perfectly sweet, and embarrassingly easy to throw together. I’ve tested this version more times than I care to admit, tweaking the ratio of butter to oil, playing with baking times, and even convincing a few skeptical friends to try it blind against their family recipes. It won every single time. Here’s why you’re going to love it too:
- One Bowl, No Fuss: You don’t need a stand mixer, a hand mixer, or even a whisk if you’re in a pinch. A fork and a single bowl are all that stand between you and warm banana bread. Less cleanup means more time enjoying the results.
- Pantry Staples Only: No chasing down buttermilk, sour cream, or obscure extracts. You probably have everything you need right now—flour, sugar, eggs, butter, and those sad-looking bananas on your counter.
- Perfectly Moist Every Time: The combination of melted butter and a touch of oil creates a crumb that’s tender without being greasy. It stays moist for days, assuming it lasts that long.
- Forgiving and Flexible: This recipe handles substitutions like a champ. Swap the all-purpose flour for whole wheat, use coconut oil instead of butter, or toss in chocolate chips without throwing off the balance. It’s hard to mess this one up.
- That Crackly Top: You know the one—the dark, slightly crunchy crust that gives way to a soft, almost pudding-like interior. This recipe nails that texture every single time, thanks to a simple trick with the sugar.
What makes this recipe different from the dozens of others out there is the simplicity. It’s not trying to be fancy or reinvent the wheel. It’s just honest, straightforward banana bread that tastes like it came from a small bakery, not a rushed weekday kitchen. The kind that makes you feel like a baking pro even when you’re wearing sweatpants and haven’t had enough coffee. I’ve made it for brunches, for sick friends, for last-minute potlucks, and for no reason at all except that I wanted the house to smell good. It never disappoints.
What Ingredients You Will Need
This recipe keeps things simple, using ingredients you probably already have in your pantry and fridge. The magic happens when these humble staples come together in just the right proportions, creating a banana bread that’s greater than the sum of its parts. Let’s walk through what you’ll need and why each ingredient matters.
- 3 ripe bananas, mashed (about 1 ½ cups or 340g): The riper, the better. Look for bananas with plenty of brown spots on the peel—they’re softer, sweeter, and easier to mash. If your bananas aren’t quite there yet, you can speed things up by roasting them in a 300°F oven for 15-20 minutes until the skins darken. Trust me, it works.
- ½ cup (113g) unsalted butter, melted: Butter gives this banana bread its rich flavor and tender crumb. I prefer unsalted so I can control the salt level, but salted butter works fine too—just reduce the added salt to ¼ teaspoon. Let the butter cool slightly before mixing it with the other ingredients so you don’t accidentally scramble the eggs.
- ¾ cup (150g) granulated sugar: This is the sweet spot—enough to complement the bananas without overpowering them. The sugar also helps create that beautiful crackly top as it caramelizes on the surface during baking. You can reduce it to ½ cup if your bananas are exceptionally sweet, but don’t go lower or the texture will suffer.
- 2 large eggs, room temperature: Room temperature eggs incorporate more easily into the batter, creating a smoother, more uniform texture. If you forgot to take them out of the fridge ahead of time, place them in a bowl of warm water for 5 minutes. It’s a simple trick that makes a real difference.
- 1 teaspoon vanilla extract: Pure vanilla extract adds warmth and depth to the flavor. Avoid imitation vanilla if you can—it has a harsh, artificial taste that stands out in a simple recipe like this one. I personally recommend Nielsen-Massey or simply organic vanilla.
- 1 ½ cups (190g) all-purpose flour: All-purpose flour gives this banana bread its structure without making it tough. Spoon the flour into your measuring cup and level it off with a knife—scooping directly from the bag can pack in too much flour and lead to dry bread. If you’re using a kitchen scale, even better.
- 1 teaspoon baking soda: This is the primary leavening agent, helping the banana bread rise and become light. Make sure your baking soda is fresh—test it by dropping a small amount into vinegar; if it fizzes vigorously, it’s still active. Old baking soda is one of the most common reasons for dense banana bread.
- ½ teaspoon salt: Salt balances the sweetness and enhances all the other flavors. Don’t skip it, even if you’re using salted butter. A tiny pinch of flaky sea salt sprinkled on top before baking is also a nice touch if you’re feeling fancy.
- ¼ cup (60ml) vegetable oil or melted coconut oil: This is my secret ingredient. The oil keeps the banana bread incredibly moist, even on day three. It also adds tenderness that butter alone can’t achieve. Use a neutral-flavored oil like canola or avocado, or go with coconut oil for a subtle tropical note.
That’s it. No fancy extracts, no specialty flours, no ingredients that require a trip to a specialty store. Everything on this list is something you can find at any grocery store, and most of it is probably already in your kitchen. The bananas are the only thing you might need to plan ahead for, but honestly, who doesn’t have a couple of spotty bananas sitting on the counter right now?
Equipment Needed
One of the best things about this recipe is how little equipment it requires. You don’t need a drawer full of specialty tools or a stand mixer taking up counter space. Here’s what you’ll actually need:
- A large mixing bowl: Any medium-to-large bowl will work. I use a standard ceramic mixing bowl that I’ve had for years, but glass, stainless steel, or even a large plastic bowl is fine. The key is having enough room to mash the bananas and stir everything without making a mess.
- A fork or potato masher: A fork works perfectly for mashing ripe bananas, but a potato masher speeds things up if you’re making a double batch. I’ve also used a pastry cutter in a pinch—whatever gets the job done.
- A 9×5-inch loaf pan: This is the standard size for banana bread. If you only have an 8×4-inch pan, your loaf will be taller and可能需要 a few extra minutes of baking time. A 10-inch loaf pan will give you a shorter, wider loaf that bakes faster. I recommend a light-colored metal pan for even browning, but glass or ceramic work too—just keep an eye on the edges to prevent burning.
- Parchment paper or non-stick spray: Parchment paper makes removing the banana bread from the pan effortless, and it makes cleanup almost nonexistent. If you don’t have parchment, a generous coating of non-stick spray with flour works well too.
- A cooling rack: Cooling the banana bread on a rack prevents the bottom from becoming soggy. If you don’t have a rack, you can carefully balance the loaf pan on two upside-down ramekins or just let it cool in the pan for 10 minutes before turning it out onto a plate.
- A toothpick or cake tester: This is how you’ll know when the banana bread is done. A wooden skewer works too, or even a thin knife in a pinch. Just insert it into the center of the loaf—if it comes out clean or with just a few moist crumbs, it’s ready.
I’ve made this recipe with nothing more than a fork, a bowl, and a loaf pan borrowed from a neighbor. It turned out perfectly. So don’t let a lack of fancy equipment stop you—this recipe was designed for real kitchens with real limitations.
Preparation Method
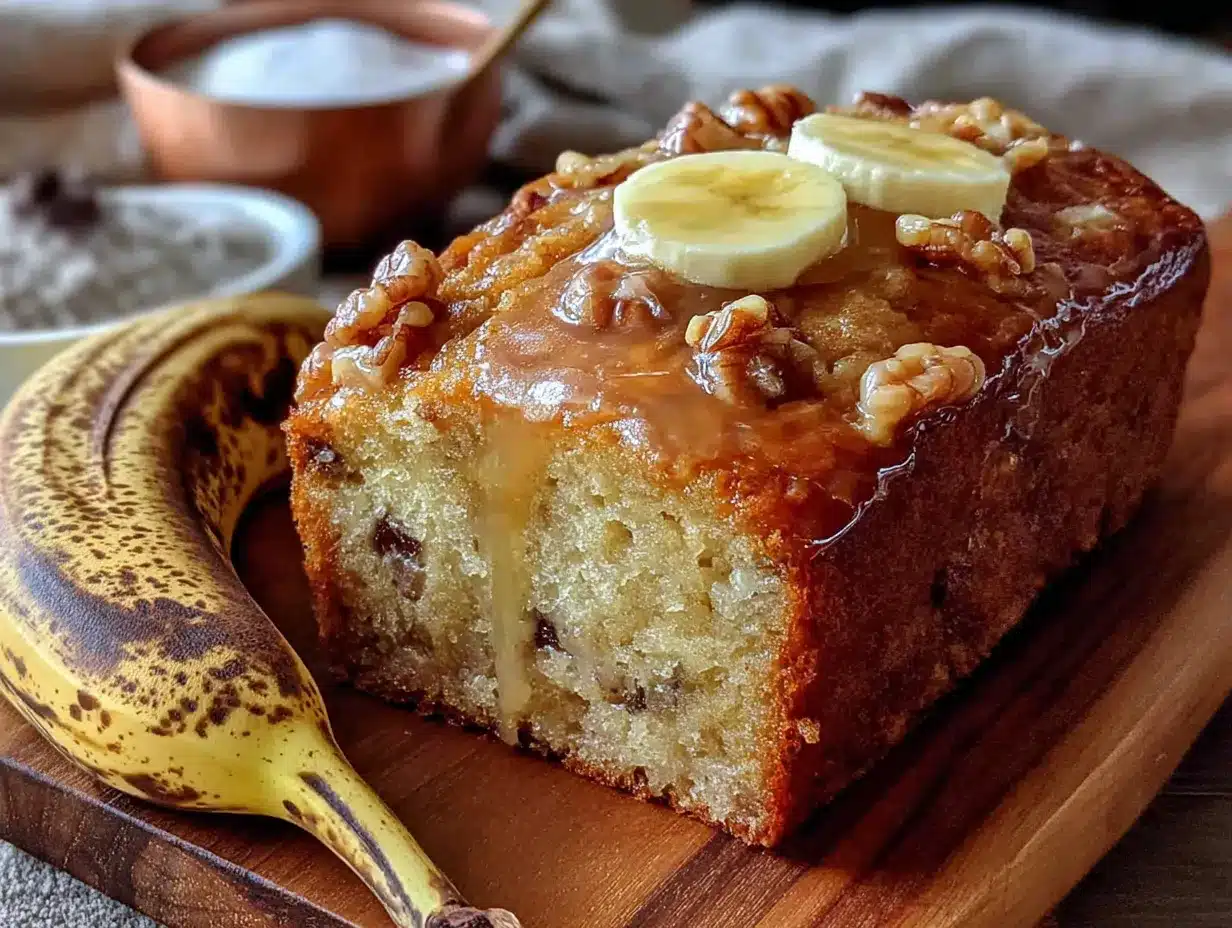
Now for the fun part. This recipe comes together in about 10 minutes of active prep time, and the oven does the rest of the work. Follow these steps, and you’ll have the best banana bread of your life.
- Preheat your oven to 350°F (175°C). Position the rack in the center of the oven for even heat distribution. While the oven heats up, line your loaf pan with parchment paper, leaving a bit of overhang on the long sides—this creates “handles” that make lifting the finished bread out effortless. Alternatively, grease the pan thoroughly with butter or non-stick spray.
- Mash the bananas in your mixing bowl. Peel the bananas and place them in the bowl. Using a fork or potato masher, mash them until they’re mostly smooth with a few small lumps remaining. Over-mashing can make the texture a bit gluey, so stop when you still see some tiny chunks. You want about 1 ½ cups of mashed banana.
- Add the melted butter and oil. Pour the cooled melted butter and vegetable oil over the mashed bananas. Stir with your fork until combined. The mixture will look a bit separated at this point—that’s normal. Don’t worry about emulsifying it perfectly; the flour will bring everything together later.
- Mix in the sugar. Add the granulated sugar and stir until it’s fully incorporated. The mixture should look smoother now, with the sugar helping to break down any remaining banana lumps. Take a moment to scrape the sides and bottom of the bowl with a spatula to make sure everything is evenly mixed.
- Add the eggs and vanilla. Crack the eggs into the bowl one at a time, stirring well after each addition. Pour in the vanilla extract and mix until everything is combined and the batter looks glossy. If your eggs were cold, don’t worry—the warm butter will help bring the mixture to room temperature quickly.
- Sprinkle the dry ingredients on top. Add the flour, baking soda, and salt directly onto the surface of the wet ingredients. Don’t stir yet—this step is about layering, not mixing. This method helps prevent over-mixing, which is the number one cause of tough banana bread.
- Fold until just combined. Using a spatula or wooden spoon, gently fold the dry ingredients into the wet. Use a cutting motion through the center of the bowl, then scrape around the edges and fold again. Stop as soon as you no longer see streaks of flour. A few small lumps are perfectly fine—they’ll disappear during baking. Over-mixing at this stage develops gluten, which makes the bread dense and rubbery.
- Pour the batter into the prepared pan. Scrape the batter into your lined loaf pan and spread it evenly with the spatula. Give the pan a gentle tap on the counter to release any air bubbles. If you want, sprinkle a tablespoon of turbinado sugar or a few banana slices on top for a bakery-style finish.
- Bake for 55-65 minutes. Place the pan in the preheated oven and bake until the top is deep golden brown and a toothpick inserted into the center comes out clean or with just a few moist crumbs. Start checking at 50 minutes, especially if your oven runs hot. The edges should pull away slightly from the sides of the pan, and the top should feel firm to the touch.
- Cool in the pan for 10 minutes. Remove the banana bread from the oven and place the pan on a cooling rack. Let it rest for 10 minutes—this allows the structure to set so the bread doesn’t fall apart when you remove it. After 10 minutes, use the parchment handles to lift the loaf out of the pan and transfer it to the rack to cool completely.
- Wait before slicing (if you can). I know it’s tempting to cut into it immediately, but letting the banana bread cool completely—at least 1 hour—allows the crumb to set properly. Slicing too early can result in a gummy texture. If you absolutely can’t wait, warm slices are delicious, just expect them to be a bit more delicate.
One thing I learned the hard way: don’t open the oven door during the first 40 minutes of baking. The rush of cold air can cause the banana bread to sink in the middle. I made that mistake the first time I tried this recipe, and while it still tasted amazing, it looked like a deflated soufflé. Patience pays off here.
Cooking Tips & Techniques
Over the many batches I’ve made of this banana bread, I’ve picked up a few tricks that consistently improve the results. Some came from trial and error, others from watching Carla that first day, and a few from good old-fashioned kitchen wisdom.
Don’t over-mix the batter. This is the single most important tip I can give you. When you stir the flour into the wet ingredients, gluten develops. A little gluten is good—it gives the bread structure. Too much, and you end up with banana bread that’s tough and chewy instead of tender and cake-like. Mix until the flour just disappears, then stop. A few streaks are fine.
Use room temperature ingredients. Cold eggs and cold butter don’t incorporate as smoothly into the batter, which can lead to uneven texture and a denser crumb. Take your eggs out of the fridge 30 minutes before you start baking, or warm them in a bowl of lukewarm water for 5 minutes. Melt your butter and let it cool slightly—if it’s too hot, it can cook the eggs when they hit the bowl.
Weigh your bananas if you can. Cup measurements for mashed bananas can be inconsistent because it depends on how finely you mash them and how much air is incorporated. If you have a kitchen scale, 340 grams (about 1 ½ cups) is the sweet spot. Too much banana and your bread won’t set properly; too little and it’ll be dry.
Check for doneness the right way. A toothpick test is reliable, but make sure you’re inserting it into the center of the loaf, not the side or the top. The center is the last part to finish baking. If the toothpick comes out with wet batter, give it another 5 minutes and test again. If it comes out clean but the top is getting too dark, tent the loaf with aluminum foil for the remaining baking time.
Let it rest overnight for better flavor. This might sound crazy, but banana bread actually tastes better the next day. The flavors have time to meld and deepen, and the texture becomes even more moist. If you can resist the urge, wrap the cooled loaf tightly in plastic wrap and let it sit on the counter overnight. Slice it the next morning with a cup of coffee, and thank me later.
Variations & Adaptations
This banana bread recipe is incredibly versatile. I’ve played around with dozens of variations over the years, and the beauty of this base recipe is that it handles changes gracefully. Here are some of my favorites:
Chocolate Chip Banana Bread: Fold in ¾ cup of semi-sweet chocolate chips right before pouring the batter into the pan. The chocolate melts into little pockets of richness throughout the loaf. I like to reserve a handful of chips to sprinkle on top before baking—it makes the loaf look absolutely irresistible.
Whole Wheat Banana Bread: Swap half or all of the all-purpose flour for whole wheat flour. The bread will be slightly denser and nuttier in flavor, but it’s still incredibly moist. If you go full whole wheat, add an extra tablespoon of milk or yogurt to compensate for the extra absorbency of whole wheat flour.
Nutty Banana Bread: Toast ½ cup of chopped walnuts or pecans in a dry skillet over medium heat for 3-4 minutes until fragrant. Fold them into the batter along with the flour. The toasted nuts add a wonderful crunch and a warm, earthy flavor that pairs beautifully with the sweet bananas.
Vegan Banana Bread: Replace the eggs with two “flax eggs” (2 tablespoons ground flaxseed mixed with 6 tablespoons water, left to sit for 5 minutes to thicken). Use melted coconut oil or a neutral vegetable oil instead of butter, and swap the milk for any plant-based milk if needed. The texture will be slightly denser but still delicious.
Gluten-Free Banana Bread: Substitute the all-purpose flour with a good quality 1:1 gluten-free baking flour blend that contains xanthan gum. I’ve had great results with Bob’s Red Mill 1-to-1 Baking Flour. Don’t over-mix, as gluten-free batters can become gummy if overworked.
One of my personal favorite variations came about when I had a half-empty jar of peanut butter sitting in the pantry. I swirled ¼ cup of creamy peanut butter into the batter before baking, and the result was incredible. The peanut butter adds richness and a subtle savory note that makes the banana bread dangerously addictive. Try it—you won’t regret it.
Serving & Storage Suggestions
This banana bread is delicious in so many ways. Here’s how to serve it and keep it fresh for as long as possible.
Serving: Banana bread is best served at room temperature or slightly warm. A slice with a pat of butter melting into it is pure comfort. For a more indulgent treat, toast a slice in a skillet with a little butter until golden brown on both sides—the edges get crispy while the center stays soft. It’s also fantastic with a drizzle of honey, a smear of cream cheese, or a dollop of Greek yogurt on the side. Pair it with a hot cup of coffee or a cold glass of milk, and you’ve got a perfect snack or breakfast.
Storage: Store leftover banana bread tightly wrapped in plastic wrap or in an airtight container at room temperature for up to 4 days. The moisture from the bananas keeps it tender, but it will dry out if left exposed to air. I don’t recommend refrigerating banana bread—the cold temperature actually accelerates staling and can make the texture dry and crumbly.
Freezing: Banana bread freezes beautifully. Wrap the completely cooled loaf (or individual slices) tightly in plastic wrap, then in a layer of aluminum foil or place in a freezer-safe bag. It will keep for up to 3 months. To thaw, leave it at room temperature for a few hours, or pop a frozen slice directly into the toaster for a quick treat. I always keep a loaf in the freezer for unexpected guests or lazy Sunday mornings.
Flavor development: As I mentioned earlier, banana bread actually improves after a day or two. The flavors meld together, and the texture becomes even more moist and cohesive. If you can plan ahead, make it a day before you need it for the best possible experience.
Nutritional Information & Benefits
While banana bread is certainly a treat, it does offer some nutritional benefits thanks to its star ingredient. Here’s a rough breakdown per slice (based on 10 slices per loaf):
| Nutrient | Amount per Slice |
|---|---|
| Calories | 280 |
| Total Fat | 14g |
| Saturated Fat | 6g |
| Cholesterol | 55mg |
| Sodium | 220mg |
| Total Carbohydrates | 36g |
| Dietary Fiber | 2g |
| Sugars | 18g |
| Protein | 4g |
Bananas are a good source of potassium, vitamin B6, and vitamin C. They also contain resistant starch, which can support digestive health. The eggs provide high-quality protein and essential nutrients like choline, while the butter and oil contribute healthy fats that help with nutrient absorption. If you’re watching your sugar intake, you can reduce the sugar to ½ cup without significantly affecting the texture, or use a natural sweetener like maple syrup or honey (though this will change the liquid ratio slightly).
This recipe contains gluten, dairy, and eggs, so it’s not suitable for those with allergies to these ingredients without modifications. The vegan and gluten-free variations listed above are great alternatives for different dietary needs.
Conclusion
This easy one-bowl banana bread has become a staple in my kitchen for good reason. It’s the recipe I turn to when I need something reliable, something comforting, something that makes the whole house smell like home. It’s simple enough for a beginner baker to tackle without stress, yet good enough to impress even the most discerning banana bread connoisseur. The one-bowl method means less cleanup, which means more time enjoying the warm, buttery slices with the people you love.
I hope you give this recipe a try—and I hope you make it your own. Add chocolate chips if that’s your thing. Throw in some walnuts. Swirl in peanut butter. The beauty of this recipe is that it’s a perfect canvas for your own creativity. And when you pull that golden loaf out of the oven, take a moment to appreciate what you’ve created. There’s something deeply satisfying about turning a few spotty bananas and some pantry staples into something so genuinely wonderful.
I’d love to hear how it turns out for you. Did you try a variation? Did it disappear in a day? Drop a comment below and let me know—I read every single one. And if you’re looking for more easy, foolproof recipes, be sure to check out my classic chocolate chip cookies or my simple blueberry muffins. Happy baking, friends!
Frequently Asked Questions
Can I use frozen bananas for this recipe?
Absolutely! Frozen bananas are actually perfect for banana bread. Thaw them completely at room temperature or in the microwave, then drain off any excess liquid before mashing. The freezing process breaks down the cell walls, making the bananas even softer and sweeter. Just don’t skip the draining step, or your batter might be too wet.
Why did my banana bread sink in the middle?
A sunken middle is usually caused by one of three things: underbaking, opening the oven door too early, or too much banana. Make sure you’re baking the bread long enough—the center should be fully set before you take it out. Resist the urge to peek during the first 40 minutes of baking, and measure your bananas carefully to avoid adding too much moisture.
Can I make this recipe into muffins instead of a loaf?
Yes, and it’s incredibly easy. Grease a 12-cup muffin tin or line it with paper liners. Divide the batter evenly among the cups, filling each about ¾ full. Bake at 350°F (175°C) for 18-22 minutes, or until a toothpick inserted into the center of a muffin comes out clean. You’ll get about 12-14 muffins, and they’ll be ready in half the time!
How do I know when my bananas are ripe enough?
Look for bananas with plenty of brown spots or even completely black peels. They should be soft to the touch and smell intensely sweet. If your bananas are still yellow with green tips, they’re not ready yet. You can speed up the ripening process by placing them in a paper bag with an apple or a ripe tomato overnight, or by baking them in a 300°F oven for 15-20 minutes until the skins darken.
Can I reduce the sugar in this recipe?
You can reduce the sugar to ½ cup without major issues, but keep in mind that sugar does more than just sweeten—it also contributes to the texture, moisture, and browning of the bread. If you reduce it too much, your banana bread may be denser and paler. For a healthier option, you can replace up to half the sugar with unsweetened applesauce or mashed banana, but be aware this will change the texture slightly.
Pin This Recipe!
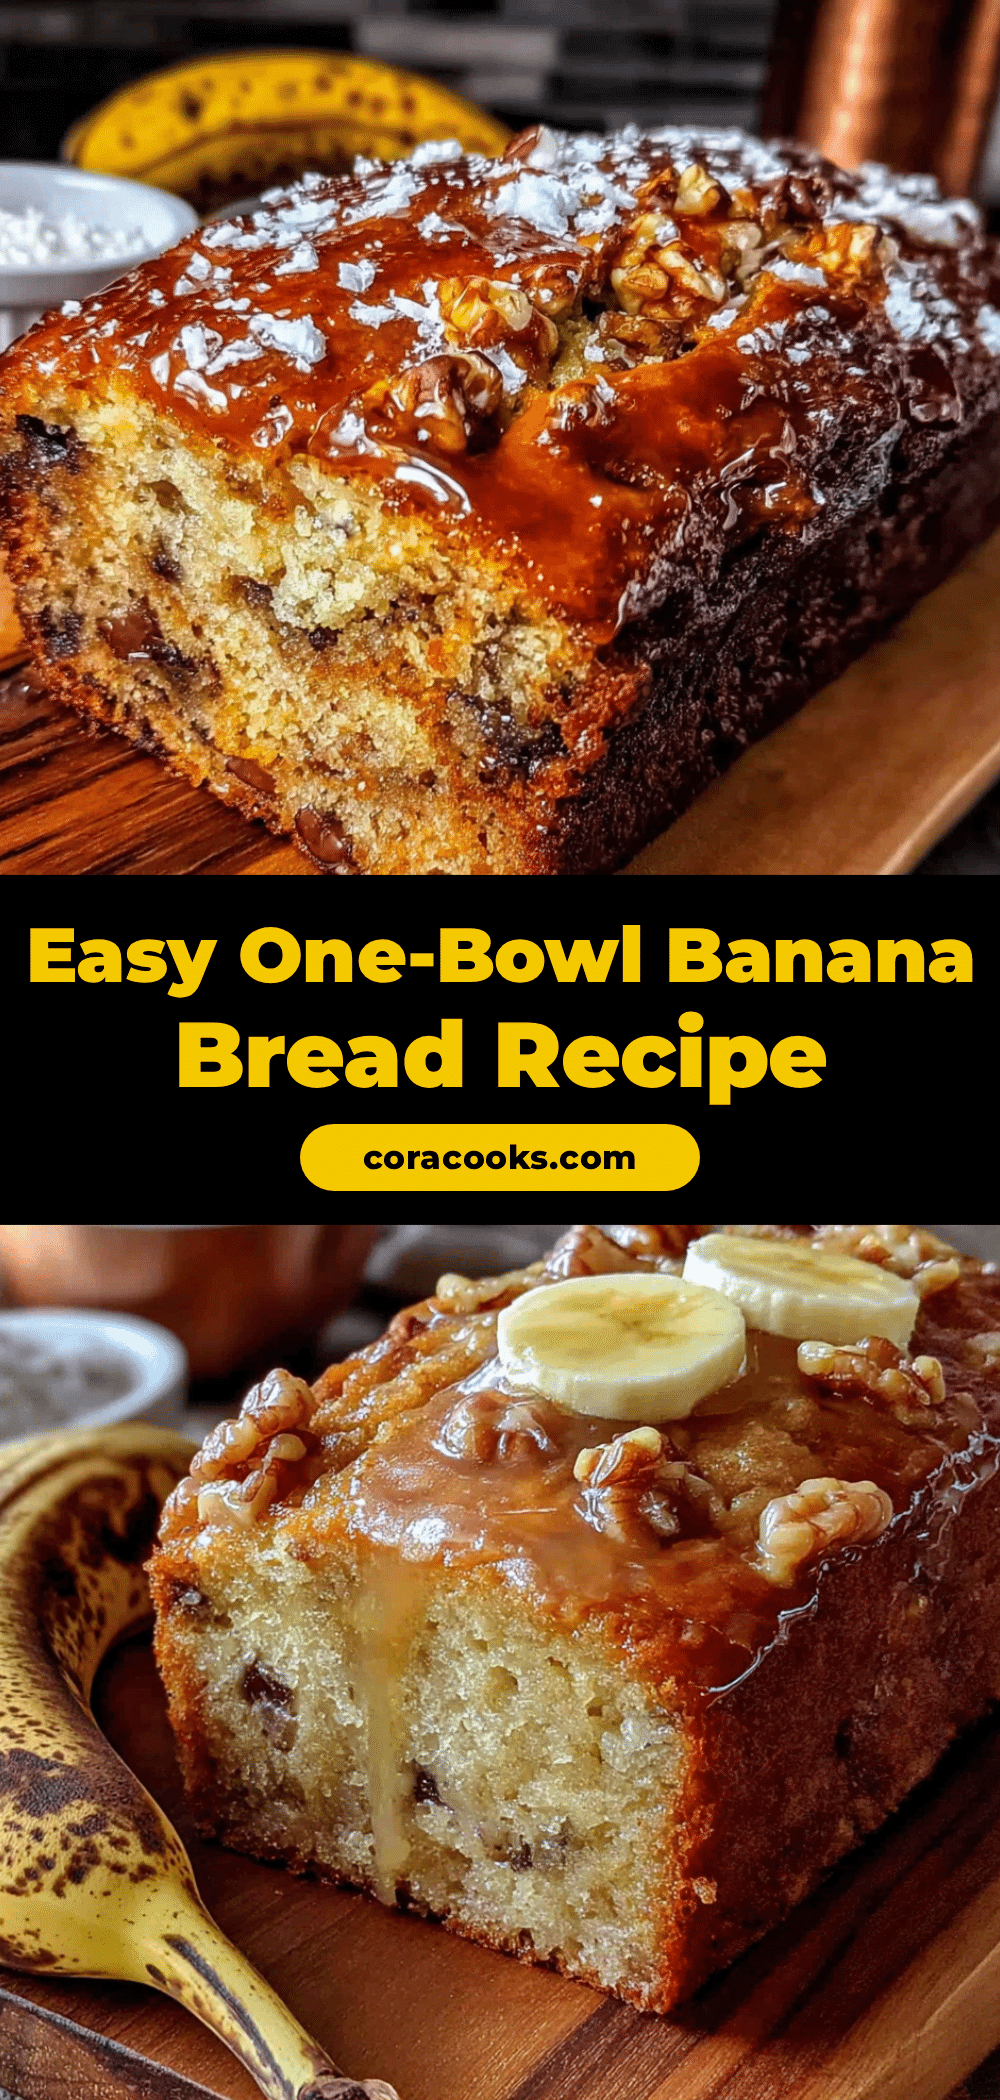
Easy One-Bowl Banana Bread – Best Homemade Recipe
This easy one-bowl banana bread is moist, tender, and perfectly sweet. Made with pantry staples and minimal cleanup, it’s the ultimate comfort food that tastes like it came from a small bakery.
- Prep Time: 10 minutes
- Cook Time: 55-65 minutes
- Total Time: 1 hour 15 minutes
- Yield: 10 servings 1x
- Category: Dessert
- Cuisine: American
Ingredients
- 3 ripe bananas, mashed (about 1 ½ cups or 340g)
- ½ cup (113g) unsalted butter, melted
- ¾ cup (150g) granulated sugar
- 2 large eggs, room temperature
- 1 teaspoon vanilla extract
- 1 ½ cups (190g) all-purpose flour
- 1 teaspoon baking soda
- ½ teaspoon salt
- ¼ cup (60ml) vegetable oil or melted coconut oil
Instructions
- Preheat your oven to 350°F (175°C). Position the rack in the center of the oven. Line a 9×5-inch loaf pan with parchment paper, leaving overhang on the long sides, or grease thoroughly.
- Mash the bananas in a large mixing bowl with a fork or potato masher until mostly smooth with a few small lumps remaining (about 1 ½ cups).
- Add the melted butter and oil to the mashed bananas and stir until combined.
- Mix in the granulated sugar until fully incorporated.
- Add the eggs one at a time, stirring well after each addition, then mix in the vanilla extract until the batter looks glossy.
- Sprinkle the flour, baking soda, and salt on top of the wet ingredients. Do not stir yet.
- Gently fold the dry ingredients into the wet using a spatula or wooden spoon until just combined. A few small lumps are fine; do not over-mix.
- Pour the batter into the prepared loaf pan and spread evenly. Tap the pan gently on the counter to release air bubbles.
- Bake for 55-65 minutes, until the top is deep golden brown and a toothpick inserted into the center comes out clean or with a few moist crumbs. Start checking at 50 minutes.
- Cool in the pan on a wire rack for 10 minutes, then use the parchment handles to lift the loaf out and transfer to the rack to cool completely (at least 1 hour) before slicing.
Notes
For best flavor, let the banana bread rest overnight wrapped tightly in plastic wrap. Do not open the oven door during the first 40 minutes of baking to prevent sinking. Use room temperature ingredients for best results.
Nutrition
- Serving Size: 1 slice
- Calories: 280
- Sugar: 18
- Sodium: 220
- Fat: 14
- Saturated Fat: 6
- Carbohydrates: 36
- Fiber: 2
- Protein: 4
Keywords: banana bread, easy banana bread, one bowl banana bread, moist banana bread, homemade banana bread


