Love this? Save it for later!
Share the inspiration with your friends
I wasn’t trying to invent a new recipe. Honestly, I was just trying to survive a Tuesday. My son had a field trip the next day, and the lunchbox packing panic had set in around 8 PM. I had two overripe bananas on the counter, a jar of peanut butter that was almost empty, and a kid who suddenly decided he hated everything I usually packed. You know that feeling when you’re staring into the pantry, hoping for a miracle?
I grabbed the bananas and started mashing them with a fork—it’s my go-to stress relief, honestly. The peanut butter went in next, then a splash of milk because the batter looked too thick. I wasn’t measuring anything. I was just… throwing things together. The muffins came out of the oven twenty minutes later, golden on top and smelling like the best kind of comfort. My son wandered into the kitchen, sleepy-eyed, and asked, “What’s that?” I handed him one, still warm. He ate the whole thing in three bites.
These quick peanut butter banana lunchbox muffins were born from pure necessity, and let me tell you, they’ve saved my sanity more times than I can count. They’re the kind of recipe you don’t have to think about—the ingredients are always around, the method is forgiving, and the result is something that feels like a treat but is secretly packed with goodness. Maybe you’ve been there, staring at that sad bunch of bananas, wondering what to do. Well, this is your answer.
Why You’ll Love This Recipe
I’ve tested this recipe at least a dozen times, tweaking the flour ratio, trying different sweeteners, and even sneaking in some flaxseed once (don’t worry, the kids didn’t notice). What I landed on is the perfect balance of simplicity and deliciousness. Here’s why these muffins deserve a permanent spot in your rotation:
- Quick & Easy: From start to finish, these muffins take about 25 minutes. That’s less time than it takes to argue with a toddler about eating vegetables.
- Simple Ingredients: You likely have everything in your pantry right now. No fancy flours, no obscure extracts—just real food.
- Perfect for Lunchboxes: They hold up beautifully in a lunch bag, don’t get soggy, and taste great at room temperature. Your kids will actually eat them.
- Crowd-Pleaser: I’ve brought these to playdates, school events, and even a book club meeting. Adults and kids alike go back for seconds.
- Unbelievably Delicious: The texture is soft and tender, with little pockets of melted peanut butter that make every bite exciting. It’s comfort food you can feel good about.
What makes these different from every other banana muffin recipe out there? It’s the technique. By mashing the bananas thoroughly and letting the batter rest for five minutes before baking, you get a muffin that’s incredibly moist without being dense. Plus, the peanut butter isn’t just mixed in—it’s swirled on top, creating a beautiful crust that’s slightly crunchy and deeply flavorful.
This recipe isn’t just good—it’s the kind that makes you close your eyes after the first bite. It’s the lunchbox hero you didn’t know you needed.
What Ingredients You Will Need
This recipe uses simple, wholesome ingredients to deliver bold flavor and satisfying texture without the fuss. Most of these are pantry staples, which is exactly what you want when you’re making muffins on a whim.
- Ripe Bananas (3 medium, mashed) — The riper, the better. Look for bananas with lots of brown spots; they’re sweeter and easier to mash. I’ve used frozen thawed bananas too, and they work perfectly.
- Creamy Peanut Butter (½ cup) — I prefer natural peanut butter with just peanuts and salt. Skippy or Jif work great too, but avoid the “no-stir” kind with added sugar if you can. The natural stuff gives a better texture.
- All-Purpose Flour (1½ cups) — Spoon and level your flour for the best results. You can substitute up to half with whole wheat flour for a heartier muffin.
- Granulated Sugar (⅓ cup) — Just enough to sweeten without overpowering the banana. I’ve used coconut sugar and honey (reduce liquid slightly) with good results.
- Baking Soda (1 teaspoon) — This gives the muffins their lift. Make sure it’s fresh—test it by dropping a bit in vinegar; it should fizz.
- Baking Powder (1 teaspoon) — Double-check your expiration date. Old baking powder is the number one reason muffins don’t rise.
- Salt (¼ teaspoon) — Enhances all the flavors. I use fine sea salt.
- Large Egg (1, room temperature) — Helps bind everything together. If you’re in a rush, place the egg in warm water for 5 minutes.
- Milk (¼ cup) — Any kind works: dairy, almond, oat, or soy. I’ve used buttermilk for extra tanginess, and it’s lovely.
- Vanilla Extract (1 teaspoon) — Pure vanilla is best, but imitation works in a pinch.
- Unsalted Butter (3 tablespoons, melted) — For richness. You can substitute with coconut oil or additional peanut butter.
- Optional Mix-ins: ½ cup chocolate chips, chopped peanuts, or dried fruit. I usually add mini chocolate chips because, well, it’s a lunchbox.
I recommend using Jif natural peanut butter for consistent results—it blends smoothly and doesn’t separate too much. For the bananas, the ones that look “too ripe” are actually perfect. Trust me, I’ve made the mistake of using underripe bananas, and the muffins were disappointingly bland.
Equipment Needed
You don’t need a fancy kitchen to make these muffins. Here’s what you’ll need:
- Muffin Tin (12-cup standard size) — I use a non-stick Wilton pan, and it works beautifully. If yours is prone to sticking, use paper liners.
- Mixing Bowls (one medium, one small) — Any bowls will do. I’ve used a cereal bowl in a pinch.
- Fork or Potato Masher — For mashing the bananas. A fork works fine, but a masher is faster.
- Whisk — For combining dry ingredients. A fork works too, honestly.
- Rubber Spatula — For folding the batter. A wooden spoon is a fine substitute.
- Measuring Cups and Spoons — Accurate measurements matter for baking.
- Cooling Rack — Optional but helpful. I’ve used a cutting board in a pinch.
If you don’t have a muffin tin, you can bake this batter as mini loaves or even in a greased 8×8 pan—just adjust the baking time. I once made these in a cast-iron skillet, and they turned out great, though they were more like “muffin cakes.”
Preparation Method
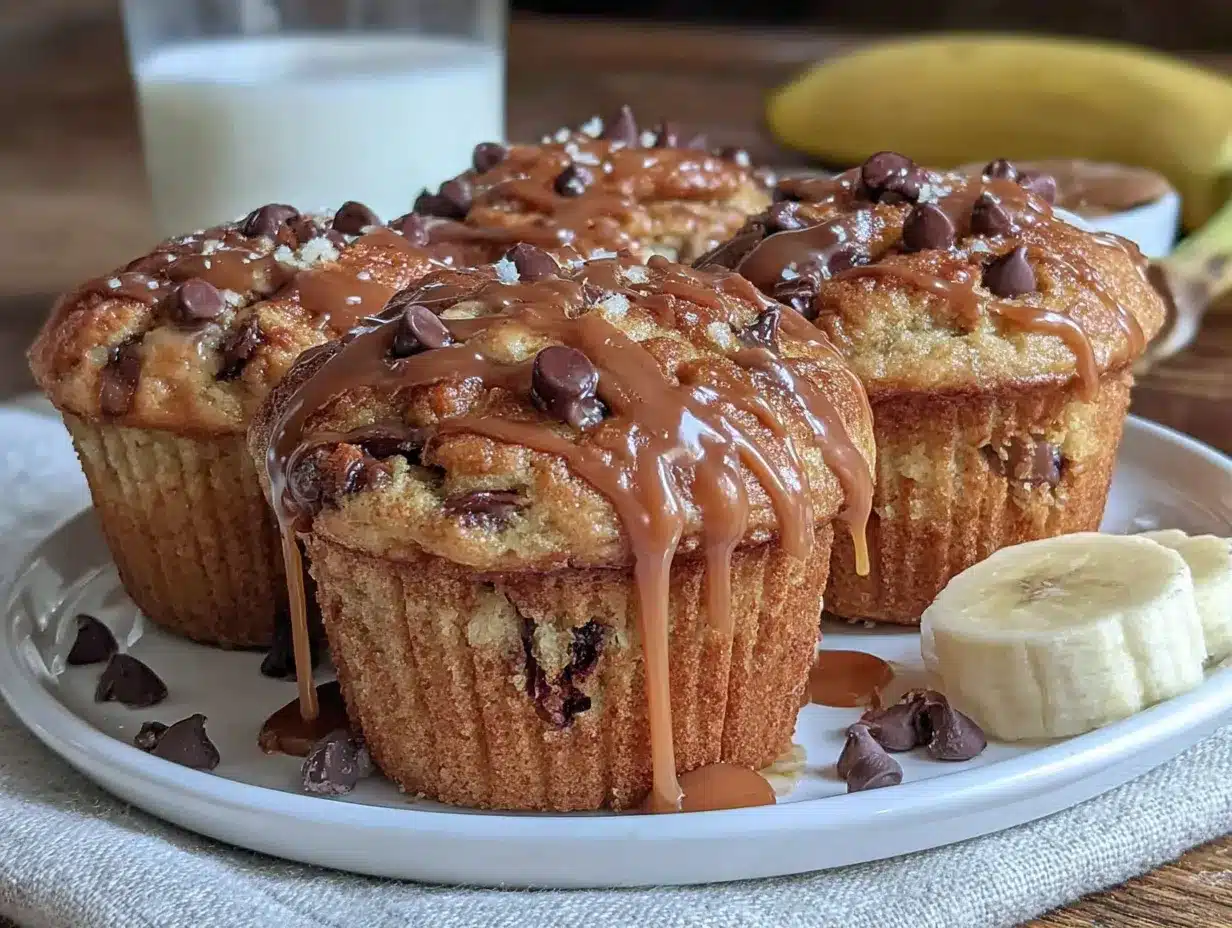
Let’s get baking. This method is straightforward, but I’ve included all the little tricks I’ve learned along the way. Follow these steps, and you’ll have perfect muffins every time.
- Preheat your oven to 350°F (175°C). Line your muffin tin with paper liners or grease it well. I prefer liners because they make cleanup easier and keep muffins soft.
- Mash the bananas. In a medium bowl, mash the three bananas with a fork until mostly smooth. A few small lumps are fine—they add texture. You should have about 1 cup of mashed banana. If you have more, that’s okay; just reduce the milk slightly.
- Mix the wet ingredients. Add the peanut butter, melted butter, egg, milk, and vanilla extract to the mashed bananas. Stir until everything is combined. The batter will look a bit lumpy at this point, and that’s normal. Don’t overmix.
- Combine the dry ingredients. In a small bowl, whisk together the flour, sugar, baking soda, baking powder, and salt. Make sure there are no clumps. I learned this the hard way—biting into a pocket of baking powder is not pleasant.
- Fold the dry into the wet. Add the dry ingredients to the wet mixture. Use a rubber spatula to fold gently, just until no streaks of flour remain. A few lumps are okay. Overmixing will make the muffins tough. This is the most important step, honestly.
- Let the batter rest. Cover the bowl and let it sit for 5 minutes. This allows the flour to hydrate and the leavening agents to activate. You’ll notice the batter thickens slightly. This little trick gives you taller, fluffier muffins.
- Fill the muffin cups. Divide the batter evenly among the 12 muffin cups. I use a cookie scoop for even portions—it’s faster and less messy. Each cup should be about ¾ full. If you want bakery-style domed tops, fill them to the brim.
- Add extra peanut butter on top. Drop small dollops of peanut butter (about ½ teaspoon each) on top of each muffin. Use a toothpick to swirl it gently. This creates that beautiful, slightly crunchy crust I mentioned earlier.
- Bake for 15-18 minutes. The muffins are done when a toothpick inserted into the center comes out clean or with a few moist crumbs. The tops should be golden brown and spring back when touched lightly.
- Cool in the pan for 5 minutes. Then transfer the muffins to a wire rack to cool completely. If you try to remove them too early, they might stick. Patience, my friend.
A quick note: if your muffins sink in the middle, your oven might be too hot, or you opened the door too early. I’ve done both, and it’s frustrating. Keep the oven door closed until at least the 15-minute mark.
Cooking Tips & Techniques
After making these muffins more times than I can count, I’ve collected a few tricks that make a real difference. Here are the ones I swear by:
- Room temperature ingredients matter. Cold eggs and milk can seize the melted butter, leading to dense muffins. Set everything out 20 minutes before you start. If you forget, place the egg in warm water for 5 minutes and microwave the milk for 10 seconds.
- Don’t overmix the batter. I cannot stress this enough. Mix until the flour just disappears. It’s okay if there are a few lumps. Overmixing develops gluten, and gluten makes muffins tough. You want tender, not tough.
- Use an ice cream scoop for even muffins. This ensures all your muffins are the same size and bake evenly. Plus, it’s way less messy than spooning batter.
- Rotate the pan halfway through. Ovens have hot spots. I learned this after burning the back row of muffins one too many times. Rotate the pan 180 degrees at the 8-minute mark.
- Test with a toothpick, not your finger. The toothpick should come out clean or with a few moist crumbs. If it’s wet, bake for another 2 minutes. If it’s dry, you’ve overbaked them.
- Cool completely before storing. If you put warm muffins in an airtight container, the steam will make them soggy. I’ve done this, and it’s heartbreaking. Let them cool fully on a wire rack.
I once forgot the sugar entirely. The muffins were edible but tasted like peanut butter-flavored cardboard. It was a sad day. So yes, double-check your ingredients before you start mixing.
Variations & Adaptations
This recipe is incredibly versatile. Here are some of my favorite variations:
- Chocolate Peanut Butter: Add ½ cup mini chocolate chips to the batter. The chocolate melts into little pockets of goodness. My kids beg for this version.
- Gluten-Free: Substitute the all-purpose flour with a 1:1 gluten-free baking blend. I’ve used Bob’s Red Mill, and it works perfectly. Add an extra tablespoon of milk if the batter seems too thick.
- Vegan: Replace the egg with a flax egg (1 tablespoon ground flaxseed + 3 tablespoons water, let sit for 5 minutes). Use plant-based milk and coconut oil instead of butter. The texture is slightly denser but still delicious.
- Lower Sugar: Reduce the sugar to 2 tablespoons and add an extra ripe banana. The natural sweetness from the bananas carries the flavor beautifully.
- Nut-Free: Substitute the peanut butter with sunflower seed butter (SunButter) or WowButter. Note that sunflower seed butter can turn green when baked due to a reaction with baking soda—it’s harmless but looks odd. Add a teaspoon of lemon juice to prevent this.
- Seasonal Twist: In fall, add ½ teaspoon cinnamon and ¼ teaspoon nutmeg. In summer, fold in ½ cup fresh blueberries. The blueberries burst and create little jammy pockets—absolutely divine.
I tried a version with almond butter and a tablespoon of honey, and it was fantastic—nutty, not too sweet, perfect for an afternoon snack. Don’t be afraid to experiment.
Serving & Storage Suggestions
These muffins are best served at room temperature or slightly warm. If you’re packing them for lunchboxes, let them cool completely before sealing them in a container. They hold up beautifully for hours without getting soggy.
For a fun presentation, I sometimes dust them with a little powdered sugar or drizzle with melted peanut butter. It makes them feel special for birthday parties or school events. Pair them with a glass of cold milk, a smoothie, or even a cup of coffee for the adults.
Storage: Keep the muffins in an airtight container at room temperature for up to 3 days. If your kitchen is warm, refrigerate them—they’ll last up to 5 days. I’ve also frozen them for up to 3 months. Just wrap each muffin individually in plastic wrap, then place them in a freezer bag. To thaw, leave them on the counter for an hour, or microwave for 15 seconds.
Reheating: Pop a frozen muffin in the microwave for 20-25 seconds, and it tastes almost fresh-baked. For a crispier exterior, warm them in a 300°F oven for 5 minutes.
The flavors actually develop over time—day-old muffins taste even better because the banana and peanut butter have had time to meld. So don’t worry about making them a day ahead; they’re perfect for meal prep.
Nutritional Information & Benefits
Here’s the approximate nutritional breakdown per muffin (based on 12 muffins):
| Nutrient | Amount |
|---|---|
| Calories | 195 |
| Total Fat | 9g |
| Saturated Fat | 3g |
| Cholesterol | 20mg |
| Sodium | 200mg |
| Total Carbohydrates | 26g |
| Dietary Fiber | 2g |
| Sugars | 11g |
| Protein | 5g |
These muffins are a good source of protein from the peanut butter and potassium from the bananas. The fiber content helps keep kids full until lunchtime—a huge win for busy parents. If you’re watching your sugar intake, the lower-sugar variation is a great option.
Peanut butter also provides healthy monounsaturated fats and vitamin E. Just be mindful if you’re using a brand with added sugars and hydrogenated oils—natural peanut butter is always a better choice.
This recipe is naturally vegetarian and can be made vegan, gluten-free, or nut-free with simple substitutions. It’s also free from artificial flavors and preservatives, which is more than you can say for store-bought muffins.
Conclusion
These quick peanut butter banana lunchbox muffins have become a staple in my kitchen for a reason. They’re fast, forgiving, and endlessly customizable. Whether you’re packing school lunches, looking for a healthy snack, or just want something warm and comforting with your coffee, this recipe delivers.
I love that I can make them on a Sunday afternoon and have breakfast sorted for the whole week. I love that my kids actually eat them without complaining. And I love that they make my house smell amazing—like peanut butter and banana and everything good.
So go ahead, mash those bananas, preheat that oven, and give these a try. I’d love to hear how they turn out for you—drop a comment below and let me know what variations you tried. Did you add chocolate chips? Swap the peanut butter for almond butter? I’m always looking for new ideas. Happy baking!
Frequently Asked Questions
Can I use frozen bananas for these muffins?
Absolutely! Thaw the bananas completely, then drain off any excess liquid before mashing. They’ll be extra soft and sweet, which makes for even more flavorful muffins.
Why did my muffins turn out dry?
This usually happens from overmixing or overbaking. Mix the batter just until the flour disappears, and start checking for doneness at the 15-minute mark. Also, make sure you’re using ripe bananas—underripe ones don’t provide enough moisture.
Can I make these muffins without eggs?
Yes! Use a flax egg (1 tablespoon ground flaxseed mixed with 3 tablespoons water, let sit for 5 minutes) or a commercial egg replacer. The texture will be slightly denser, but they’ll still be delicious.
How do I keep muffins from sticking to the liners?
Use high-quality paper liners or lightly spray them with non-stick cooking spray. If you’re using silicone liners, they rarely stick. Let the muffins cool completely in the pan before removing them—this helps them release cleanly.
Can I double this recipe?
Definitely! This recipe doubles beautifully. Just make sure you have a large enough mixing bowl and two muffin tins. The baking time remains the same, but you may need to rotate the pans between oven racks halfway through for even baking.
Pin This Recipe!
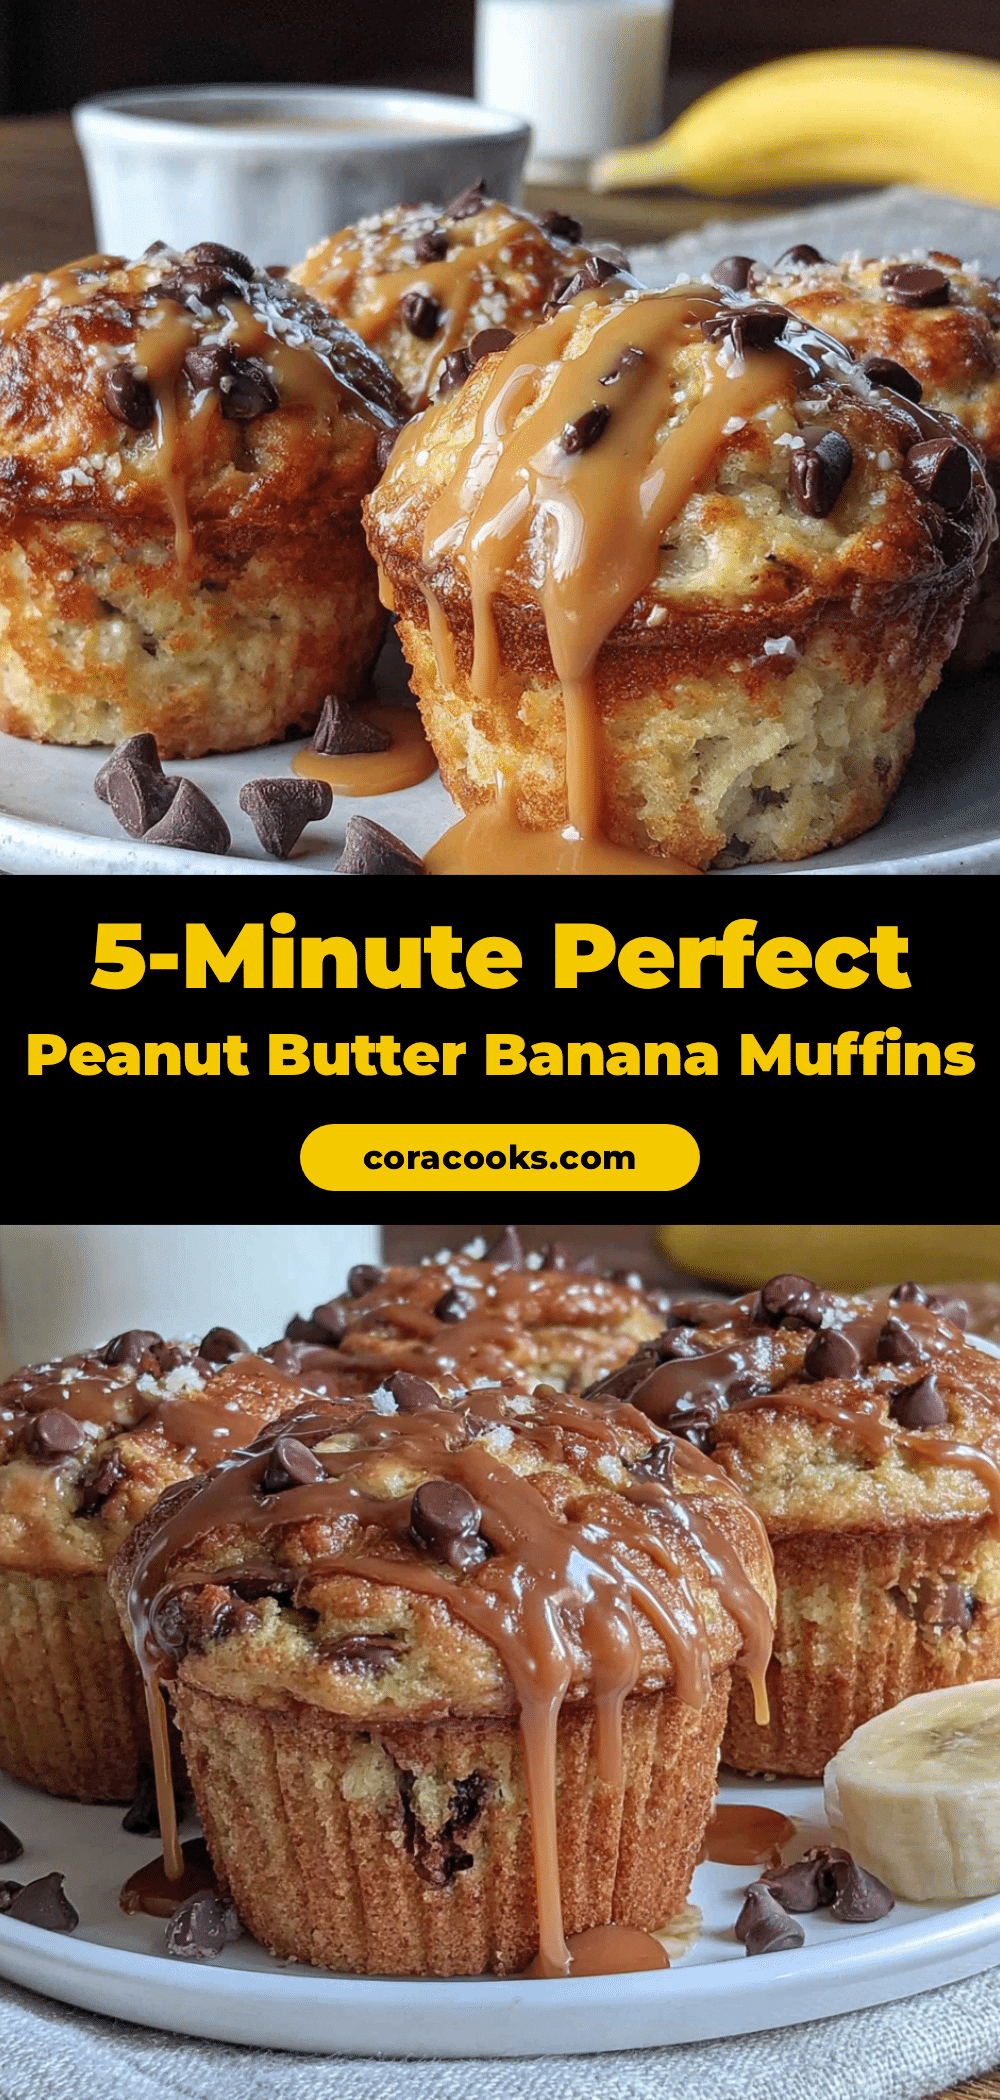
Quick Peanut Butter Banana Muffins: Easy Lunchbox Ready
These quick peanut butter banana lunchbox muffins are fast, forgiving, and endlessly customizable. Perfect for packing school lunches or a healthy snack, they come together in about 25 minutes with simple pantry ingredients.
- Prep Time: 10 minutes
- Cook Time: 15-18 minutes
- Total Time: 25 minutes
- Yield: 12 muffins 1x
- Category: Snack
- Cuisine: American
Ingredients
- 3 medium ripe bananas, mashed
- ½ cup creamy peanut butter
- 1½ cups all-purpose flour
- ⅓ cup granulated sugar
- 1 teaspoon baking soda
- 1 teaspoon baking powder
- ¼ teaspoon salt
- 1 large egg, room temperature
- ¼ cup milk (any kind)
- 1 teaspoon vanilla extract
- 3 tablespoons unsalted butter, melted
- Optional: ½ cup chocolate chips, chopped peanuts, or dried fruit
Instructions
- Preheat your oven to 350°F (175°C). Line a 12-cup muffin tin with paper liners or grease well.
- In a medium bowl, mash the bananas with a fork until mostly smooth (a few lumps are fine).
- Add the peanut butter, melted butter, egg, milk, and vanilla extract to the mashed bananas. Stir until combined.
- In a small bowl, whisk together the flour, sugar, baking soda, baking powder, and salt.
- Add the dry ingredients to the wet mixture. Fold gently with a rubber spatula just until no streaks of flour remain. Do not overmix.
- Cover the bowl and let the batter rest for 5 minutes.
- Divide the batter evenly among the 12 muffin cups, filling each about ¾ full.
- Drop small dollops of peanut butter (about ½ teaspoon each) on top of each muffin and swirl gently with a toothpick.
- Bake for 15-18 minutes, until a toothpick inserted into the center comes out clean or with a few moist crumbs.
- Cool in the pan for 5 minutes, then transfer to a wire rack to cool completely.
Notes
For best results, use very ripe bananas with brown spots. Let the batter rest for 5 minutes before baking for taller, fluffier muffins. Do not overmix the batter to avoid tough muffins. Muffins can be stored in an airtight container at room temperature for up to 3 days, refrigerated for up to 5 days, or frozen for up to 3 months.
Nutrition
- Serving Size: 1 muffin
- Calories: 195
- Sugar: 11
- Sodium: 200
- Fat: 9
- Saturated Fat: 3
- Carbohydrates: 26
- Fiber: 2
- Protein: 5
Keywords: peanut butter banana muffins, lunchbox muffins, easy muffins, kid-friendly muffins, banana muffins