Love this? Save it for later!
Share the inspiration with your friends
The guy at the craft store watched me staring at a rack of silicone molds. I was holding one shaped like tiny football helmets, turning it over in my hands, and he didn’t say anything at first. Then he just pointed at the mold and said, “My wife uses those for the Super Bowl party. She dips them in chocolate. People lose their minds.” He shrugged and walked off toward the paint section, like he’d just shared the secret to world peace and was already over it. I bought the mold immediately, honestly, without even knowing what I’d put in it. That conversation stuck with me more than the mold itself. It wasn’t a recipe he gave me—it was an idea. And ideas, you know, are where the best kitchen experiments start.
I tried a few things when I got home. Brownies were too crumbly. Cake pops were too fussy. But then I remembered the classic Rice Krispie treat—sturdy, forgiving, and eager to hold a shape. It was one of those moments where you slap your forehead and wonder why you didn’t think of it sooner. I melted the butter, stirred in the marshmallows, and pressed the warm mixture into those little helmet molds with my fingertips. Let me tell you, the first batch came out looking more like lumpy space helmets than football gear. I forgot to grease the mold properly, and half of them stuck. I sat there on my kitchen floor, eating the casualties, and that’s when I realized the recipe needed a little structure—a tiny adjustment in technique to make them pop out clean and perfect.
After a few more tries (and a lot more marshmallows), I cracked it. These Game Day Mini Football Helmet Rice Krispie Treats are the result of that conversation, that failed first batch, and a stubborn refusal to let a good idea go to waste. They come together in under 20 minutes, they look ridiculous in the best way, and they disappear faster than anything else on the snack table. I keep making them because people smile when they see them. Not a polite smile—a real one. The kind you get when food feels like fun. Maybe you’ve been there, standing in a party aisle, wondering if you should just bring chips again. Trust me on this one. Grab the mold. Make the treats. Watch the magic happen.
Why You’ll Love These Game Day Mini Football Helmet Rice Krispie Treats
I’ve tested this recipe about seven times now, including one batch where I accidentally used salted butter and another where I let the marshmallows boil (don’t do that). Every version taught me something. What I’m sharing here is the version that works every single time, no matter your skill level in the kitchen.
- Quick & Easy: From start to finish, you’re looking at about 20 minutes. That’s less time than it takes to find parking at a tailgate.
- Simple Ingredients: Butter, marshmallows, Rice Krispies cereal, and a little vanilla extract. You probably have all of this in your pantry right now.
- Perfect for Game Day: Whether it’s the Super Bowl, a college rivalry game, or just a Sunday afternoon with friends, these little helmets are instant conversation starters.
- Crowd-Pleaser: I brought a platter to a watch party last fall, and a grown man in a jersey actually gasped. Kids love them. Adults love them. Even people who “don’t really like sweets” ate three.
- Unbelievably Delicious: The secret is a tiny splash of vanilla and a pinch of salt. It sounds simple, but it makes the flavor taste more like a homemade marshmallow treat and less like a packaged snack.
What makes these different from every other Rice Krispie treat recipe out there? It’s the technique. Most recipes tell you to melt the butter and marshmallows together and call it a day. But I’ve found that letting the butter brown just slightly—barely, until it smells nutty—adds a depth that completely changes the game. Plus, I press the mixture into the molds while it’s still warm enough to shape but cool enough to handle. That’s the sweet spot. That’s where the magic lives.
These treats aren’t just good. They’re the kind of snack that makes you close your eyes after the first bite. It’s comfort food reimagined—faster, cuter, but with the same soul-soothing satisfaction of the original. Perfect for impressing guests without stress, or turning a simple game day spread into something memorable.
What Ingredients You Will Need
This recipe uses simple, wholesome ingredients to deliver bold flavor and satisfying texture without the fuss. Most of these are pantry staples, so you probably won’t need a special trip to the store.
- 3 tablespoons unsalted butter (salted butter works in a pinch, but reduce the added salt later)
- 1 package (10 ounces) mini marshmallows (regular size works too, but mini melt faster and more evenly)
- 1/2 teaspoon vanilla extract (pure vanilla extract makes a difference here—imitation works, but the flavor is noticeably less rich)
- 1/4 teaspoon salt (this balances the sweetness and makes the marshmallow flavor pop)
- 6 cups Rice Krispies cereal (or any crisp rice cereal; I’ve tested this with generic store brands and they work fine, though the texture is slightly less crunchy)
- Non-stick cooking spray or melted coconut oil (for greasing the molds—this is non-negotiable if you want clean, helmet-shaped treats)
For decorating (optional but highly recommended):
- 1/2 cup white chocolate melting wafers (I prefer Ghirardelli brand for smooth melting)
- Red or blue food coloring (gel food coloring works best—liquid can seize the chocolate)
- Black icing pen or melted dark chocolate (for drawing the facemask lines)
A quick note on ingredient selection: I recommend using unsalted butter so you can control the salt level. If you only have salted butter on hand, just skip the extra 1/4 teaspoon of salt. For the marshmallows, Jet-Puffed is my go-to brand because they melt consistently without turning into a sticky mess. If you’re making these for a crowd with dietary restrictions, you can use vegan butter and vegan marshmallows—Dandies brand works beautifully. The texture will be slightly different, but the shape holds just fine.
For the cereal, stick with fresh Rice Krispies. If your box has been open for a month, the cereal might be stale, and stale cereal leads to soggy treats. Nobody wants a soggy football helmet.
Equipment Needed
You don’t need a professional kitchen to pull these off, but having the right tools makes the process smoother. Here’s what you’ll need:
- Silicone football helmet mold (available at craft stores or online; look for one with at least 6 cavities so you can work in batches)
- Large microwave-safe bowl (or a medium saucepan if you prefer stovetop)
- Rubber spatula (silicone is best—it won’t scratch your bowl and it handles sticky mixtures well)
- Measuring cups and spoons
- Small offset spatula or butter knife (for smoothing the tops)
- Baking sheet or cutting board (to hold the filled molds)
- Piping bags or small zip-top bags (for decorating)
If you don’t have a silicone helmet mold, you can use a standard football-shaped cookie cutter and press the mixture into a greased baking dish, then cut out shapes after they set. It’s not as detailed, but it works. I’ve also seen people use mini bundt pans or even greased egg-shaped molds in a pinch. The key is to have a flexible surface so the treats release easily. Rigid metal molds will make your life harder—trust me, I learned that the hard way.
A note on maintenance: Wash your silicone mold with warm soapy water and dry it thoroughly before first use. If it still smells like plastic, give it a quick bake at 300°F for 10 minutes to off-gas. Budget-friendly silicone molds can be found at most craft stores for under $10, and they last for years if you store them flat.
Preparation Method
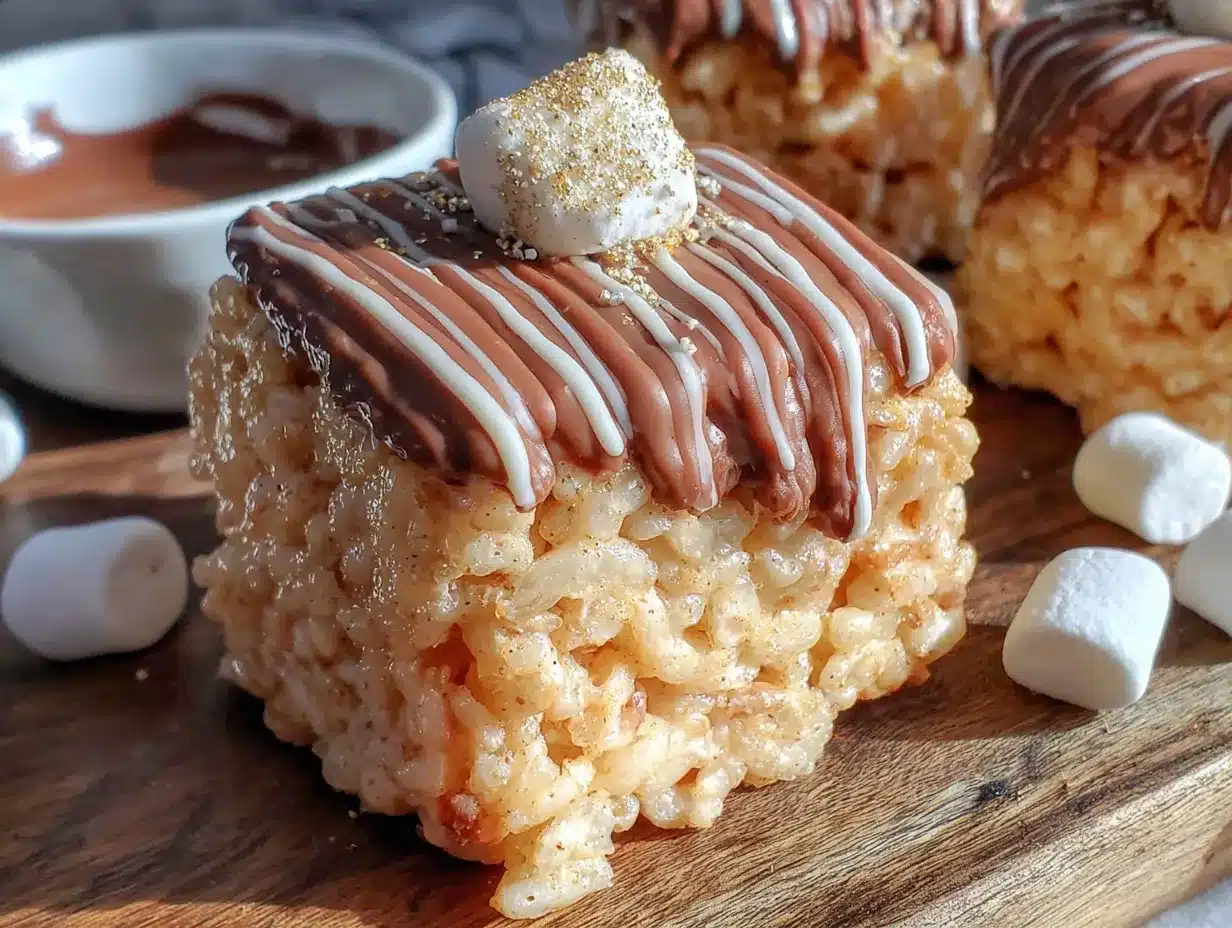
This is where the magic happens. Follow these steps closely, and you’ll have perfect little football helmets in about 20 minutes.
- Grease the mold thoroughly. Spray every crevice of your silicone football helmet mold with non-stick cooking spray. Use your fingers to rub it into the details—the ridges, the facemask area, the little chin strap indentations. This step is critical. If you skip it, your treats will stick, and you’ll be picking marshmallow bits out of the mold for an hour. I speak from experience.
- Melt the butter. In a large microwave-safe bowl, melt the 3 tablespoons of unsalted butter on high power for about 30 seconds. Stir it, then microwave for another 15 seconds if needed. Watch it carefully—you want it melted, not bubbling wildly. If you’re using the stovetop method, melt the butter over medium-low heat in a large saucepan, swirling the pan occasionally.
- Brown the butter slightly (optional but recommended). Here’s where my version differs from the box. After the butter melts, microwave it for another 15 to 20 seconds, watching closely. You’re looking for the butter to turn a light golden color and smell nutty. This takes practice—the first time I tried it, I ended up with burnt butter that tasted like toast. Aim for pale amber, not dark brown. If you’re nervous, skip this step. The treats will still be delicious.
- Add the marshmallows. Pour the entire 10-ounce bag of mini marshmallows into the bowl with the melted butter. Stir gently with your rubber spatula to coat the marshmallows. Microwave for 1 minute, then stir. The marshmallows will be puffed and partly melted. Microwave for another 30 seconds, then stir again until the mixture is smooth and fully combined. Be careful—the bowl will be hot.
- Stir in the vanilla and salt. Add the 1/2 teaspoon of vanilla extract and 1/4 teaspoon of salt. Stir until everything is incorporated. The mixture will look glossy and smell amazing. This is the moment where you realize you’re making something special, not just a kids’ snack.
- Add the cereal. Pour the 6 cups of Rice Krispies cereal into the marshmallow mixture. Fold gently with your spatula, scraping from the bottom, until all the cereal is coated. Don’t stir too aggressively—you want the cereal to stay intact, not break into crumbs. Work quickly here, because the mixture cools fast.
- Let it cool slightly. Let the mixture sit in the bowl for 2 to 3 minutes. It needs to be warm enough to mold but cool enough to handle without burning your fingers. If you try to press it into the molds immediately, you’ll end up with sticky, painful fingers and uneven shapes. Patience, my friend.
- Fill the molds. Scoop about 2 tablespoons of the mixture into each helmet cavity. Use your fingers or the back of a small spoon to press the mixture firmly into all the nooks and crannies. Pay special attention to the top of the helmet—you want a smooth, rounded shape. Don’t overfill; the treats should sit just slightly above the rim of the mold. Press firmly but gently, like you’re packing a snowball.
- Smooth the bottoms. Use the offset spatula or a butter knife to level off the bottoms of the helmets. Any excess mixture can be pressed into the next batch. If you’re making a second round, re-grease the mold before filling it again.
- Let them set. Place the filled mold on a baking sheet or cutting board and let it sit at room temperature for about 15 minutes. Don’t rush this—if you try to pop them out too early, they’ll fall apart. After 15 minutes, gently flex the silicone mold and turn it over. The helmets should release cleanly. If they stick, let them sit for another 5 minutes and try again.
- Repeat. This recipe makes about 12 to 14 mini helmets, depending on the size of your mold. Work in batches until all the mixture is used.
Cooking Tips & Techniques
I’ve made these treats more times than I care to admit, and I’ve picked up a few tricks along the way. Here’s what I wish someone had told me before my first attempt.
Temperature control is everything. The biggest mistake people make is overheating the marshmallows. If the mixture gets too hot, the sugar crystallizes, and your treats turn out hard and brittle instead of soft and chewy. Microwave in short bursts and stir between each one. If you see the marshmallow mixture starting to bubble, you’ve gone too far. Pull it back immediately and stir vigorously to cool it down.
Work in a warm kitchen. If your kitchen is cold, the mixture will set before you can press it into the molds. I learned this the hard way during a winter batch when my apartment was drafty. The mixture turned stiff halfway through, and I ended up with lumpy, uneven helmets. If your kitchen is cold, warm the silicone mold in the microwave for 10 seconds before filling it. It makes a world of difference.
Use wet fingers for pressing. Dip your fingers in a bowl of cold water before pressing the mixture into the molds. The water prevents the marshmallow from sticking to your skin, and it helps you shape the treats more precisely. Just don’t use too much water—you don’t want soggy treats. A light dip, a quick shake, and you’re good to go.
Don’t skip the greasing. I cannot stress this enough. Grease the mold, then grease it again. The silicone might say “non-stick” on the label, but marshmallow treats are notoriously sticky. I once skipped the greasing because I was in a hurry, and I spent 20 minutes picking marshmallow bits out of the facemask details with a toothpick. Learn from my mistake.
Let them cool completely before decorating. If you try to pipe chocolate onto warm treats, the chocolate will melt and slide right off. Patience is a virtue, especially when it comes to football helmet details. Let the treats sit at room temperature for at least 30 minutes before you even think about decorating.
Variations & Adaptations
One of the best things about this recipe is how flexible it is. Here are a few ways I’ve adapted it over the years.
Chocolate-Dipped Helmets: After the treats set, melt 1 cup of dark or milk chocolate chips with 1 teaspoon of coconut oil. Dip the top half of each helmet into the chocolate, let the excess drip off, and place them on a parchment-lined baking sheet. Refrigerate for 10 minutes to set. The chocolate adds a crunchy shell that contrasts beautifully with the soft interior. I tried this for a playoff party, and people couldn’t stop talking about it.
Team Color Variations: Divide the marshmallow mixture into two bowls before adding the cereal. Tint one bowl with red food coloring and the other with blue (or whatever your team colors are). Layer the two colors in the mold for a striped effect. It takes a little more time, but the result is stunning. Just be careful not to overmix the food coloring—you want swirls, not a uniform color.
Peanut Butter Version: Add 1/4 cup of creamy peanut butter to the marshmallow mixture after it melts. Stir until smooth before adding the cereal. The peanut butter adds a savory note that balances the sweetness. If you have a peanut allergy in the house, sunflower seed butter works just as well.
Gluten-Free Adaptation: Rice Krispies are naturally gluten-free, but not all crisp rice cereals are. Check the label to make sure your cereal is certified gluten-free if that’s a concern. Everything else in the recipe is naturally gluten-free, so you’re good to go.
Vegan Version: Use vegan butter (I like Earth Balance) and vegan marshmallows (Dandies brand is my favorite). The texture will be slightly chewier, but the shape holds beautifully. I brought a vegan batch to a potluck last year, and no one could tell the difference.
Serving & Storage Suggestions
These treats are best served at room temperature, arranged on a platter in a formation that looks like a football field. I like to line them up in rows on a rectangular white platter, with a few green napkins underneath to simulate grass. It’s a small touch, but it always gets a reaction.
For a game day spread, pair these helmets with other finger foods like buffalo chicken dip, mini sliders, or loaded nachos. They also go surprisingly well with a cold beer or a glass of milk—the sweetness balances the savory and spicy flavors of typical game day snacks.
Storage: Store the undecorated treats in an airtight container at room temperature for up to 3 days. Layer them between sheets of parchment paper to prevent sticking. Do not refrigerate them—the cold air makes the marshmallows hard and rubbery. If you’ve already decorated them with chocolate, store them in a single layer to prevent the chocolate from smudging.
Freezing: You can freeze the undecorated treats for up to 2 months. Wrap each helmet individually in plastic wrap, then place them in a freezer-safe bag. Thaw at room temperature for about 20 minutes before decorating or serving. The texture will be slightly softer after freezing, but the flavor remains excellent.
Reheating: These treats are meant to be eaten at room temperature, but if you want that just-made softness, microwave a single helmet for 5 to 8 seconds. Be careful not to overheat—10 seconds is enough to turn it into a puddle. The chocolate decorations will melt, so only reheat undecorated treats.
One thing I’ve noticed: the flavors actually develop over time. Day-old treats taste more marshmallowy and less buttery, which some people prefer. If you’re making these a day ahead, store them in an airtight container and decorate them the morning of your event.
Nutritional Information & Benefits
Let’s be real—these are a treat, not a health food. But here’s the estimated nutritional breakdown for one undecorated mini helmet (based on 12 servings):
| Nutrient | Amount per Serving |
|---|---|
| Calories | 145 |
| Total Fat | 4g |
| Saturated Fat | 2.5g |
| Carbohydrates | 27g |
| Sugar | 14g |
| Protein | 1g |
| Sodium | 115mg |
On the bright side, Rice Krispies are fortified with iron and B vitamins, so you’re getting a tiny nutritional boost. The butter adds a small amount of vitamin A. And if you use vegan marshmallows, you’re avoiding gelatin, which makes these suitable for vegetarian diets. The main allergens to watch for are dairy (from the butter) and, if you add chocolate, potential soy or milk solids. Always check your ingredient labels if you’re serving someone with allergies.
My personal take? These are a celebration food. They’re meant to be enjoyed in the moment, not analyzed on a spreadsheet. One or two of these with a game day spread is perfectly fine. Just don’t eat the whole batch in one sitting—I may or may not have done that, and I don’t recommend it.
Conclusion
These Game Day Mini Football Helmet Rice Krispie Treats are proof that the best recipes come from unexpected places. A random conversation at a craft store, a failed first attempt, and a stubborn determination to make it work—that’s the story behind every batch I make. And honestly, that’s what makes them special. They’re not just a snack. They’re a conversation starter, a crowd-pleaser, and a little piece of kitchen creativity that brings people together.
I love this recipe because it’s forgiving. You can mess up the first batch (I did), learn from it, and still end up with something that makes people smile. That’s the beauty of cooking—it’s not about perfection. It’s about showing up, trying something new, and sharing the results with the people you care about.
Now I want to hear from you. Have you tried making these? Did you add your own twist? Drop a comment below and tell me about your game day creations. And if you loved this recipe, share it with a friend who needs a little extra fun in their snack lineup. Let’s make every game day a little sweeter, one tiny football helmet at a time.
Frequently Asked Questions
Can I use a different cereal instead of Rice Krispies?
Absolutely. Cocoa Krispies, Fruity Pebbles, or even crushed cornflakes all work. Just keep the total volume at 6 cups. Different cereals will change the flavor and texture, but the basic method stays the same.
How far in advance can I make these?
You can make the undecorated treats up to 3 days ahead. Store them in an airtight container at room temperature. Decorate them the day of your event for the best presentation. If you need to make them further ahead, freeze them for up to 2 months.
Why did my treats turn out hard?
This usually happens when the marshmallow mixture gets too hot. The sugar crystallizes and creates a hard, brittle texture. Next time, microwave in shorter bursts and stir more frequently. Also, make sure you’re using fresh marshmallows—old ones don’t melt as evenly.
Can I make these without a silicone mold?
Yes. Press the mixture into a greased 9×13-inch baking dish, let it set, and then use a football-shaped cookie cutter to cut out shapes. You won’t get the 3D helmet detail, but they’ll still look festive. You can also shape them by hand into small football ovals.
How do I get the chocolate decorations to look clean?
Use a piping bag with a small round tip, or snip a tiny corner off a zip-top bag. Practice on a piece of parchment paper first to get the flow right. If the chocolate is too thick, add a teaspoon of coconut oil to thin it out. Let the chocolate set completely before stacking or serving.
Pin This Recipe!
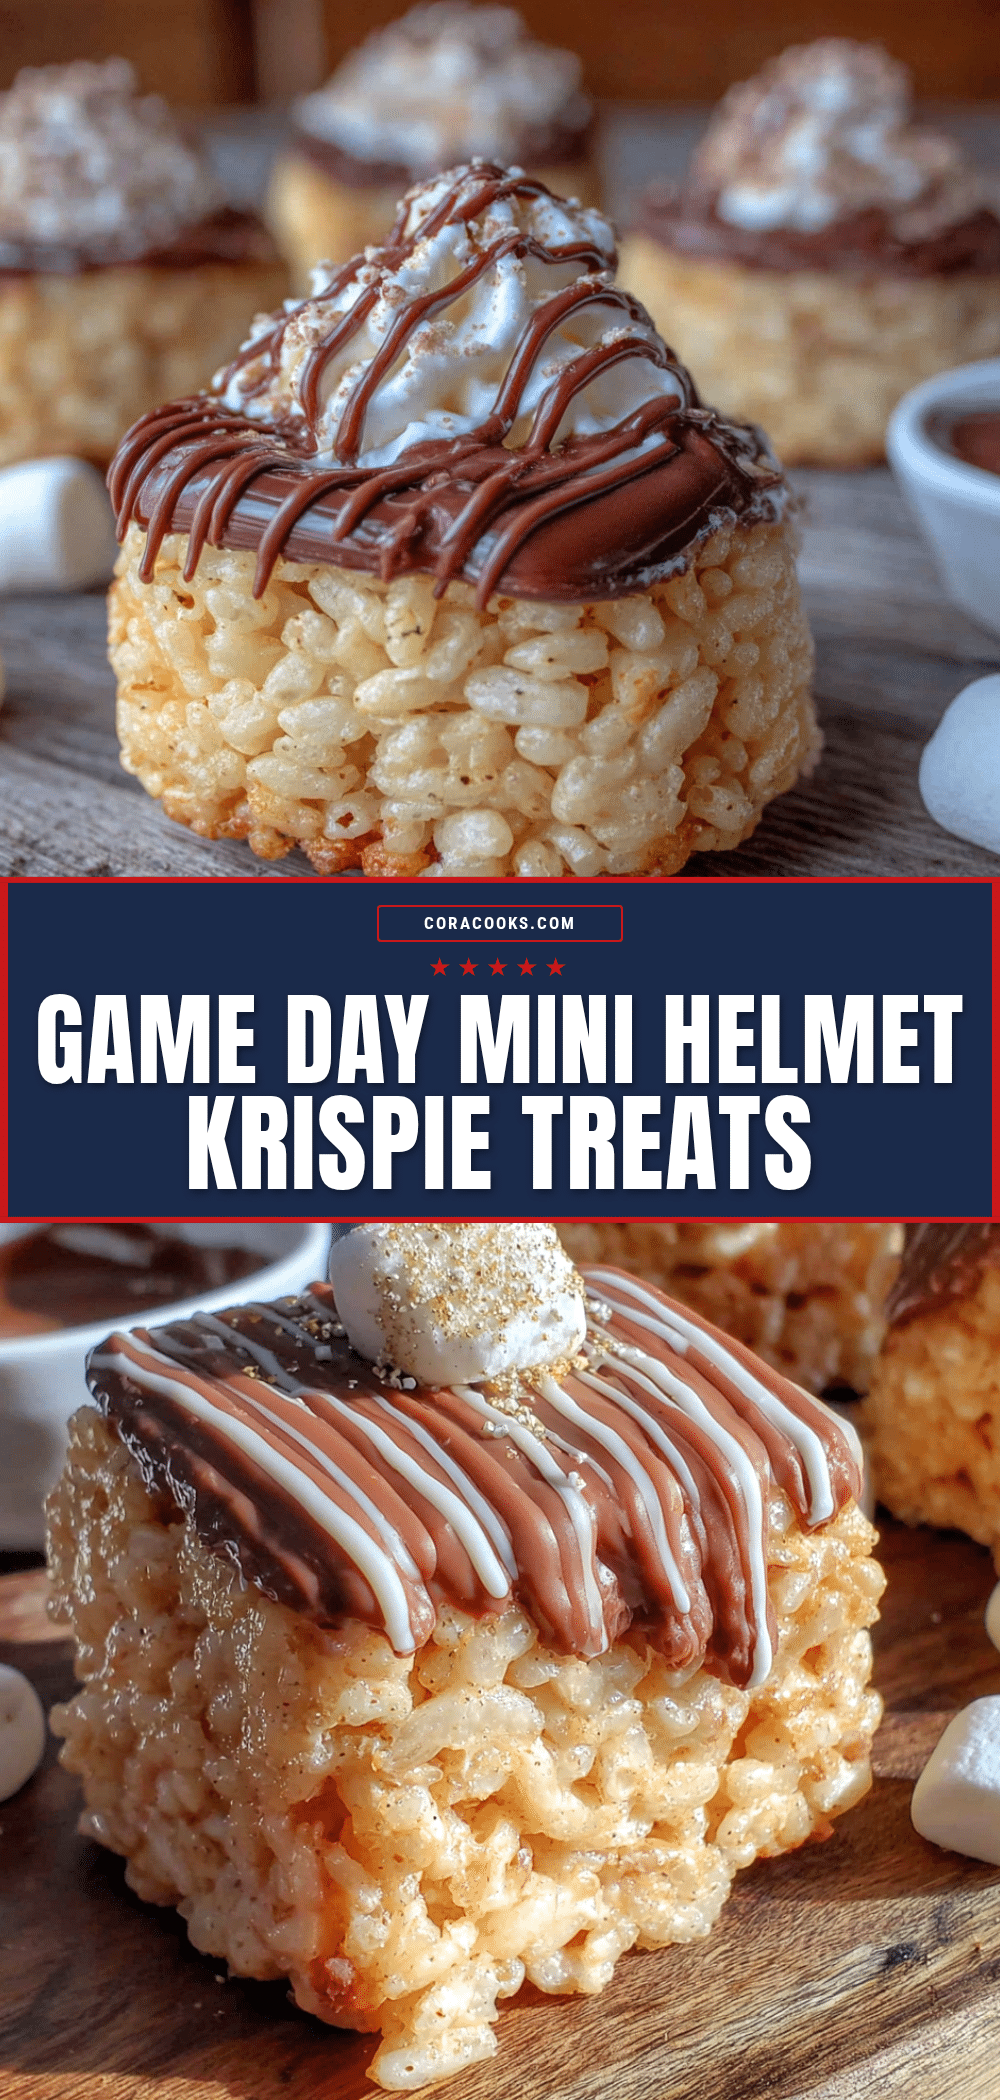
Game Day Mini Football Helmet Rice Krispie Treats
These quick and easy Rice Krispie treats are shaped like mini football helmets, perfect for game day parties. They come together in under 20 minutes and are a guaranteed crowd-pleaser.
- Prep Time: 10 minutes
- Cook Time: 10 minutes
- Total Time: 20 minutes
- Yield: 12-14 servings 1x
- Category: Dessert
- Cuisine: American
Ingredients
- 3 tablespoons unsalted butter
- 1 package (10 ounces) mini marshmallows
- 1/2 teaspoon vanilla extract
- 1/4 teaspoon salt
- 6 cups Rice Krispies cereal
- Non-stick cooking spray or melted coconut oil (for greasing molds)
- 1/2 cup white chocolate melting wafers (optional, for decorating)
- Red or blue food coloring (optional, for decorating)
- Black icing pen or melted dark chocolate (optional, for decorating)
Instructions
- Grease the silicone football helmet mold thoroughly with non-stick cooking spray, rubbing it into all crevices.
- In a large microwave-safe bowl, melt the butter on high for about 30 seconds, then stir. Microwave for another 15 seconds if needed until melted.
- Optionally, brown the butter by microwaving for an additional 15-20 seconds until it turns light golden and smells nutty.
- Add the mini marshmallows to the melted butter and stir to coat. Microwave for 1 minute, stir, then microwave for another 30 seconds and stir until smooth.
- Stir in the vanilla extract and salt until fully incorporated.
- Pour the Rice Krispies cereal into the marshmallow mixture and fold gently with a rubber spatula until all cereal is coated.
- Let the mixture cool for 2-3 minutes until warm but safe to handle.
- Scoop about 2 tablespoons of the mixture into each helmet cavity. Press firmly into all nooks and crannies using your fingers or the back of a spoon.
- Smooth the bottoms with an offset spatula or butter knife.
- Let the filled mold sit at room temperature for about 15 minutes to set. Then gently flex the mold to release the helmets.
- Repeat with remaining mixture. This recipe makes about 12-14 mini helmets.
- If decorating, let treats cool completely (at least 30 minutes). Melt white chocolate wafers, tint with food coloring if desired, and pipe onto helmets. Use black icing or melted dark chocolate to draw facemask lines.
Notes
Grease the mold thoroughly to prevent sticking. Let the mixture cool slightly before pressing into molds to avoid burning your fingers. For best results, use fresh marshmallows and cereal. Decorating is optional but adds a festive touch.
Nutrition
- Serving Size: 1 mini helmet
- Calories: 145
- Sugar: 14
- Sodium: 115
- Fat: 4
- Saturated Fat: 2.5
- Carbohydrates: 27
- Protein: 1
Keywords: Rice Krispie treats, football helmet, game day, Super Bowl, easy dessert, no-bake, kid-friendly