Love this? Save it for later!
Share the inspiration with your friends
Last November, my neighbor Carol watched me dump a failed, grayish blob of flour and water into the trash for the third time in two weeks. She didn’t say anything at first. Then she just pointed at my kitchen window and said, “Your kitchen is too cold. Move the jar to the top of the fridge. And stop being so precious with it.” That was it. No lecture on microbiology. No fancy ratios. Just a practical observation from someone who had clearly been through this herself. I felt a little silly, honestly—I had been so focused on following a rigid schedule that I forgot to pay attention to my actual environment.
That conversation changed everything. The next day, I started fresh with a simple mix of whole wheat flour and water, tucked the jar on top of my fridge where it was cozy, and within four days I had a bubbly, happy starter that smelled like ripe fruit and fresh bread. I mean, I literally texted Carol a photo of it with the caption “SHE’S ALIVE” and she sent back a single laughing-crying emoji. It became a little ritual between us—every few days I’d send her a picture of my starter’s progress, and she’d respond with a thumbs-up or a gentle “needs more time.”
This simple beginner’s sourdough starter from scratch isn’t about perfection. It’s about paying attention, being patient, and trusting that a little flour and water will do exactly what it’s supposed to do if you give it the right conditions. Maybe you’ve been there—staring at a jar that looks like it’s doing absolutely nothing, wondering if you’re wasting your time. I promise you’re not. You just need to move it to the top of the fridge.
Why You’ll Love This Recipe
Let me tell you why this simple 7-day beginner sourdough starter recipe is different from all those complicated guides out there. First off, it actually works for real people with real schedules. I tested this method three separate times to make sure it wasn’t just luck, and each time I got a vigorous, reliable starter by day seven.
- Foolproof for Beginners: No special equipment. No complicated feeding schedules. Just a simple daily routine that takes five minutes.
- Only Two Ingredients: Flour and water. That’s it. No fancy organic grapes or store-bought starter needed.
- Perfect for Busy People: You feed it once a day. Set a reminder on your phone and you’re good to go.
- Builds Real Confidence: There’s something magical about watching those first bubbles appear. It makes you feel like a real baker.
- Costs Pennies: Compared to buying a starter online or a packet of yeast, this costs almost nothing.
What makes this version special is the method. Instead of telling you to discard half your starter every day (which feels so wasteful), I use a smaller ratio that builds slowly and steadily. It’s gentler on your flour supply and way less intimidating. Plus, I’ll show you exactly what your starter should look, smell, and feel like at every stage so you never have to wonder if you’re on the right track.
This isn’t just another sourdough starter guide. It’s the kind that makes you text your friends photos of your bubbly jar with a proud little caption. And honestly? That feeling is worth the seven days of waiting.
What Ingredients You Will Need
This recipe uses just two simple ingredients to create a living, breathing sourdough starter. I know it sounds too simple to be true, but trust me—the magic is in the process, not the shopping list.
- Whole Wheat Flour (1 cup / 120 grams): I recommend using whole wheat flour for the first few days because it has more natural yeast and bacteria than all-purpose flour. My favorite brand is Bob’s Red Mill, but any whole wheat flour works. The extra nutrients in whole wheat give your starter a strong head start. If you only have all-purpose flour, you can still make this work—it just might take an extra day or two to get going.
- All-Purpose Flour (for feedings after day 3): Once your starter is active, you can switch to all-purpose flour for feedings. I use King Arthur Flour because it has a consistent protein content, but any unbleached all-purpose flour works great. Avoid bleached flour if you can—the chemicals can slow down fermentation.
- Filtered Water (1/2 cup / 120 ml per feeding): Tap water can contain chlorine and other chemicals that inhibit yeast growth. I use filtered water from my Brita pitcher, but you can also let tap water sit out overnight to let the chlorine evaporate. The water should be lukewarm—around 75-80°F (24-27°C). Too hot and you’ll kill the yeast. Too cold and fermentation will be sluggish.
- Optional: Rye Flour (for a supercharged start): If you want your starter to be extra vigorous, you can substitute rye flour for the whole wheat flour on days 1-3. Rye has even more natural yeast than whole wheat. I’ve done this and it really does speed things up.
That’s literally everything you need. No sugar, no salt, no yogurt, no pineapple juice (despite what some recipes say). Just flour and water, plus a little patience and a clean jar.
Equipment Needed
You don’t need much to make a sourdough starter, which is part of the beauty. Here’s what I use:
- A Glass Jar (at least 1-quart / 1-liter capacity): A wide-mouth Mason jar is perfect. I use a 32-ounce Ball jar because it’s easy to see through and the wide opening makes stirring and cleaning simple. Avoid metal bowls—they can react with the fermenting starter.
- A Kitchen Scale (digital, preferably): I know measuring by volume works, but a scale makes this so much more consistent. I use a cheap OXO scale I got for $20, and it’s been going strong for years. If you don’t have one, use the spoon-and-level method for flour.
- A Wooden Spoon or Silicone Spatula: For stirring. Metal spoons are fine too, but I prefer wooden because it feels more traditional. Honestly, use whatever you have.
- A Clean Cloth or Coffee Filter: To cover the jar. You want it covered so dust and fruit flies don’t get in, but it needs to breathe. A paper towel secured with a rubber band works great too.
- A Rubber Band: To mark the starting level of your starter so you can see how much it rises.
That’s it. No proofing baskets, no dutch ovens, no fancy thermometers. Just a jar, a spoon, and a little counter space.
Preparation Method
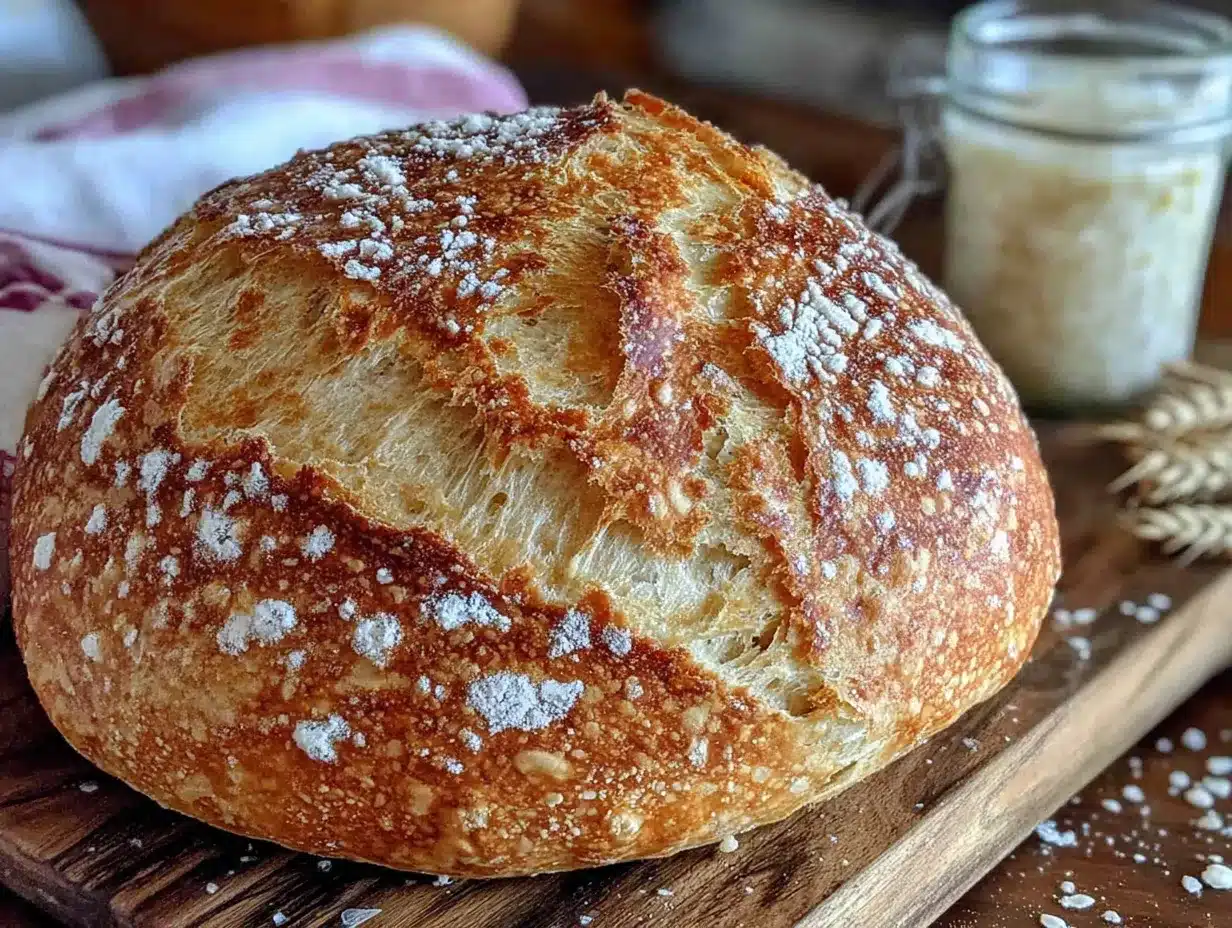
Here’s the step-by-step guide to creating your simple beginner’s sourdough starter from scratch. I’ve broken it down day by day so you know exactly what to expect.
Day 1: The Beginning
- Combine 1/2 cup (60 grams) whole wheat flour and 1/4 cup (60 ml) lukewarm filtered water in your clean glass jar.
- Stir vigorously with your wooden spoon until no dry flour remains. It should look like a thick paste.
- Scrape down the sides of the jar with your spatula.
- Cover loosely with a cloth or coffee filter and secure with a rubber band.
- Place the jar in a warm spot in your kitchen—top of the fridge, near the stove, or on top of the water heater.
- Mark the level of the mixture with a rubber band so you can see if it rises.
- Let it sit undisturbed for 24 hours.
What to expect: Honestly, not much will happen on day one. You might see a few tiny bubbles, but don’t worry if you don’t. The flour is just absorbing the water and starting to break down.
Day 2: First Signs of Life
- Check your starter. It might have a few bubbles on top and smell a little sour or funky—that’s normal.
- Discard half of the starter (about 1/4 cup / 60 grams). Don’t throw it down the sink—it can clog pipes. Put it in the compost or trash.
- Add 1/2 cup (60 grams) whole wheat flour and 1/4 cup (60 ml) lukewarm filtered water.
- Stir well, scrape down the sides, cover, and return to its warm spot.
Sensory cue: The smell might be quite strong today—like sour socks or overripe fruit. This is the bacteria establishing itself. Don’t panic, it gets better.
Day 3: The Activity Begins
- You should see more bubbles today, maybe even some on the surface. The volume might have increased slightly.
- Discard half (about 1/4 cup / 60 grams).
- Feed with 1/2 cup (60 grams) all-purpose flour and 1/4 cup (60 ml) lukewarm filtered water.
- Stir, scrape, cover, and return to warm spot.
Personal tip: If you don’t see any bubbles by day three, don’t give up. Your kitchen might be too cold. Try moving the jar to a slightly warmer spot. I once had a starter that did nothing for five days, then exploded with activity on day six.
Day 4: Getting Stronger
- Your starter should be noticeably bubbly now, with a pleasant sour smell—like yogurt or fresh bread.
- Discard half (about 1/4 cup / 60 grams).
- Feed with 1/2 cup (60 grams) all-purpose flour and 1/4 cup (60 ml) lukewarm filtered water.
- Stir, scrape, cover, and return to warm spot.
Visual cue: Look for a dome shape on the surface. That’s a sign of strong fermentation. The starter should have doubled in size within 12 hours of feeding.
Day 5: Almost There
- Your starter should be very active now, doubling in size within 6-8 hours of feeding.
- Discard half (about 1/4 cup / 60 grams).
- Feed with 1/2 cup (60 grams) all-purpose flour and 1/4 cup (60 ml) lukewarm filtered water.
- Stir, scrape, cover, and return to warm spot.
Troubleshooting: If your starter has a layer of grayish liquid on top (called hooch), that means it’s hungry. Just stir it back in and feed it a little more than usual next time.
Day 6: Ready for Action
- Your starter should be doubling or tripling in size within 4-6 hours of feeding. It should smell pleasantly sour and yeasty.
- Discard half (about 1/4 cup / 60 grams).
- Feed with 1/2 cup (60 grams) all-purpose flour and 1/4 cup (60 ml) lukewarm filtered water.
- Stir, scrape, cover, and return to warm spot.
The float test: Drop a small spoonful of your starter into a glass of water. If it floats, it’s ready to bake with. If it sinks, give it another day or two.
Day 7: Baking Day
- Your starter should be bubbly, doubled in size within 4-6 hours, and smell amazing—like sourdough bread.
- Feed it one more time in the morning, and by afternoon it should be at peak activity.
- Use it in your favorite sourdough recipe within 4-6 hours of feeding.
- Store the remaining starter in the refrigerator, feeding it once a week.
Congratulations! You’ve just created your very own simple beginner’s sourdough starter from scratch. Give yourself a pat on the back.
Cooking Tips & Techniques
After making this starter multiple times, I’ve learned a few things the hard way. Here are my best tips for success:
Temperature matters more than you think. Your starter wants to be warm—around 75-80°F (24-27°C). If your kitchen is cold, find a warm spot. I once put my jar on top of my cable box and it worked like a charm. Just make sure it’s not too hot—anything above 90°F (32°C) can kill the yeast.
Don’t overthink the discard. I know it feels wasteful to throw away half your starter every day, but it’s necessary. The discard removes built-up acid and gives the yeast fresh food. If you really hate waste, you can use the discard for pancakes, crackers, or even compost it.
Consistency is key. Try to feed your starter at the same time every day. I do mine first thing in the morning while my coffee is brewing. It becomes a nice little ritual.
Trust your senses. The recipe gives you guidelines, but your starter will tell you what it needs. If it smells like acetone (nail polish remover), it’s hungry—feed it more. If it smells like rotten eggs, it might need more oxygen—stir it vigorously. If it smells like fresh bread and fruit, you’re doing everything right.
My biggest failure: I once forgot to feed my starter for three days. It developed a thick layer of dark hooch and smelled like a brewery. I almost threw it away. Instead, I poured off the hooch, fed it double the usual amount, and within two feedings it was back to normal. These little guys are resilient.
Variations & Adaptations
Once you’ve mastered the basic simple beginner’s sourdough starter from scratch, you can experiment with these variations:
Gluten-Free Starter: Substitute brown rice flour or sorghum flour for the whole wheat and all-purpose flour. The process is the same, but it might take 10-14 days to become active. I’ve made this for my gluten-sensitive friends and it works beautifully.
Rye Starter: Use 100% rye flour for the entire process. Rye ferments faster and produces a more robust starter with a deeper, earthier flavor. This is my personal favorite for making dark rye breads.
Whole Wheat Starter: Continue using whole wheat flour for all feedings instead of switching to all-purpose. Your starter will be more vigorous and have a nuttier flavor. Just be prepared for a slightly denser bread.
Stiff Starter: Use a 2:1 ratio of flour to water instead of 1:1. This creates a stiffer, more manageable starter that some bakers prefer. It’s less messy and can be stored longer between feedings.
Herb-Infused Starter: Add a sprig of rosemary or a few crushed fennel seeds to your jar on day 3. This infuses the starter with subtle herbal notes that carry through to your bread. I tried this with thyme once and it was incredible.
Serving & Storage Suggestions
Once your starter is established, you have a few options for keeping it alive and happy.
Room Temperature Storage: If you bake frequently (every day or every other day), keep your starter on the counter and feed it once a day. This is the most active state and ready to use anytime.
Refrigerator Storage: For occasional bakers, store your starter in the fridge and feed it once a week. Before baking, take it out, feed it, and let it sit at room temperature for 8-12 hours until it’s active again. I keep mine in the fridge and bake once or twice a week.
Freezer Storage: You can freeze a small amount of starter (about 1/4 cup) in a freezer bag for up to 6 months. When you’re ready to use it, thaw it in the fridge and feed it a few times to wake it up.
Reheating Tips: If you’re using cold starter from the fridge, don’t use it directly in a recipe. Feed it and let it come to room temperature first. Cold starter won’t rise properly.
Flavor Development: Your starter will develop more complex flavors over time. A starter that’s a few weeks old will produce milder bread, while one that’s several months old will have a more pronounced sour tang. I’ve been maintaining mine for over a year and the flavor just keeps getting better.
Nutritional Information & Benefits
While the starter itself isn’t typically eaten in large quantities, it does contribute to the nutritional profile of your bread.
Estimated per tablespoon of active starter (about 15 grams):
- Calories: 15-20
- Carbohydrates: 3-4 grams
- Protein: 0.5-1 gram
- Fiber: 0.2-0.5 grams
- Fat: 0 grams
Health Benefits: Sourdough fermentation breaks down phytic acid in flour, making minerals like iron, zinc, and magnesium more bioavailable. The fermentation process also produces beneficial bacteria that can support gut health. Some studies suggest sourdough bread has a lower glycemic index than regular bread, meaning it doesn’t spike blood sugar as much.
Dietary Considerations: This starter is naturally vegan and contains no added sugar, oil, or preservatives. For a gluten-free version, use gluten-free flour alternatives as mentioned above.
Potential Allergens: Contains wheat/gluten unless you use gluten-free flour. Always check your flour labels for cross-contamination warnings if you have severe allergies.
Personal Wellness Perspective: I honestly feel better when I eat sourdough bread compared to commercial bread. It’s probably the combination of the fermentation and the slower digestion, but I don’t get that heavy, bloated feeling I used to get from regular bread.
Conclusion
Creating your own simple beginner’s sourdough starter from scratch is one of the most rewarding things you can do in the kitchen. It costs almost nothing, requires minimal effort, and gives you the foundation for endless baking adventures. Plus, there’s something deeply satisfying about knowing you created something alive and useful from just flour and water.
I encourage you to customize this process to fit your schedule and your kitchen. Maybe your starter likes being fed in the evening instead of the morning. Maybe it prefers a different flour. Pay attention to what it’s telling you and adjust accordingly. That’s the beauty of sourdough—it’s a living thing that responds to its environment.
I still text Carol photos of my starter sometimes, even though it’s been over a year. She sends back a thumbs-up and occasionally a recipe idea. That little exchange in my kitchen changed the way I bake, and I hope this guide changes the way you bake too. Give it a try—you’ve got nothing to lose but a little flour and water, and everything to gain.
I’d love to hear how your starter turns out! Drop a comment below and tell me about your first bubbles, your biggest challenges, or your proudest baking moment. And if you have your own tips for keeping a starter happy, share those too. Happy baking!
Frequently Asked Questions
Why isn’t my sourdough starter bubbling after three days?
This is usually a temperature issue. Move your jar to a warmer spot—top of the fridge, near the stove, or even on top of your cable box. If your kitchen is cold (below 70°F), fermentation will be very slow. Give it a few more days before giving up.
Can I use tap water for my sourdough starter?
Yes, but let it sit out overnight first to allow chlorine to evaporate. If your tap water is heavily chlorinated or treated with chloramine (which doesn’t evaporate), use filtered or bottled water instead. The chemicals can inhibit yeast growth.
What does it mean if my starter has a layer of liquid on top?
That liquid is called hooch, and it’s a sign that your starter is hungry. It’s perfectly normal. Just stir it back in and feed your starter a little more than usual next time. If it happens frequently, you might need to feed your starter more often.
How do I know when my sourdough starter is ready to use?
Your starter is ready when it doubles in size within 4-6 hours of feeding, has a pleasant sour smell, and passes the float test (a spoonful floats in water). This usually happens around day 6-7, but can take longer depending on temperature.
Can I skip the daily discard and just keep adding flour and water?
No, you really shouldn’t. The discard is essential because it removes built-up acid and keeps the yeast-to-bacteria ratio balanced. Without it, your starter will become too acidic and the yeast won’t thrive. If you hate waste, save the discard for pancakes or crackers.
Pin This Recipe!
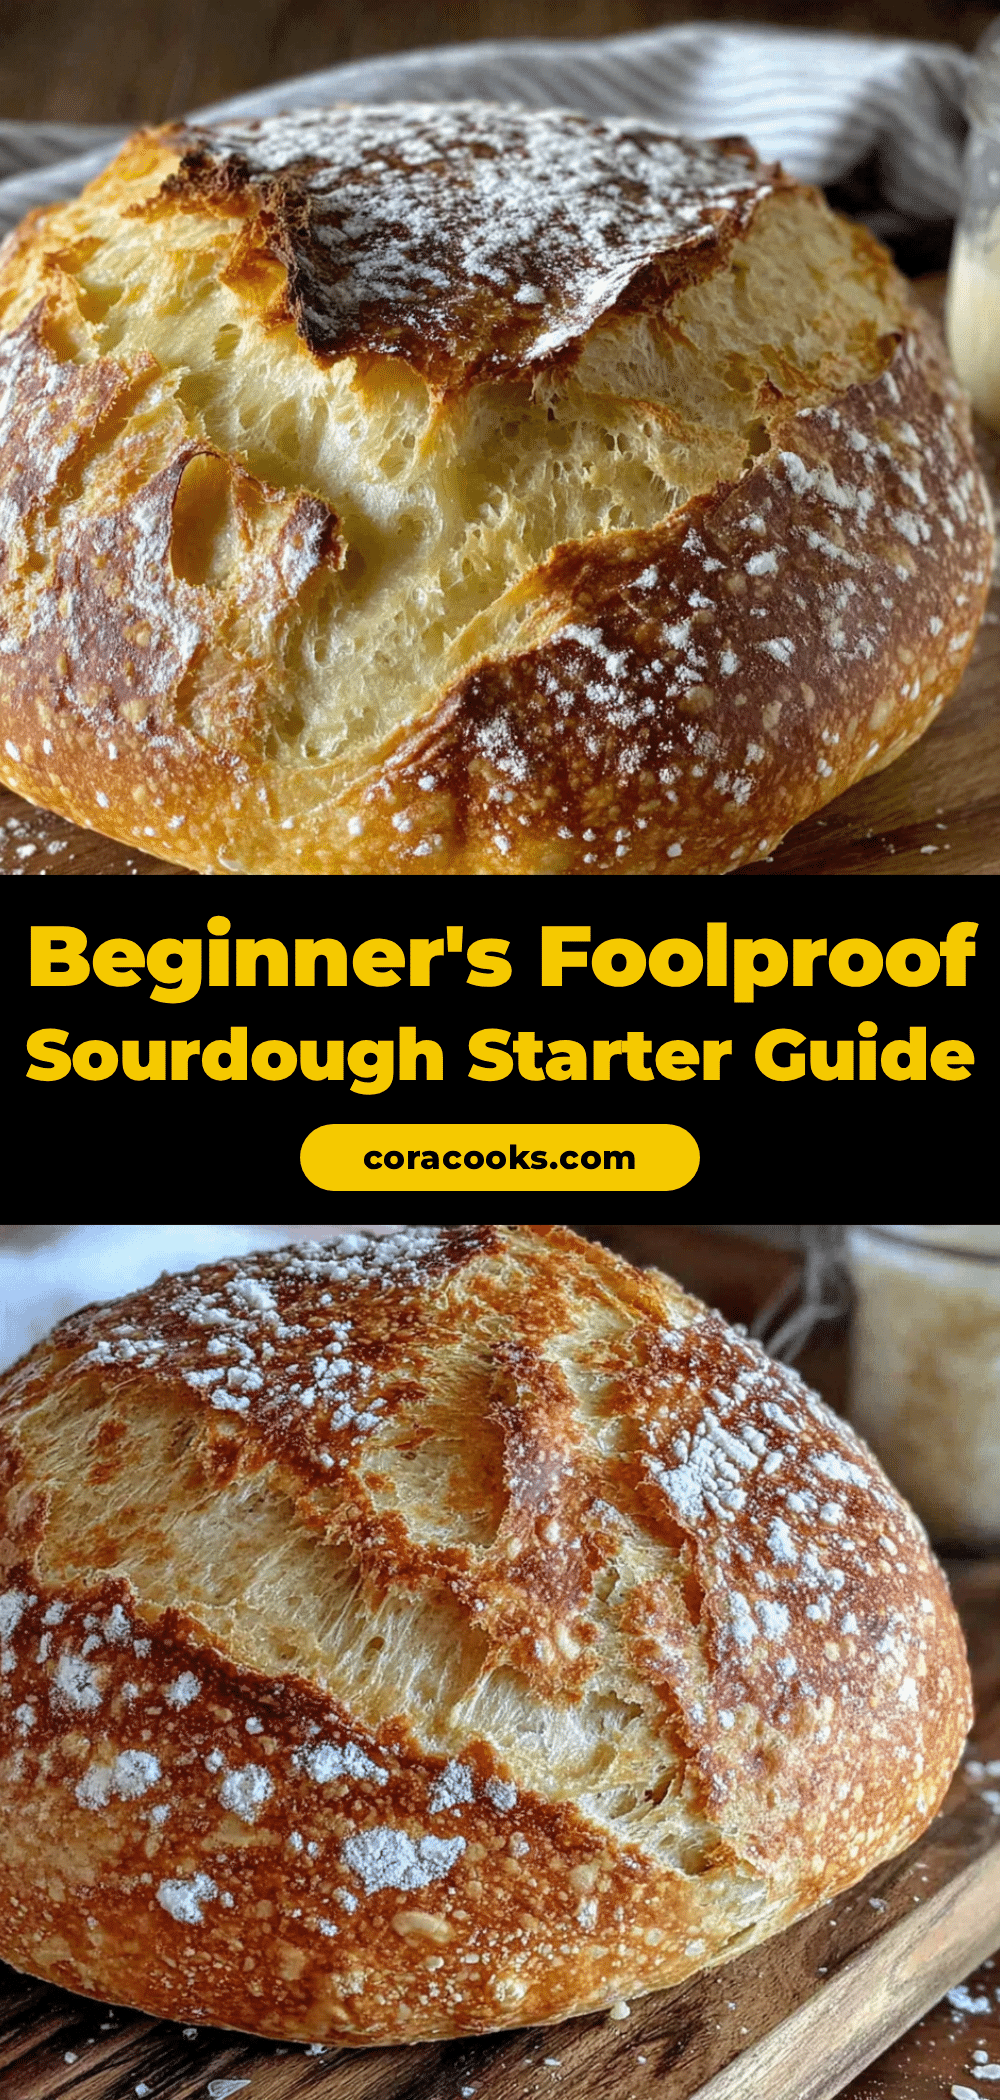
Simple 7-Day Beginner Sourdough Starter Recipe (Easy from Scratch)

Learn how to create a bubbly, active sourdough starter from scratch in just 7 days using only flour and water. This foolproof method is perfect for beginners and requires minimal equipment and effort.
- Prep Time: 5 minutes per day
- Cook Time: 0 minutes
- Total Time: 7 days
- Yield: 1 active sourdough starter (about 1 cup / 240 grams) 1x
- Category: Starter
- Cuisine: American
Ingredients
- 1 cup (120 grams) whole wheat flour (for days 1-2)
- All-purpose flour (for feedings after day 3, e.g., King Arthur Flour)
- 1/2 cup (120 ml) filtered water per feeding (lukewarm, 75-80°F / 24-27°C)
- Optional: Rye flour (for days 1-3 for a supercharged start)
Instructions
- Day 1: Combine 1/2 cup (60 grams) whole wheat flour and 1/4 cup (60 ml) lukewarm filtered water in a clean glass jar. Stir until no dry flour remains. Scrape down sides, cover loosely with a cloth, and place in a warm spot (e.g., top of fridge). Mark the level with a rubber band. Let sit undisturbed for 24 hours.
- Day 2: Check for bubbles. Discard half (about 1/4 cup / 60 grams). Add 1/2 cup (60 grams) whole wheat flour and 1/4 cup (60 ml) lukewarm filtered water. Stir, scrape, cover, and return to warm spot.
- Day 3: Expect more bubbles. Discard half. Feed with 1/2 cup (60 grams) all-purpose flour and 1/4 cup (60 ml) lukewarm filtered water. Stir, scrape, cover, and return to warm spot.
- Day 4: Starter should be noticeably bubbly with a pleasant sour smell. Discard half. Feed with 1/2 cup (60 grams) all-purpose flour and 1/4 cup (60 ml) lukewarm filtered water. Stir, scrape, cover, and return to warm spot.
- Day 5: Starter should double in size within 6-8 hours. Discard half. Feed with 1/2 cup (60 grams) all-purpose flour and 1/4 cup (60 ml) lukewarm filtered water. Stir, scrape, cover, and return to warm spot.
- Day 6: Starter should double or triple in size within 4-6 hours. Discard half. Feed with 1/2 cup (60 grams) all-purpose flour and 1/4 cup (60 ml) lukewarm filtered water. Stir, scrape, cover, and return to warm spot. Perform the float test: drop a spoonful in water; if it floats, it’s ready.
- Day 7: Feed one more time in the morning. By afternoon, the starter should be at peak activity. Use within 4-6 hours of feeding. Store remaining starter in the refrigerator, feeding once a week.
Notes
Temperature is crucial: keep starter at 75-80°F (24-27°C). If kitchen is cold, place jar on top of fridge, near stove, or on a cable box. Don’t overthink discard; it prevents excess acidity. If starter develops hooch (grayish liquid), stir it back in and feed more. Starter is ready when it doubles in size within 4-6 hours and passes the float test. For gluten-free version, use brown rice or sorghum flour; process may take 10-14 days.
Nutrition
- Serving Size: 1 tablespoon (15 gra
- Calories: 1520
- Carbohydrates: 34
- Fiber: 0.2
- Protein: 0.51
Keywords: sourdough starter, beginner sourdough, homemade starter, easy sourdough, 7-day starter, sourdough from scratch