Love this? Save it for later!
Share the inspiration with your friends
“You know that feeling when you walk into a backyard barbecue, and the scent of grill smoke mixes with laughter and summertime buzz? Well, last July 3rd, I found myself standing in my neighbor’s kitchen, completely distracted—not by the sizzling burgers outside, but by these tiny cheesecakes lined up like little flags. Honestly, I wasn’t expecting much, but one bite of those perfect mini American flag cheesecakes and I was hooked.
It all started with a casual invitation from Mrs. Jenkins, the neighbor who’s always been the queen of holiday desserts. She casually mentioned, “I just whipped up something fun for tomorrow’s celebration,” but what she actually brought to the party turned out to be showstoppers. The way she combined creamy cheesecake with bursts of fresh blueberries and strawberries, topped with stripes of whipped cream, created these colorful little masterpieces that felt like a festive hug on a plate.
What made these cheesecakes stand out wasn’t just their patriotic look—it was the balance of flavors and textures that made me want to recreate them for every holiday, not just the 4th of July. I mean, who wouldn’t want a dessert that’s both visually stunning and unbelievably easy to make? Maybe you’ve been there, looking for that crowd-pleaser that’s as fun to eat as it is to make. Let me tell you, these mini cheesecakes hit that sweet spot perfectly.
So, whether you’re planning a summer bash, a Memorial Day picnic, or just want a festive treat that brings a little sparkle to your table, this recipe is going to be your new best friend. Grab your mixing bowl and let’s get started on these easy 4th of July dessert recipe gems that everyone will be talking about.
Why You’ll Love This Recipe
After testing dozens of cheesecake recipes over the years (and trust me, there have been plenty of kitchen messes along the way), these mini American flag cheesecakes stand out for several reasons:
- Quick & Easy: You can have these ready to chill in under 30 minutes, making them perfect for last-minute celebrations or busy summer evenings.
- Simple Ingredients: No exotic or hard-to-find items here. Most are pantry staples or easy picks from your local grocery store.
- Perfect for Any Celebration: While they scream 4th of July vibes, their charm works for Memorial Day, Labor Day, or even a patriotic-themed birthday party.
- Crowd-Pleaser: Kids love the fun colors and portion size, while adults appreciate the creamy texture and fresh fruit topping.
- Unbelievably Delicious: The smooth cheesecake filling paired with a buttery graham cracker crust and fresh berries creates a flavor combo that’s just right.
What separates this recipe from others is the special layering technique I learned—blending cream cheese until ultra-smooth then folding in whipped cream gently, so the texture is light but still rich. Plus, the strategic placement of berries and whipped cream stripes gives you a pie that looks as good as it tastes. Honestly, this recipe has become my go-to for every patriotic occasion because it brings joy without stress or mess.
What Ingredients You Will Need
This recipe uses simple, wholesome ingredients to deliver bold flavor and satisfying texture without the fuss. Most of these are pantry staples, and the fresh berries add a burst of natural sweetness and color.
- For the Crust:
- Graham cracker crumbs – 1 ½ cups (about 150g), finely crushed (I usually buy the classic Nabisco brand for consistent texture)
- Unsalted butter – 6 tablespoons (85g), melted (adds richness and binds the crumbs)
- Granulated sugar – 2 tablespoons (optional, balances the butter’s richness)
- For the Cheesecake Filling:
- Cream cheese – 16 ounces (450g), softened to room temperature (use full-fat for best creaminess)
- Granulated sugar – ¾ cup (150g)
- Vanilla extract – 1 teaspoon (pure vanilla makes a difference!)
- Heavy cream – 1 cup (240ml), cold (helps create that light texture)
- Large egg – 1, room temperature
- Fresh lemon juice – 1 tablespoon (brightens the flavor)
- For the Topping and Decoration:
- Whipped cream – about 1 cup (240ml), freshly whipped or store-bought (for the stripes)
- Fresh strawberries – 1 cup, hulled and sliced (for the red stripes and stars)
- Fresh blueberries – ½ cup (for the blue star field)
If you’re looking for substitutions, you can swap out heavy cream with coconut cream for a dairy-free option, and almond flour works well instead of graham cracker crumbs for a gluten-free crust. I’ve tried both, and while the texture shifts a bit, the flavor still shines through.
Equipment Needed
- Mini muffin pan (12-cup) – essential for shaping these individual cheesecakes
- Paper or silicone cupcake liners – to help with removal and presentation
- Mixing bowls – at least two, one for crust ingredients and one for filling
- Electric mixer or stand mixer – for whipping the cream cheese and heavy cream to the right texture (a hand mixer works too)
- Measuring cups and spoons – accuracy helps with consistent results
- Spatula and small offset spatula or piping bag (optional) – for smooth layering and decorating
If you don’t have a mini muffin pan, small ramekins or silicone molds are good backups but adjust baking time slightly. A handheld mixer saved me many times when I didn’t want to haul out the stand mixer, and honestly, a sturdy spatula makes cleanup easier than you’d expect.
Preparation Method
- Preheat your oven to 325°F (163°C). Line your mini muffin pan with paper liners to make removal easier.
- Prepare the crust: In a medium bowl, combine 1 ½ cups graham cracker crumbs, 6 tablespoons melted butter, and 2 tablespoons sugar. Mix until crumbs are evenly coated and resemble wet sand.
- Press the crust mixture into the bottom of each lined muffin cup, about 1 tablespoon per cup. Use the back of a spoon or your fingers to compact firmly. This should create a solid base for the cheesecake filling. Bake for 7 minutes, then remove and let cool while you prepare the filling.
- Make the cheesecake filling: In a large bowl, beat 16 ounces softened cream cheese with ¾ cup sugar and 1 teaspoon vanilla extract using an electric mixer until smooth and creamy, about 2-3 minutes. Scrape down the sides as needed.
- Add the egg and lemon juice, mixing just until combined. Be careful not to overbeat, or the texture can become dense.
- In a separate bowl, whip 1 cup cold heavy cream until stiff peaks form. Gently fold the whipped cream into the cream cheese mixture using a spatula, preserving the light texture.
- Fill each crust-lined cup with cheesecake filling, about 3 tablespoons per mini cheesecake, smoothing the tops with a small spatula.
- Bake at 325°F (163°C) for 18-20 minutes. The centers should be slightly jiggly but not liquid. Remove from oven and cool to room temperature, then refrigerate for at least 2 hours or overnight.
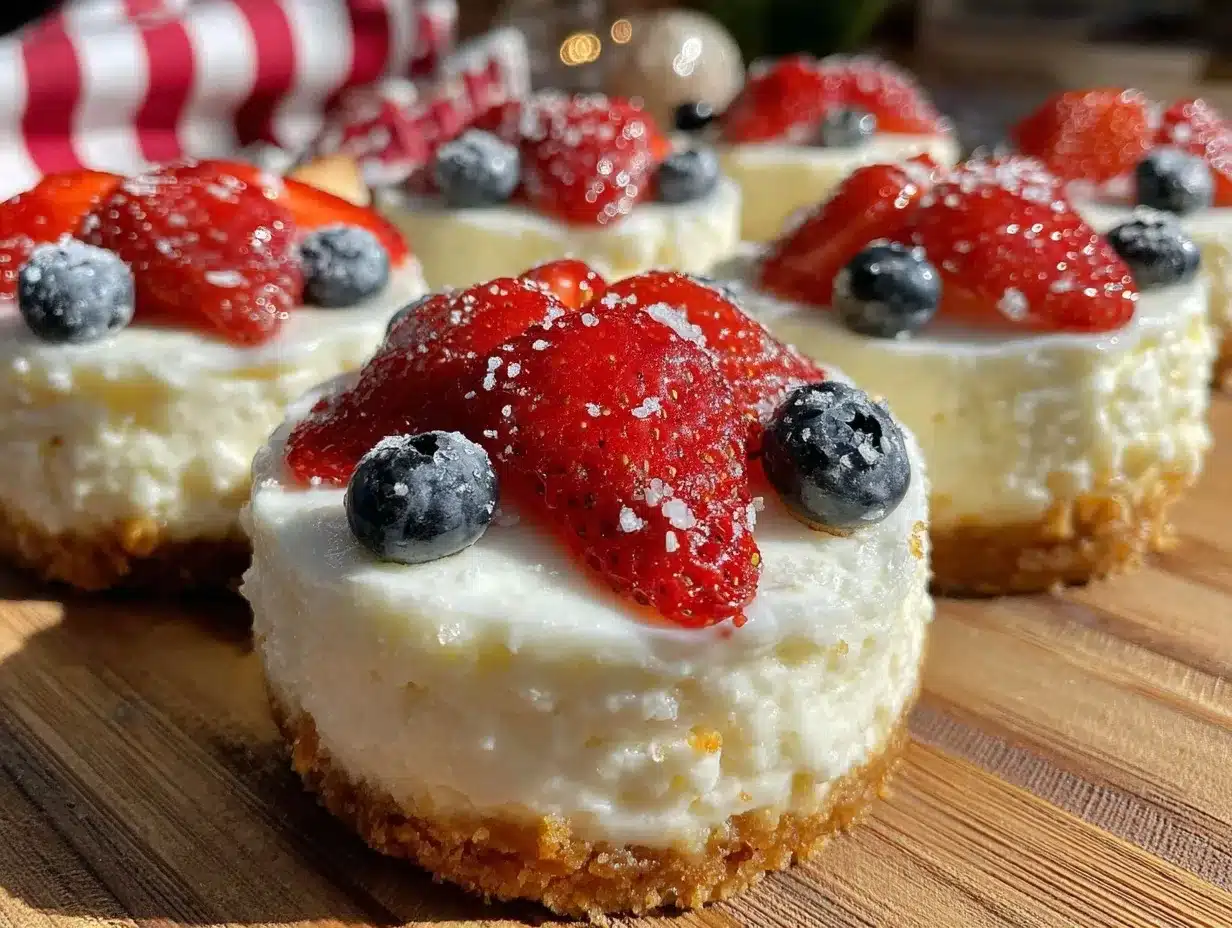
- Decorate the cheesecakes: Once chilled, use a piping bag or spoon to add whipped cream stripes across each mini cheesecake. Arrange slices of strawberries in stripes beside the whipped cream, and place blueberries in the corner to mimic the flag’s star field.
- Serve chilled and enjoy the festive look and creamy taste!
If your crust feels crumbly, next time press it down more firmly before baking. If your filling cracks, it might be overbaked or the oven temperature was uneven—using an oven thermometer helps. The key is patience when folding whipped cream into the batter to keep it light.
Cooking Tips & Techniques
Here are some tips I picked up while perfecting these mini cheesecakes:
- Always use room temperature cream cheese. Cold cream cheese lumps up and ruins the smooth texture.
- Don’t overmix the batter once you add the egg. Overbeating traps too much air and causes cracks.
- Whip the heavy cream until stiff peaks form but don’t let it turn buttery. This keeps the filling lighter than traditional dense cheesecakes.
- Use a springform pan or mini muffin pan lined with sturdy liners to avoid sticking and cracking when removing.
- Chilling is crucial—don’t skip the refrigeration step, or the filling won’t set properly.
- For neat whipped cream stripes, a piping bag with a star tip works wonders, but a spoon works fine if you take your time.
- Keep fresh fruit cold and add it just before serving to avoid soggy berries.
One time, I forgot to chill the crust before filling it and ended up with a crumbly mess. Lesson learned: patience pays off in desserts! Also, multitasking by prepping the crust while the oven preheats saved me time and kept the flow smooth.
Variations & Adaptations
This recipe is flexible and can be customized in several ways:
- Dietary Adaptation: For a gluten-free version, swap graham cracker crumbs with almond flour or gluten-free cookie crumbs. Use coconut cream instead of heavy cream for dairy-free.
- Seasonal Twists: Try swapping strawberries and blueberries with fresh raspberries and blackberries in late summer for a slightly different berry profile.
- Flavor Variations: Add a teaspoon of lemon zest to the cheesecake filling for extra brightness, or swirl in some raspberry jam before baking for a surprise fruity layer.
- Cooking Method: These mini cheesecakes can also be made in silicone molds and frozen for a refreshing frozen treat during hot days.
- Personal Tried Variation: I once added a sprinkle of cinnamon to the crust and topped with toasted pecans along with berries—wow, it added a cozy depth perfect for Memorial Day.
Serving & Storage Suggestions
Serve these mini cheesecakes chilled, straight from the fridge. They look fantastic on a festive platter alongside other patriotic treats or as a standalone dessert after a summer meal.
Pair them with chilled iced tea, lemonade, or a light sparkling wine to complement the creamy texture and fresh fruit flavors.
Store leftovers in an airtight container in the refrigerator for up to 3 days. If you want to prepare ahead, you can freeze the cheesecakes (without fresh fruit toppings) for up to 1 month. Thaw overnight in the fridge before decorating and serving.
Flavors tend to meld beautifully after a day, making the crust slightly softer and the filling even creamier. Just add fresh berries and whipped cream right before serving to keep that vibrant, fresh look.
Nutritional Information & Benefits
Each mini cheesecake (approximately 1 serving) contains roughly:
- Calories: 220-250
- Fat: 15g (mostly from cream cheese and butter)
- Protein: 4g
- Carbohydrates: 18g (including natural sugars from berries)
This dessert offers calcium and protein from the cream cheese and heavy cream, while fresh berries provide antioxidants and vitamins. Choosing full-fat dairy gives richer flavor and promotes satiety, which means you can enjoy just one without feeling deprived. For those monitoring carbs or dairy, the recipe’s flexible enough to adjust with alternatives.
Conclusion
These perfect mini American flag cheesecakes are a fun, festive dessert that’s as much a feast for the eyes as it is for the taste buds. Whether you’re feeding a crowd or just treating yourself, they bring a little sparkle to any celebration with minimal fuss.
Feel free to swap the berries or toppings to suit your preferences, but I promise the classic combo never disappoints. Honestly, I keep coming back to this recipe because it’s reliable, pretty, and reminds me of those easy summer nights with good company and great food.
Give it a try, and please share your tweaks or photos—I love hearing how these cheesecakes make your celebrations extra special. Here’s to sweet moments and colorful plates!
FAQs
Can I make these mini cheesecakes ahead of time?
Absolutely! You can bake and chill them a day in advance. Just add the fresh fruit and whipped cream right before serving for the best look and flavor.
What if I don’t have graham crackers for the crust?
You can substitute with digestive biscuits, vanilla wafers, or even crushed pretzels for a salty twist. Almond flour also works for a gluten-free crust.
How do I prevent cracks on the cheesecake surface?
Don’t overbake and avoid overmixing once the egg is added. Also, cooling the cheesecakes gradually and chilling well helps reduce cracks.
Can I use frozen berries for the topping?
Fresh berries are best for presentation, but if you use frozen, thaw and drain them well to prevent sogginess.
Is there a way to make these cheesecakes dairy-free?
Yes! Use coconut cream instead of heavy cream and a dairy-free cream cheese alternative. The texture will be slightly different but still delicious.
For more festive dessert ideas, you might enjoy my patriotic red white and blue trifle or the ever-popular classic New York cheesecake that’s perfect for any season.
Pin This Recipe!
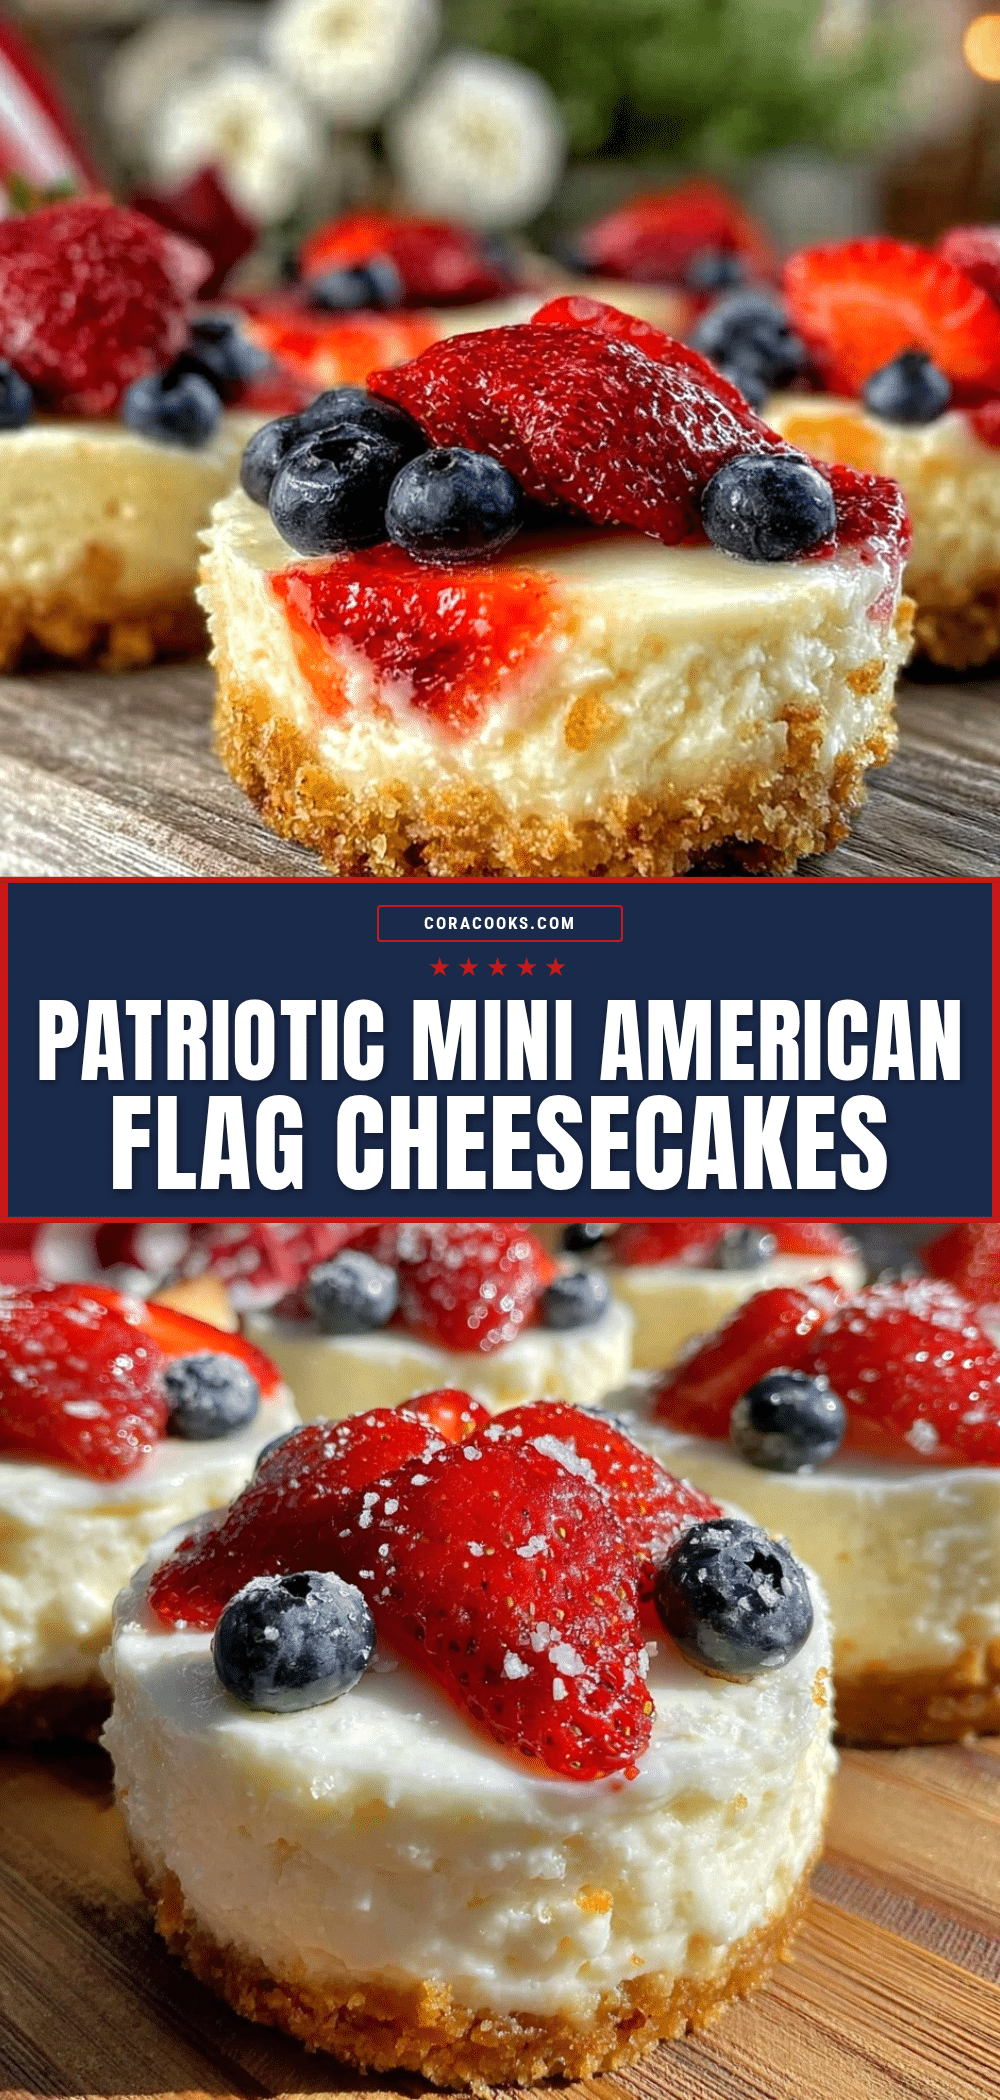
Perfect Mini American Flag Cheesecakes Easy 4th of July Dessert Recipe

These mini American flag cheesecakes are a quick and easy patriotic dessert featuring a buttery graham cracker crust, creamy cheesecake filling, and fresh berry toppings arranged like the American flag. Perfect for summer celebrations and crowd-pleasing treats.
- Prep Time: 15 minutes
- Cook Time: 27 minutes
- Total Time: 2 hours 42 minutes
- Yield: 12 mini cheesecakes 1x
- Category: Dessert
- Cuisine: American
Ingredients
- 1 ½ cups graham cracker crumbs (about 150g), finely crushed
- 6 tablespoons unsalted butter (85g), melted
- 2 tablespoons granulated sugar (optional)
- 16 ounces cream cheese (450g), softened to room temperature
- ¾ cup granulated sugar (150g)
- 1 teaspoon vanilla extract
- 1 cup heavy cream (240ml), cold
- 1 large egg, room temperature
- 1 tablespoon fresh lemon juice
- 1 cup fresh strawberries, hulled and sliced
- ½ cup fresh blueberries
- About 1 cup whipped cream (240ml), freshly whipped or store-bought
Instructions
- Preheat your oven to 325°F (163°C). Line your mini muffin pan with paper liners.
- In a medium bowl, combine graham cracker crumbs, melted butter, and sugar. Mix until crumbs are evenly coated and resemble wet sand.
- Press about 1 tablespoon of the crust mixture into the bottom of each lined muffin cup, compacting firmly. Bake for 7 minutes, then remove and let cool.
- In a large bowl, beat softened cream cheese with sugar and vanilla extract until smooth and creamy, about 2-3 minutes.
- Add the egg and lemon juice, mixing just until combined. Avoid overmixing.
- In a separate bowl, whip cold heavy cream until stiff peaks form. Gently fold whipped cream into the cream cheese mixture.
- Fill each crust-lined cup with about 3 tablespoons of cheesecake filling, smoothing the tops.
- Bake at 325°F (163°C) for 18-20 minutes until centers are slightly jiggly but not liquid.
- Remove from oven, cool to room temperature, then refrigerate for at least 2 hours or overnight.
- Decorate chilled cheesecakes with whipped cream stripes, sliced strawberries arranged in stripes, and blueberries placed in the corner to mimic the flag’s star field.
- Serve chilled and enjoy.
Notes
Use room temperature cream cheese for smooth texture. Do not overmix after adding egg to prevent cracks. Whip heavy cream to stiff peaks but avoid turning buttery. Chill cheesecakes thoroughly before decorating. Fresh berries are best for topping; add just before serving to avoid sogginess. For gluten-free crust, substitute graham cracker crumbs with almond flour. For dairy-free, use coconut cream instead of heavy cream and dairy-free cream cheese.
Nutrition
- Serving Size: 1 mini cheesecake
- Calories: 235
- Sugar: 12
- Sodium: 150
- Fat: 15
- Saturated Fat: 9
- Carbohydrates: 18
- Fiber: 1
- Protein: 4
Keywords: mini cheesecakes, 4th of July dessert, patriotic dessert, American flag cheesecake, easy cheesecake recipe, summer dessert, berry cheesecake