Love this? Save it for later!
Share the inspiration with your friends
It was one of those restless nights — you know the kind where you just can’t seem to shut your brain off. Around midnight, the craving hit me hard for something comforting, something warm, and honestly, something sandwich-worthy. Problem was, my usual bread stash was long gone, and the grocery stores were closed. So, there I was, rummaging through my pantry, eyeballing bags of gluten-free flours and wondering if I could cobble together a loaf that was actually soft and fluffy, not the usual dense brick that gluten-free bread often turns out to be.
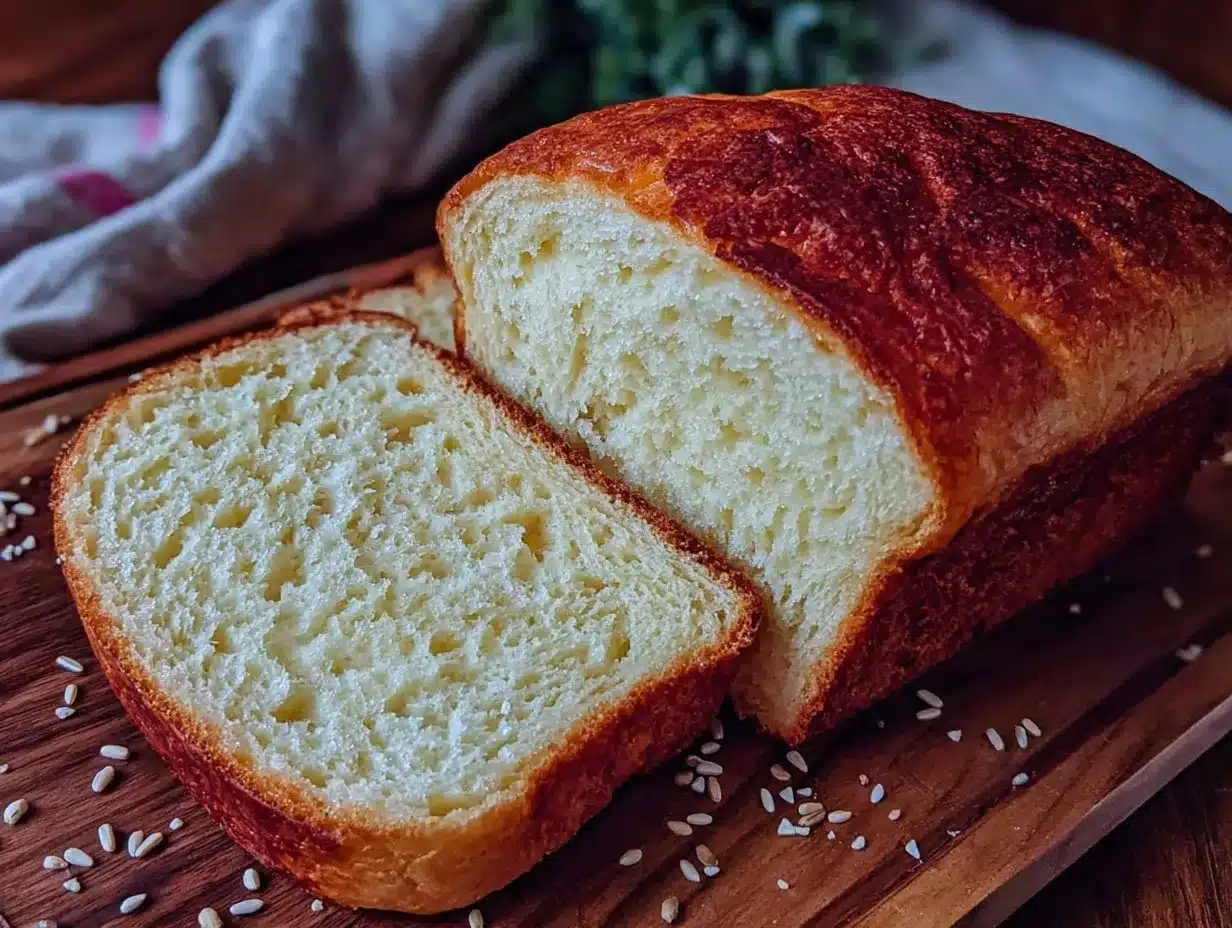
I’ve got to admit, I was skeptical. I mean, gluten-free sandwich bread that’s tender and light? That’s a unicorn in the baking world. But with a little experimenting — and a fair share of flour dusting the countertops — I nailed a recipe that’s become my go-to ever since. The texture? Spot on. The flavor? Just enough to make you forget it’s gluten-free. And the best part? It’s easy enough to whip up on a whim (which, trust me, I’ve done plenty of times).
Maybe you’ve been there too — stuck with limited ingredients, staring at a recipe that looks like it belongs in a science lab. This recipe breaks all those intimidating rules. It’s more like a friendly invite to bake something you can trust to be tender, soft, and perfect for sandwiches, toast, or just a comforting bite straight from the oven. Honestly, it stuck with me because it turned a late night craving into a little baking victory, and it’s been a comforting staple ever since.
Why You’ll Love This Tender Gluten-Free Sandwich Bread Recipe
After testing countless gluten-free bread recipes (some better than others), this one really stands out. Here’s why it’s become a favorite in my kitchen:
- Quick & Easy: You can have this loaf ready in about 90 minutes, which is perfect when you want fresh bread without the overnight wait.
- Simple Ingredients: No need for fancy, hard-to-find gluten-free blends. Most of these are pantry staples like rice flour and tapioca starch.
- Perfect for Sandwiches: The soft, fluffy texture holds up under fillings without crumbling — ideal for everything from classic PB&J to hearty deli meats.
- Crowd-Pleaser: Even gluten eaters in my family have been surprised by how close this bread is to the “real thing.”
- Unbelievably Delicious: The crumb is tender and moist, not dry or crumbly — which is a game-changer for gluten-free baking.
This recipe isn’t just another gluten-free loaf; it’s the one I trust when I want softness that doesn’t sacrifice structure. The secret? A careful mix of flours, a touch of honey for moisture, and a method that encourages the dough to rise just right. It’s like comfort food you can feel good about, especially when you want to share a sandwich with loved ones without worrying about gluten sneaking in.
What Ingredients You Will Need
This recipe uses simple, wholesome ingredients that come together to create a tender, fluffy loaf without fuss. Most are pantry staples, and substitutions are easy if needed.
- Gluten-Free Flour Blend (1 ¾ cups / 210g): I recommend a mix of rice flour and tapioca starch for the best texture. Brands like Bob’s Red Mill work well.
- Almond Flour (½ cup / 50g): Adds moisture and richness. Use blanched almond flour for a fine crumb.
- Xanthan Gum (1 tsp): Helps mimic gluten’s binding properties, keeping the bread soft and elastic.
- Baking Powder (1 tsp): For a little lift alongside the yeast.
- Instant Yeast (2 ¼ tsp / 1 packet): The driving force for rise and fluffiness.
- Warm Water (1 cup / 240ml): Activates the yeast and hydrates the flours.
- Honey (1 tbsp): Adds subtle sweetness and helps keep the crumb tender.
- Olive Oil or Melted Butter (2 tbsp): For richness and softness.
- Large Eggs (2, room temperature): Provide structure and moisture.
- Apple Cider Vinegar (1 tsp): Reacts with the baking powder for added rise and a tender crumb.
- Salt (1 tsp): Balances the flavors.
Substitution tips: Use flax eggs (2 tbsp ground flaxseed mixed with 6 tbsp water) for an egg-free version. Swap olive oil for coconut oil if you prefer a subtle coconut flavor. If you want it dairy-free, stick to olive oil and avoid butter.
Equipment Needed
- Mixing Bowls: One large for mixing dry ingredients, one for wet.
- Measuring Cups and Spoons: Accurate measurement is key for gluten-free baking.
- Stand Mixer with Dough Hook (optional): Makes kneading easier, but a sturdy wooden spoon and some elbow grease work fine.
- 9×5-inch Loaf Pan: For shaping the bread. I’ve used both metal and silicone pans; metal gives a crisper crust.
- Kitchen Thermometer: Handy for checking water temperature (ideal is about 110°F / 43°C to wake up the yeast).
- Clean Kitchen Towel or Plastic Wrap: To cover the dough while it rises.
If you don’t have a stand mixer, no worries — I often mix by hand and just take a bit more time. Also, if you don’t own a kitchen thermometer, test the water by feel; it should be warm but not hot enough to burn your finger.
Preparation Method
- Activate the Yeast (5 minutes): In a small bowl, combine warm water (110°F / 43°C), honey, and instant yeast. Stir gently and let it sit until frothy, about 5 minutes. If it doesn’t bubble, your yeast might be old.
- Mix Dry Ingredients (3 minutes): In a large bowl, whisk together gluten-free flour blend, almond flour, xanthan gum, baking powder, and salt. This ensures even distribution and prevents clumps.
- Combine Wet Ingredients (2 minutes): Beat eggs lightly, then add olive oil (or melted butter), apple cider vinegar, and the frothy yeast mixture.
- Mix Dough (5-7 minutes): Pour wet ingredients into the dry mixture. Use a stand mixer with a dough hook or a sturdy spoon to blend until smooth and sticky. The dough will be much looser than traditional bread dough but should hold together.
- First Rise (45-60 minutes): Transfer dough into the greased loaf pan, smoothing the top with a wet spatula or lightly oiled hands. Cover with a towel or plastic wrap and place in a warm spot. The dough should puff up almost double in size. If it’s slow rising, try placing it near a warm oven or on top of the fridge.
- Bake (40-45 minutes): Preheat oven to 350°F (175°C). Bake the loaf until the crust is golden brown and a toothpick inserted in the center comes out clean. The internal temperature should reach about 200°F (93°C) when done.
- Cool Completely (30 minutes): Remove bread from pan and cool on a wire rack. This step is crucial for that perfect texture—resist the urge to slice while it’s still warm, or you’ll get a gummy crumb.
Pro tip: I once forgot to cover the dough for the rise and the top dried out a bit, so don’t skip that step! Also, if your dough sticks to the pan too much after baking, grease it well or line with parchment paper next time.
Cooking Tips & Techniques for Success
Gluten-free baking can be tricky, but a few tricks can make this sandwich bread foolproof:
- Measure Flours Precisely: Gluten-free flours vary widely in density. Spoon the flour into your measuring cup and level it off rather than scooping directly, which can pack the flour and throw off your ratios.
- Don’t Skip the Xanthan Gum: It’s the glue that holds everything together, giving the bread structure and softness.
- Water Temperature Matters: Too hot and you kill the yeast; too cold and it won’t activate. Aim for warm bath water temperature.
- Patience During Rising: Gluten-free dough doesn’t rise as dramatically as wheat dough. Look for a noticeable puffiness rather than doubling in size.
- Cool Before Slicing: Seriously, waiting is hard but necessary. The crumb firms up as it cools, making slicing clean and easy.
Personally, I learned the hard way that skipping the vinegar step left my bread dense and flat. That little addition makes a surprising difference in lift and crumb texture. Also, I like to test different loaf pans — silicone pans give softer crusts, while metal pans crisp up the edges nicely.
Variations & Adaptations
This bread recipe is flexible enough for various dietary needs and flavor preferences:
- Whole Grain Twist: Substitute half the rice flour with buckwheat flour for a nuttier flavor and added fiber.
- Dairy-Free Option: Use olive oil instead of butter and substitute eggs with flax eggs (2 tbsp flaxseed meal + 6 tbsp water).
- Herbed Bread: Add 1 tsp dried rosemary and ½ tsp garlic powder to the dry ingredients for a savory loaf perfect with soups.
- Sweet Version: Increase honey to 2 tbsp and swirl in cinnamon and raisins before baking for a breakfast treat.
I once tried adding sunflower seeds on top before baking — it gave a nice crunch and nutty flavor that my kids loved. Experimenting with mix-ins like olives or cheese works too, just keep the dough consistency in mind.
Serving & Storage Suggestions
This tender gluten-free sandwich bread is best served at room temperature or lightly toasted. It makes a fantastic base for everything from classic sandwiches to avocado toast or even grilled cheese (try it with melted cheddar!).
To store, wrap the cooled loaf tightly in plastic wrap or place it in an airtight container. It keeps well at room temperature for 2 days, but for longer freshness, refrigerate up to 5 days or freeze in slices for up to 3 months.
When reheating frozen slices, toast directly from the freezer or microwave wrapped in a damp paper towel for 20 seconds to restore softness. The flavors tend to mellow and improve a bit after a day, so if you can plan ahead, letting it rest wrapped overnight is a nice touch.
Nutritional Information & Benefits
This gluten-free sandwich bread is a wholesome option for those avoiding gluten without compromising on texture or taste. Each slice (about 60g) roughly contains:
| Calories | Carbs | Protein | Fat | Fiber |
|---|---|---|---|---|
| 140 | 22g | 4g | 5g | 2g |
Thanks to almond flour, this bread offers healthy fats and vitamin E, while the rice and tapioca flours provide energy-boosting carbohydrates. It’s free from gluten, dairy (if using olive oil), and soy, making it a friendly choice for many dietary restrictions.
Personally, I appreciate how this bread fits into a balanced diet — it satisfies cravings for comfort without the heavy feeling that some gluten-free breads leave behind.
Conclusion
This tender gluten-free sandwich bread recipe is a little kitchen hero. It’s easy enough for weeknight baking, soft enough to satisfy picky eaters, and flexible enough to suit different tastes and diets. Honestly, it’s one of those recipes that makes you feel like you’re cheating the gluten-free game—soft, fluffy, and downright delicious.
Feel free to tweak it to your liking, whether that means adding herbs, seeds, or going fully dairy-free. I love how it turns simple ingredients into something special, and I hope it becomes a staple in your kitchen like it has in mine. Let me know how your loaf turns out or if you have your own twist to share—I’m all ears for your baking adventures!
FAQs about Tender Gluten-Free Sandwich Bread
Can I use a gluten-free all-purpose flour blend instead of the specific flours?
Yes, a good-quality gluten-free all-purpose blend should work, but the texture might vary slightly. You may need to adjust liquids slightly since blends absorb moisture differently.
How do I store leftover bread to keep it fresh?
Wrap the cooled bread tightly in plastic wrap or place it in an airtight container. Keep at room temperature for 2 days or refrigerate up to 5 days. Freezing slices is great for longer storage.
Can I make this bread vegan?
Absolutely! Replace eggs with flax eggs (2 tbsp ground flaxseed mixed with 6 tbsp water) and use olive oil instead of butter for a vegan-friendly loaf.
Why is my gluten-free bread dense or crumbly?
Common reasons include skipping xanthan gum, incorrect flour ratios, or not allowing the dough to rise enough. Make sure to measure ingredients carefully and give the dough time to puff.
Can I use active dry yeast instead of instant yeast?
Yes, but activate it in warm water with a pinch of sugar first and let it foam for about 10 minutes before mixing with other ingredients. Adjust rising times if needed.
For a rich sandwich experience, you might enjoy pairing this bread with a homemade creamy avocado spread or serving alongside roasted vegetable soup for a cozy meal.
Pin This Recipe!
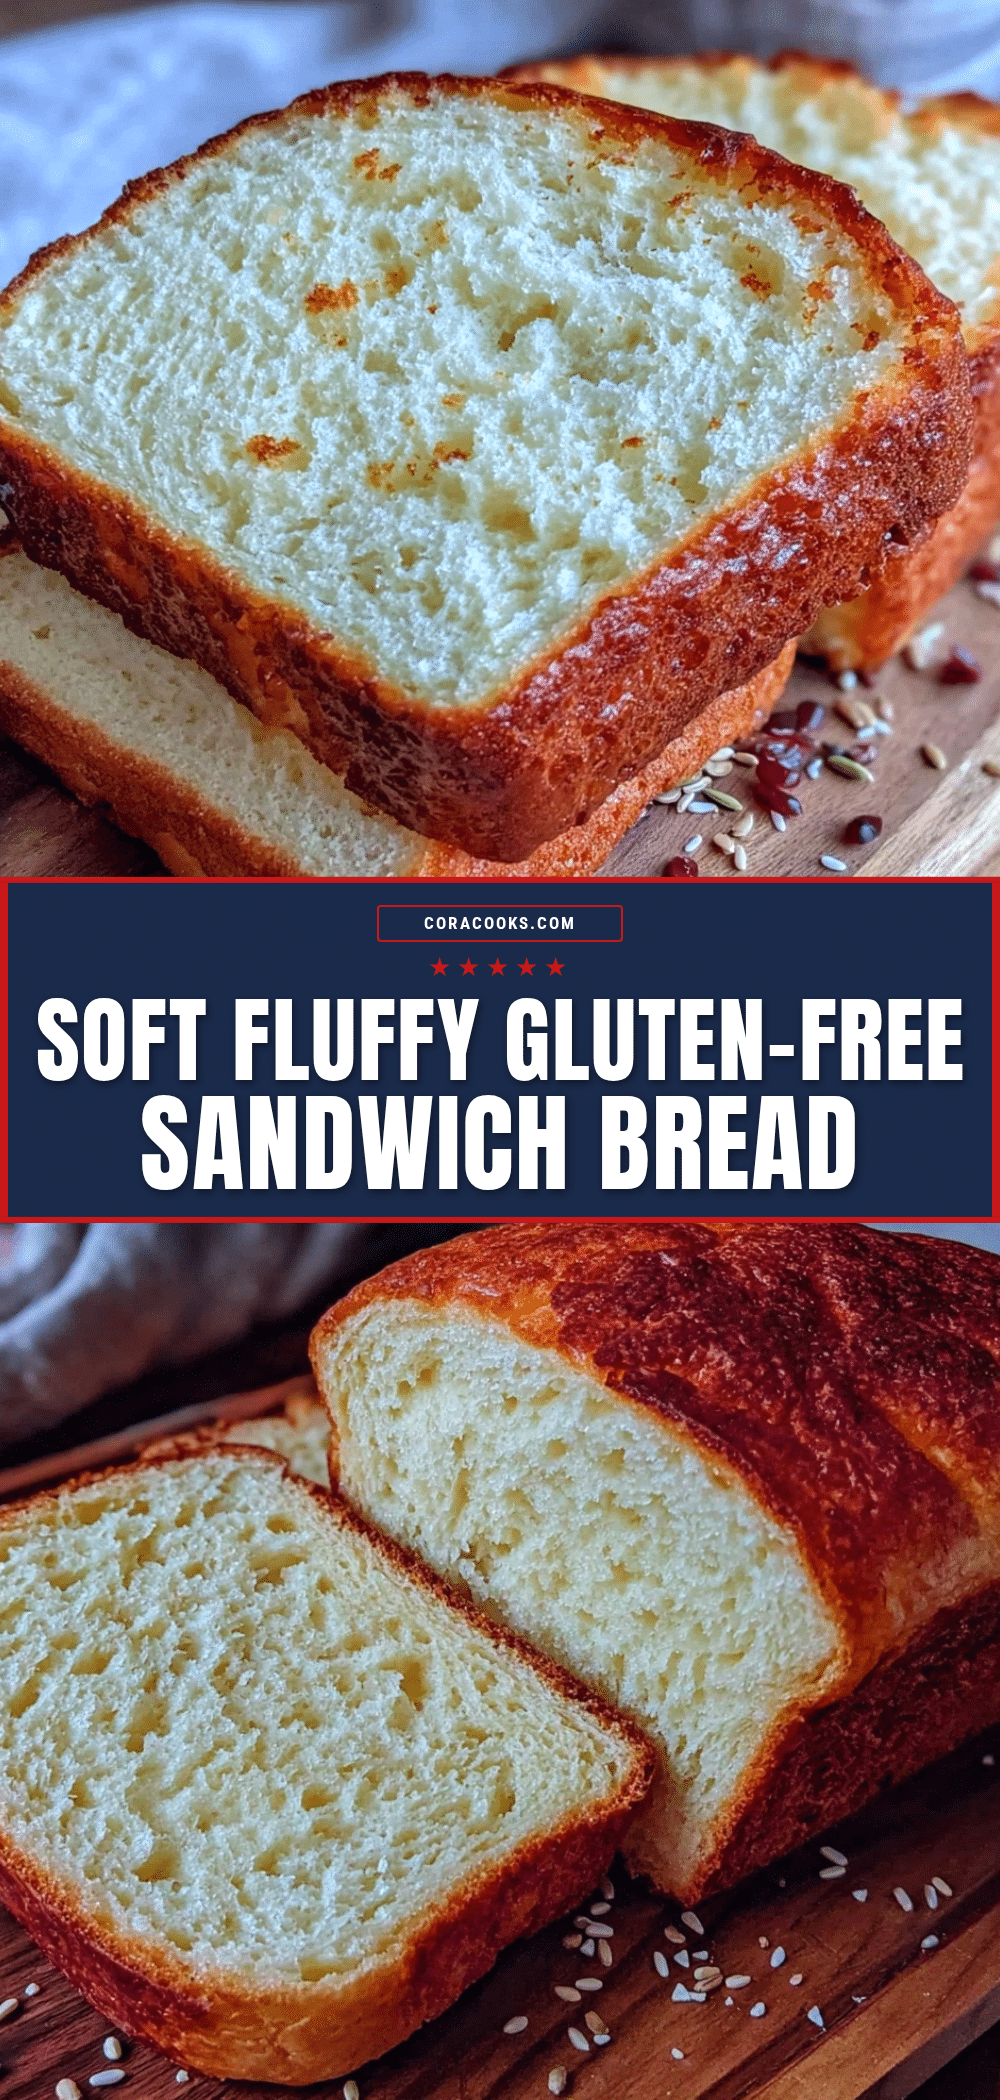
Tender Gluten-Free Sandwich Bread Recipe Easy Soft Fluffy Loaf at Home
A soft, fluffy, and tender gluten-free sandwich bread that’s easy to make at home with simple pantry ingredients. Perfect for sandwiches, toast, or a comforting bite straight from the oven.
- Prep Time: 15 minutes
- Cook Time: 45 minutes
- Total Time: 1 hour 30 minutes
- Yield: 1 loaf (about 10-12 slices) 1x
- Category: Bread
- Cuisine: Gluten-Free
Ingredients
- 1 ¾ cups (210g) gluten-free flour blend (rice flour and tapioca starch recommended)
- ½ cup (50g) almond flour (blanched)
- 1 tsp xanthan gum
- 1 tsp baking powder
- 2 ¼ tsp (1 packet) instant yeast
- 1 cup (240ml) warm water (about 110°F / 43°C)
- 1 tbsp honey
- 2 tbsp olive oil or melted butter
- 2 large eggs (room temperature)
- 1 tsp apple cider vinegar
- 1 tsp salt
Instructions
- Activate the yeast: In a small bowl, combine warm water (110°F / 43°C), honey, and instant yeast. Stir gently and let it sit until frothy, about 5 minutes.
- Mix dry ingredients: In a large bowl, whisk together gluten-free flour blend, almond flour, xanthan gum, baking powder, and salt.
- Combine wet ingredients: Beat eggs lightly, then add olive oil (or melted butter), apple cider vinegar, and the frothy yeast mixture.
- Mix dough: Pour wet ingredients into the dry mixture. Use a stand mixer with a dough hook or a sturdy spoon to blend until smooth and sticky. The dough will be looser than traditional bread dough but should hold together.
- First rise: Transfer dough into the greased 9×5-inch loaf pan, smoothing the top with a wet spatula or lightly oiled hands. Cover with a towel or plastic wrap and place in a warm spot. Let rise for 45-60 minutes until puffed up.
- Bake: Preheat oven to 350°F (175°C). Bake the loaf for 40-45 minutes until the crust is golden brown and a toothpick inserted in the center comes out clean. The internal temperature should reach about 200°F (93°C).
- Cool completely: Remove bread from pan and cool on a wire rack for about 30 minutes before slicing to avoid gummy crumb.
Notes
Use flax eggs (2 tbsp ground flaxseed mixed with 6 tbsp water) for an egg-free version. Substitute olive oil for coconut oil for a subtle coconut flavor. For dairy-free, use olive oil instead of butter. Measure flours precisely by spooning and leveling. Keep water temperature warm but not hot to activate yeast properly. Cover dough during rising to prevent drying. Cool bread completely before slicing to avoid gummy texture.
Nutrition
- Serving Size: 1 slice (about 60g)
- Calories: 140
- Fat: 5
- Carbohydrates: 22
- Fiber: 2
- Protein: 4
Keywords: gluten-free bread, sandwich bread, soft bread, fluffy bread, easy gluten-free recipe, gluten-free loaf, homemade bread