Love this? Save it for later!
Share the inspiration with your friends
“I never thought a spilled bag of dried beans and a half-burnt fire would lead me to my new favorite chili recipe,” my buddy Jake chuckled as we sat around the campfire that chilly October evening. It was one of those nights when everything that could go sideways in the outdoors did. The wind picked up just as I was lighting the fire, the beans slipped from my hands, and the cast iron pot was nowhere near seasoned enough to keep the chili from sticking. Yet somehow, that messy, smoky pot of chili we ended up with was the most satisfying meal I’d had in ages.
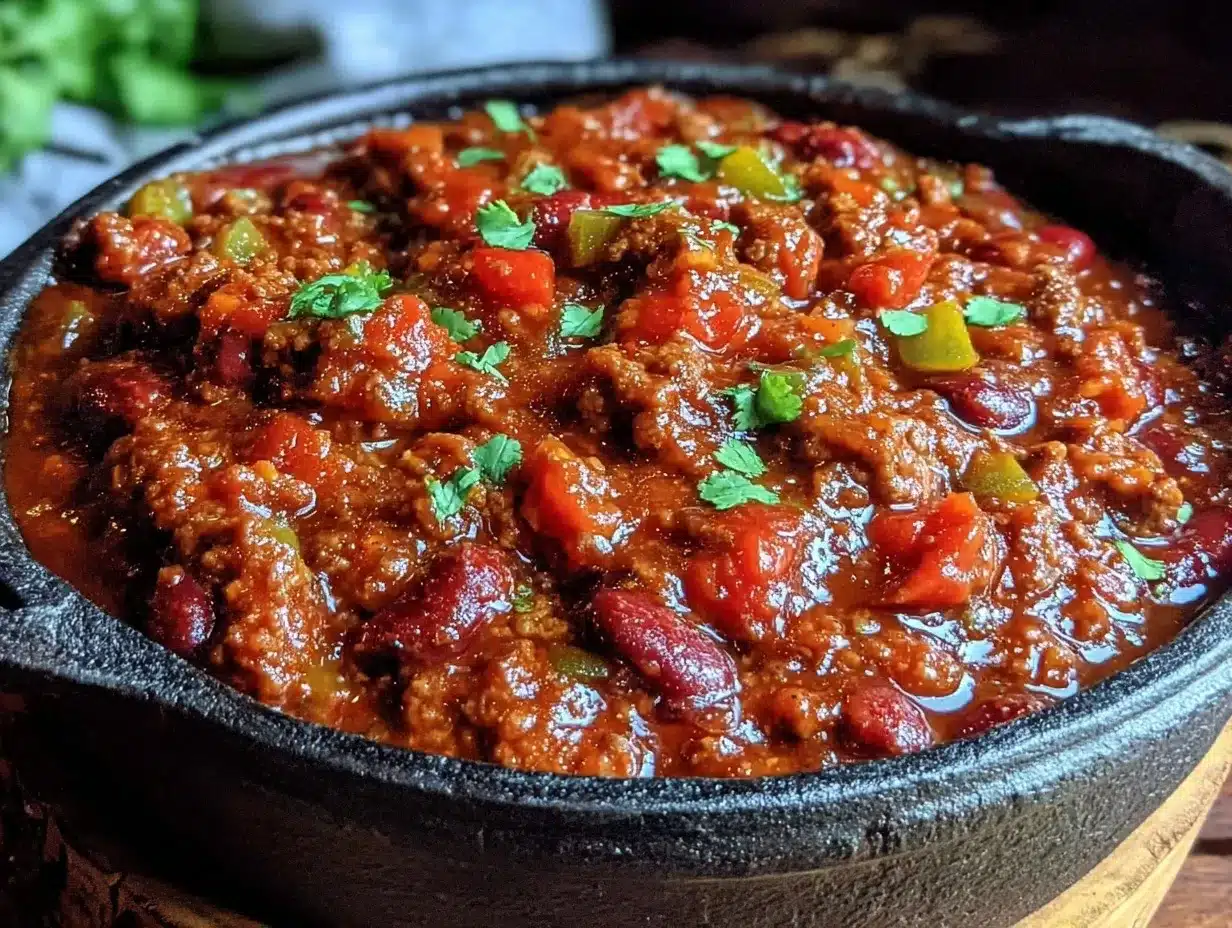
Easy hearty campfire chili in a cast iron pot isn’t just about the recipe — it’s about the experience, the crackling flames, and the camaraderie that comes with cooking outdoors. Maybe you’ve been there — rushing to get dinner done before the sun dips below the trees, juggling ingredients and a wobbly tripod over the fire. It’s honestly not about perfection; it’s about flavor, warmth, and a bit of rustic charm. Over the years, I’ve refined this simple, robust chili recipe to be forgiving, straightforward, and packed with bold flavor, perfect for any outdoor cooking adventure.
Let me tell you, this chili isn’t just a campfire staple because it’s easy. It’s the kind of hearty meal that sticks with you after the embers cool down. The cast iron pot adds its own magic, lending a deep, smoky richness that you just can’t get from a regular pan. Whether you’re a seasoned camper or just someone who loves the idea of cooking over an open flame, this recipe will become your go-to. So grab your cast iron, pack your favorite spices, and let me walk you through how to make this easy hearty campfire chili that’s as comforting as it is delicious.
Why You’ll Love This Recipe
Having tested this easy hearty campfire chili recipe countless times—sometimes with friends, sometimes solo—I can honestly say it’s one of the most reliable outdoor meals out there. Here’s why:
- Quick & Easy: From chopping to simmering, it comes together in under an hour, perfect when you’re hungry after a long day on the trail.
- Simple Ingredients: You won’t need anything fancy—mostly pantry staples and fresh veggies you likely have on hand.
- Perfect for Outdoor Cooking: Designed specifically for cast iron pots over campfires, it’s forgiving with heat fluctuations and easy to stir.
- Crowd-Pleaser: Whether it’s a small group or a family gathering around the fire, this chili always gets nods of approval and requests for seconds.
- Unbelievably Delicious: The balance of smoky, spicy, and savory flavors combined with the rustic texture makes this chili a true comfort food winner.
What sets this recipe apart is the way it embraces the quirks of campfire cooking instead of fighting them. You’ll find the seasoning is balanced to stand up to charred bits and the long simmer, and the beans come out tender without falling apart. I’ve also added a little trick—browning the meat directly in the cast iron—to lock in flavor and make cleanup easier. Honestly, this isn’t just chili; it’s the kind of meal that brings everyone closer as the night cools down. You might even catch yourself smiling at the smoky aroma wafting through the campsite.
What Ingredients You Will Need
This recipe uses simple, wholesome ingredients to deliver bold flavor and satisfying texture without the fuss. Most of these are pantry staples, and many can be swapped depending on what you have or your dietary needs.
- Ground Beef (1 lb / 450g): I usually go for 80/20 for good flavor and fat content. You can swap ground turkey or plant-based meat for a lighter option.
- Canned Kidney Beans (1 can, 15 oz / 425g), drained and rinsed: Adds hearty texture; black beans work well too.
- Canned Diced Tomatoes (1 can, 14.5 oz / 410g): Use fire-roasted for extra smoky notes.
- Yellow Onion (1 medium, diced): The base of flavor; sweet and mild.
- Garlic Cloves (3, minced): For that aromatic punch.
- Green Bell Pepper (1, diced): Adds freshness and slight sweetness.
- Chili Powder (2 tbsp): Key seasoning—adjust to your spice tolerance.
- Cumin (1 tbsp): Brings earthy warmth.
- Paprika (1 tsp): Smoked paprika is my go-to for campfire chili.
- Oregano (1 tsp, dried): For a subtle herbal note.
- Salt (to taste): I prefer kosher salt for better control.
- Black Pepper (1/2 tsp): Freshly ground if possible.
- Beef Broth or Water (1 cup / 240ml): Adds moisture and depth.
- Olive Oil (2 tbsp): For sautéing.
- Optional Toppings: Shredded cheddar cheese, chopped green onions, sour cream, or jalapeños.
If you want a vegetarian version, swap the beef with extra beans and add chopped mushrooms for texture. For a gluten-free twist, just double-check your chili powder and broth labels. I personally prefer McCormick chili powder for its consistent flavor, but feel free to experiment!
Equipment Needed
- Cast Iron Pot (5-6 quart / 4.7-5.7 L): The star of the show—holds heat evenly and develops flavor.
- Long-Handled Spoon or Spatula: Preferably wooden or heat-resistant silicone for stirring.
- Campfire Cooking Tripod or Grill Grate: To suspend your pot over the fire safely.
- Knife and Cutting Board: For prepping your veggies.
- Measuring Spoons and Cups: For accurate seasoning.
- Heat-Resistant Gloves or Pot Holders: Cast iron stays hot—be prepared!
If you don’t have a tripod, a sturdy grill grate over your campfire works just fine. In a pinch, I’ve even placed the pot on a bed of hot coals, but keep a close eye to prevent scorching. For cleaning, avoid soap on your cast iron; a scrub with coarse salt and water usually does the trick. I bought my cast iron pot from Lodge, and it’s held up beautifully through many camping trips.
Preparation Method
- Prepare Your Campfire: Build a medium-hot fire and let it burn down to glowing coals — this usually takes about 30-40 minutes.
- Heat the Cast Iron Pot: Place your pot on the tripod or grill grate. Add 2 tablespoons of olive oil and let it warm for 2-3 minutes until shimmering.
- Sauté the Onion and Bell Pepper: Add the diced onion and green bell pepper to the pot. Stir occasionally for about 5-7 minutes until softened and fragrant. You’ll know it’s ready when the onion turns translucent and the edges start to caramelize a bit.
- Add Garlic: Toss in the minced garlic and cook for another 1-2 minutes, stirring constantly to avoid burning. The aroma should be unmistakable now.
- Brown the Ground Beef: Crumble the beef into the pot. Stir and break it up with your spoon, cooking until no pink remains (about 8-10 minutes). Watch for flare-ups from dripping fat—it adds flavor but keep the flames controlled.
- Season the Mixture: Sprinkle chili powder, cumin, smoked paprika, oregano, salt, and black pepper over the beef mixture. Stir well so the spices coat the meat evenly.
- Add Beans and Tomatoes: Pour in the drained kidney beans and canned diced tomatoes with their juice. Stir gently to combine.
- Pour in Broth: Add 1 cup of beef broth or water to loosen the chili. Stir to mix everything together.
- Simmer the Chili: Reduce the heat slightly by moving the pot to a cooler spot or by adjusting the coals. Cover the pot with its lid and let it simmer for 25-30 minutes. Stir occasionally to prevent sticking.
- Final Taste and Adjustments: Remove the lid, stir, and taste. Add more salt or chili powder if you want it spicier. If it’s too thick, add a splash more broth or water.
- Serve Hot: Scoop into bowls and top with your favorite garnishes like shredded cheese or sour cream.
Pro Tip: If the chili starts sticking despite your best efforts, add a little extra broth and stir more frequently. The cast iron loves to develop a crusty layer of flavor, but you don’t want it burnt! Also, keep your pot lid handy to keep heat consistent and reduce smoky flare-ups.
Cooking Tips & Techniques
Campfire cooking can be unpredictable, and chili is one of those dishes that benefits from some tricks I’ve learned the hard way. First, patience is your best friend. Let the fire burn down to coals for steady heat — too many flames can burn the bottom quickly. I’ve scorched chili more times than I care to admit before getting this right.
Another tip is to brown your meat thoroughly before adding liquids. This locks in flavor and helps prevent the chili from tasting flat. Use a wooden spoon to break up the beef well; clumps won’t cook evenly.
Don’t skip the garlic or spices—they’re what turn simple ingredients into a satisfying meal. I like to add smoked paprika for that campfire aroma; it’s subtle but makes a big difference. Adjust chili powder to your preference, especially if you’re feeding kids or less-spicy fans.
Finally, stir often but not obsessively. Letting the chili sit and bubble over low heat helps flavors meld, but the cast iron can be sticky. I usually set a timer to remind myself to check every 10 minutes. It’s a balancing act but worth it for that rich, hearty finish.
Variations & Adaptations
This easy hearty campfire chili is versatile, so you can tweak it to fit your taste or dietary needs. Here are some ideas:
- Vegetarian/Vegan: Replace ground beef with a mix of mushrooms and extra beans. Use vegetable broth instead of beef broth, and add a splash of soy sauce for umami.
- Spicy Kick: Toss in diced jalapeños or a pinch of cayenne pepper along with the chili powder. I once added chipotle peppers in adobo sauce for a smoky heat that wowed the group.
- Seasonal Twist: In fall, add diced sweet potatoes or butternut squash for a touch of sweetness and extra heartiness.
- Slow Cooker Version: If you’re not outdoors, brown the meat and sauté veggies on the stove, then combine everything in a slow cooker. Cook on low for 6-8 hours.
- Beans Variety: Mix kidney, black, and pinto beans for different textures and flavors.
One variation I tried recently swapped the ground beef for chorizo, which added a bold, spicy punch. It was surprisingly easy to make and got rave reviews around the campfire. Feel free to experiment and make this chili truly your own.
Serving & Storage Suggestions
Serve your easy hearty campfire chili hot, straight from the cast iron pot if you can—it keeps the warmth and adds to the rustic vibe. Garnish with shredded cheddar, a dollop of sour cream, chopped green onions, or even a squeeze of fresh lime for brightness.
This chili pairs wonderfully with simple sides like cornbread, tortilla chips, or a fresh green salad. For drinks, a cold beer or a spiced cider complements the smoky, savory flavors perfectly.
To store leftovers, let the chili cool slightly, then transfer to airtight containers. It keeps well in the refrigerator for 3-4 days. Reheat gently on the stove or in a microwave, adding a splash of broth if it’s thickened too much.
You can also freeze chili in portions for up to 3 months—great for quick meals after a long day. The flavors often deepen after resting overnight, so if you have the patience, make it a day ahead for best taste.
Nutritional Information & Benefits
Estimated per serving (based on 6 servings): approximately 320 calories, 22g protein, 20g carbohydrates, and 15g fat. This easy hearty campfire chili is a balanced meal with protein from beef and beans, fiber from legumes and veggies, and essential vitamins from peppers and tomatoes.
Beans are a great source of plant-based protein and fiber, helping keep you full longer. The spices not only add flavor but come with antioxidants and can aid digestion. Using lean ground beef keeps the fat content moderate, and swapping in turkey or plant-based options can lighten it up further.
For those watching carbs, skip the cornbread side and load up on toppings like avocado or extra veggies. Just be mindful of any allergies to ingredients like nightshades (tomatoes, peppers) and adjust accordingly.
Conclusion
This easy hearty campfire chili recipe has earned a permanent spot in my outdoor cooking lineup. It’s forgiving, flavorful, and the kind of meal that brings folks together around the fire. Whether you’re a seasoned camper or just trying your hand at cast iron cooking outdoors, this chili makes the whole experience feel cozy and satisfying.
Don’t hesitate to make it your own—swap ingredients, adjust spices, or add your favorite toppings. Honestly, it’s the kind of recipe that welcomes creativity and rewards it with rich, comforting flavor.
If you try this recipe, I’d love to hear how you customize it or any campfire stories you have to share. Drop a comment below and let’s keep the conversation going—because good food tastes even better when shared.
Happy cooking and happy camping!
FAQs
- Can I make this chili without a cast iron pot? Yes, you can use any heavy-bottomed pot or Dutch oven, but cast iron adds a unique flavor and heat distribution perfect for campfire cooking.
- How do I keep the chili from burning over an open fire? Use hot coals instead of open flames, stir frequently, and adjust the pot’s position to control heat.
- Can I prepare this chili ahead of time? Absolutely! It tastes great reheated and often develops deeper flavors after a day in the fridge.
- What are good substitutions for kidney beans? Black beans, pinto beans, or a mix of beans all work well.
- Is there a vegetarian version of this recipe? Yes, omit the meat and add extra beans and chopped mushrooms or plant-based meat alternatives.
Pin This Recipe!
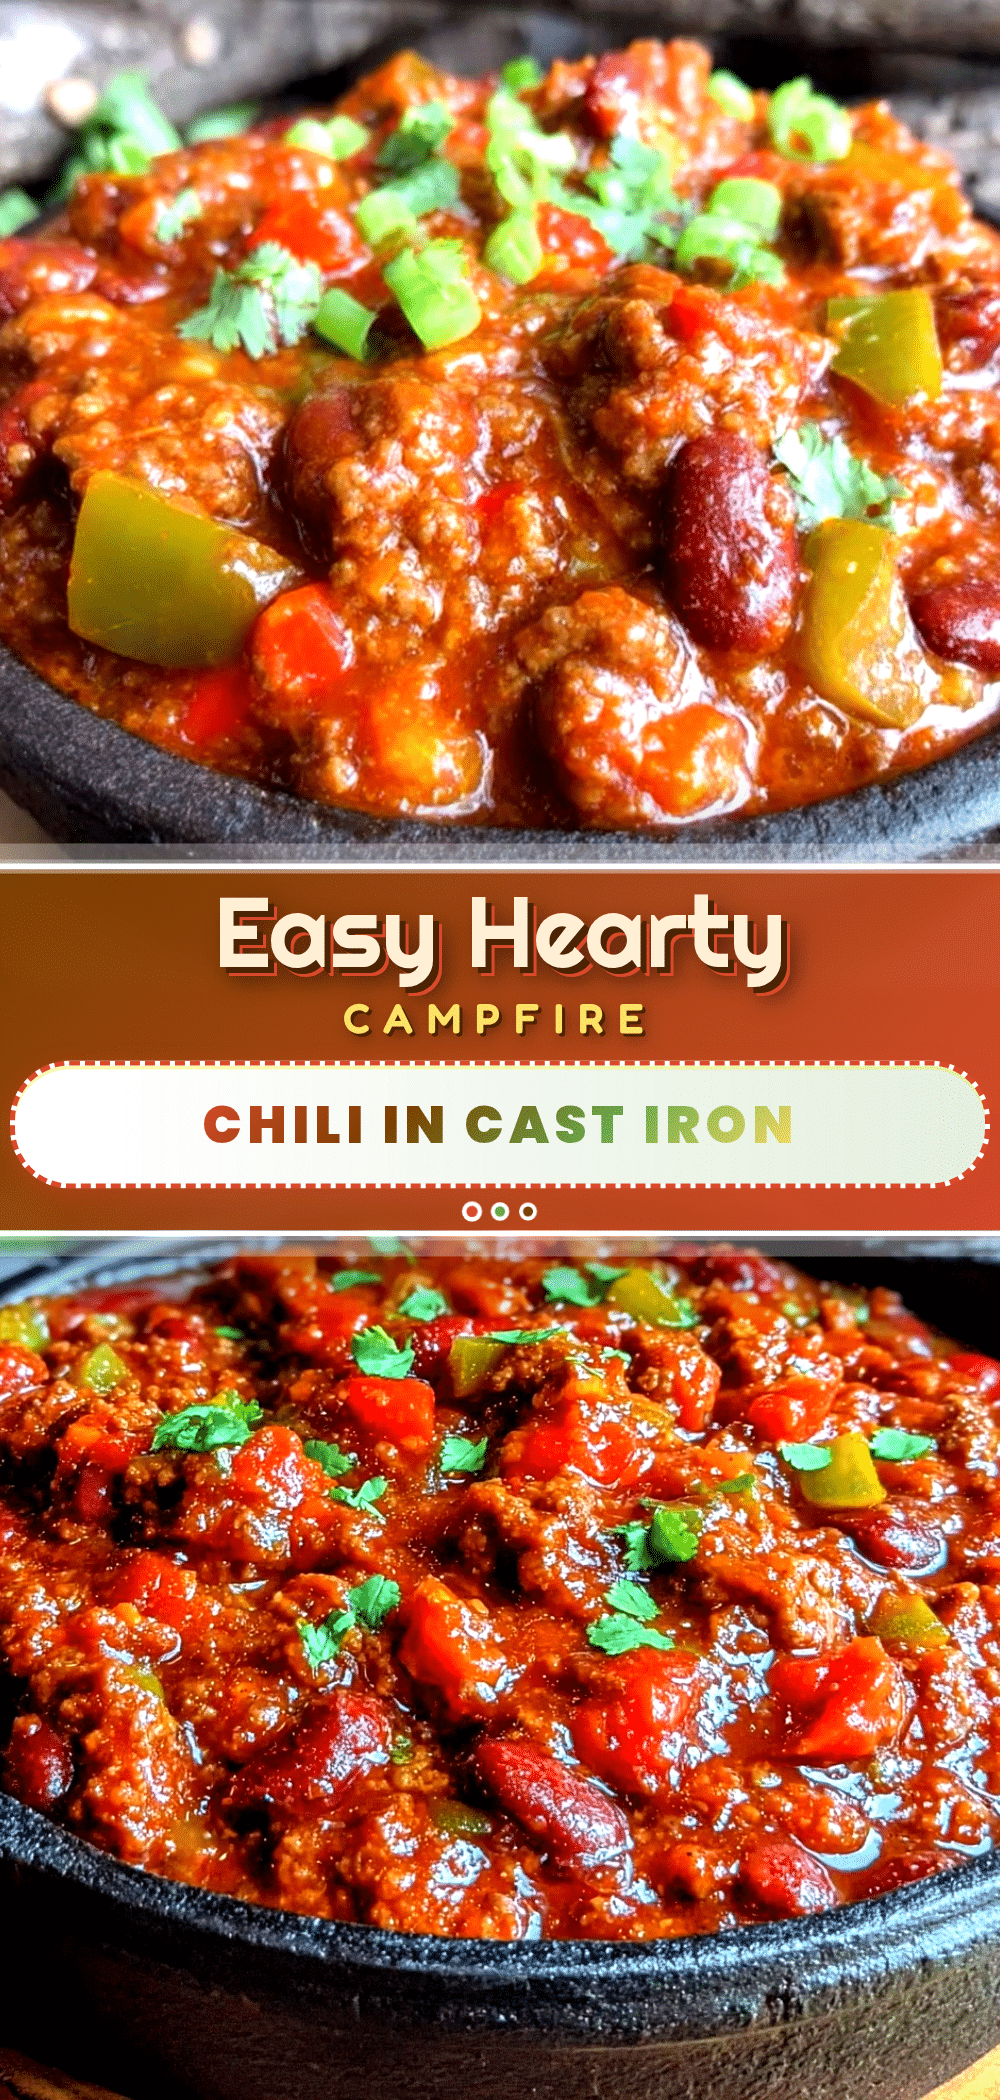
Easy Hearty Campfire Chili Recipe Perfect for Cast Iron Cooking Outdoors

A simple, robust chili recipe designed for cast iron cooking over campfires, delivering smoky, spicy, and savory flavors perfect for outdoor meals.
- Prep Time: 15 minutes
- Cook Time: 40 minutes
- Total Time: 55 minutes
- Yield: 6 servings 1x
- Category: Main Course
- Cuisine: American
Ingredients
- 1 lb ground beef (80/20) or substitute with ground turkey or plant-based meat
- 1 can (15 oz) kidney beans, drained and rinsed (black beans can be used as substitute)
- 1 can (14.5 oz) diced tomatoes (fire-roasted recommended)
- 1 medium yellow onion, diced
- 3 garlic cloves, minced
- 1 green bell pepper, diced
- 2 tbsp chili powder
- 1 tbsp cumin
- 1 tsp smoked paprika
- 1 tsp dried oregano
- Salt to taste (preferably kosher salt)
- 1/2 tsp black pepper, freshly ground
- 1 cup beef broth or water
- 2 tbsp olive oil
- Optional toppings: shredded cheddar cheese, chopped green onions, sour cream, jalapeños
Instructions
- Prepare your campfire and let it burn down to glowing coals (about 30-40 minutes).
- Place cast iron pot on tripod or grill grate over the fire. Add 2 tablespoons olive oil and heat for 2-3 minutes until shimmering.
- Add diced onion and green bell pepper to the pot. Stir occasionally for 5-7 minutes until softened and fragrant.
- Add minced garlic and cook for 1-2 minutes, stirring constantly to avoid burning.
- Add ground beef, crumble and cook until no pink remains (8-10 minutes), controlling flare-ups.
- Sprinkle chili powder, cumin, smoked paprika, oregano, salt, and black pepper over the meat mixture. Stir well.
- Add drained kidney beans and canned diced tomatoes with juice. Stir gently to combine.
- Pour in 1 cup beef broth or water and stir.
- Reduce heat by moving pot to cooler spot or adjusting coals. Cover with lid and simmer for 25-30 minutes, stirring occasionally.
- Remove lid, stir, taste, and adjust seasoning if needed. Add more broth if chili is too thick.
- Serve hot with optional toppings like shredded cheese or sour cream.
Notes
Use hot coals instead of open flames to prevent burning. Stir frequently and adjust pot position to control heat. Brown meat thoroughly to lock in flavor. If chili sticks, add extra broth and stir more often. Avoid soap when cleaning cast iron; scrub with coarse salt and water instead. For vegetarian version, replace beef with mushrooms and extra beans, and use vegetable broth.
Nutrition
- Serving Size: 1 bowl (approximatel
- Calories: 320
- Sugar: 5
- Sodium: 450
- Fat: 15
- Saturated Fat: 6
- Carbohydrates: 20
- Fiber: 6
- Protein: 22
Keywords: campfire chili, cast iron chili, outdoor cooking, hearty chili, easy chili recipe, camping food, smoky chili