Love this? Save it for later!
Share the inspiration with your friends
“You know that moment when you’re standing in your kitchen at midnight, craving something sweet but realizing your freezer is as bare as your patience?” That was me last Thursday, rummaging through the fridge and wishing for a scoop of something indulgent. I wasn’t ready to mess with an ice cream maker or wait hours for a complicated recipe. Honestly, I just wanted creamy, dreamy salted caramel ice cream without the usual fuss.
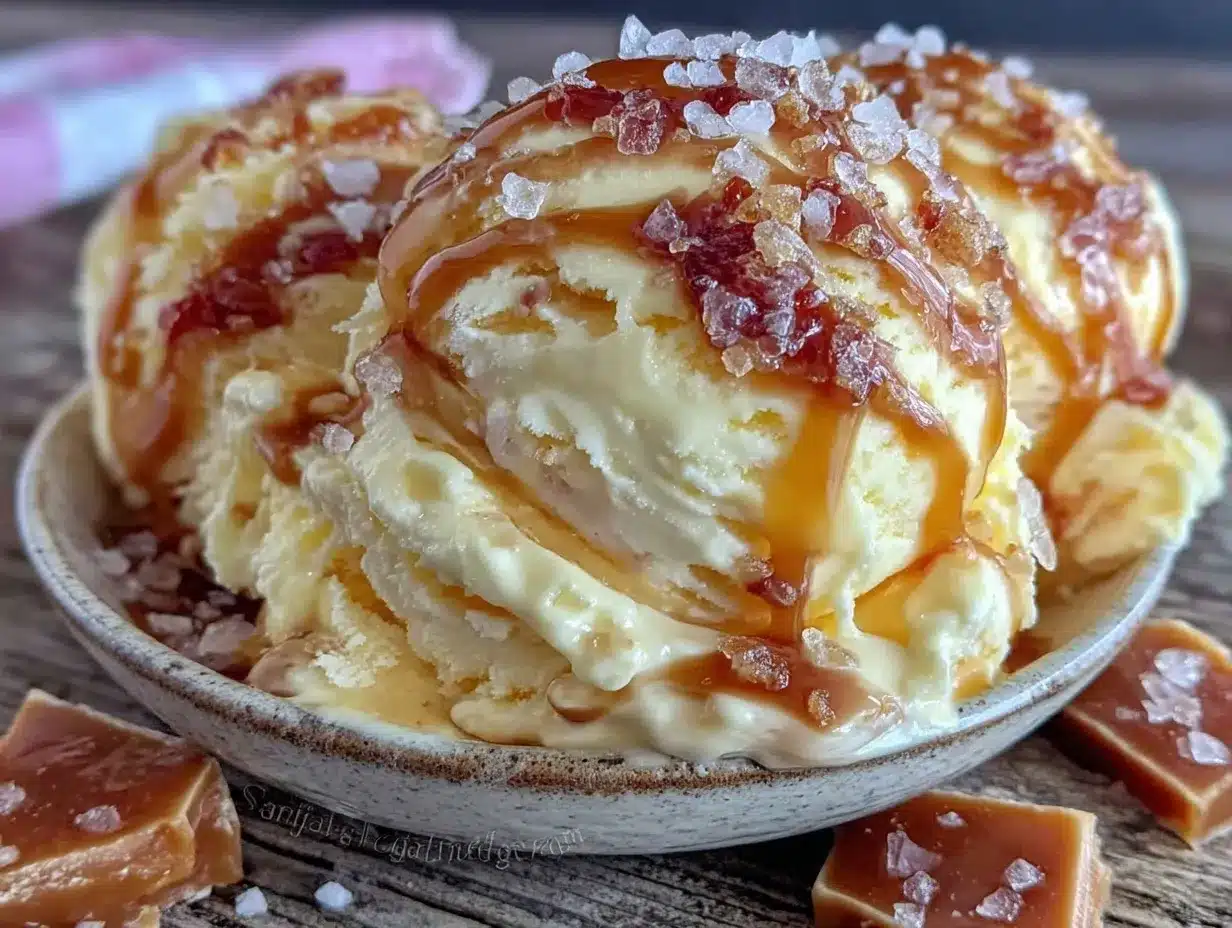
So, in a bit of a sleepy haze, I pulled out the basics: heavy cream, sweetened condensed milk, and a jar of homemade salted caramel sauce I’d made a few days earlier (because yes, I like to be prepared for these moments). I stirred them together, popped the mixture into the freezer, and tried not to get my hopes up. Spoiler: it was a total game-changer. This creamy no-churn salted caramel ice cream recipe quickly became my go-to for those late-night cravings or unexpected guests. No fancy equipment, no stress—just pure, silky, sweet-and-salty bliss.
Maybe you’ve been there too, staring at your empty freezer, dreaming of a homemade treat but dreading the effort. Let me tell you, this recipe stays with you because it’s exactly what you want when you want it: simple, luscious, and a little bit magical in its ease. Plus, I once forgot to add the salt to the caramel (classic me), and even then, it still tasted incredible—though I won’t recommend skipping it on purpose!
Why You’ll Love This Recipe
This creamy no-churn salted caramel ice cream recipe isn’t just another dessert. It’s the one that’s been tested through many late-night experiments and family gatherings, earning the kind of trust you only get from repeated success. I’m talking about a recipe that’s easy enough for beginners yet impressive enough to serve when friends unexpectedly drop by.
- Quick & Easy: Comes together in under 15 minutes, making it perfect for last-minute indulgence or casual dinner parties.
- Simple Ingredients: Uses pantry staples—heavy cream, sweetened condensed milk, and homemade or store-bought salted caramel—so you don’t have to run to specialty stores.
- Perfect for Any Occasion: Whether it’s a sunny afternoon, a cozy night in, or a festive celebration, this ice cream hits the spot.
- Crowd-Pleaser: Kids, adults, skeptics—they all come back for seconds. The balance of sweet and salty is just right.
- Unbelievably Delicious: The texture is luxuriously creamy without the need for an ice cream machine, and the salted caramel adds that irresistible depth.
What sets this recipe apart? It’s the no-churn method combined with a perfectly balanced salted caramel flavor that doesn’t overpower but complements the creamy base. I’m not kidding when I say this ice cream makes you close your eyes after the first bite—pure comfort food, reimagined for ease and flavor. It’s the kind of recipe I keep on hand for those times when you want a little indulgence without the hassle.
What Ingredients You Will Need
This recipe calls for a handful of straightforward, wholesome ingredients that come together to create that silky texture and rich salted caramel flavor you crave. Most are pantry staples, and substitutions are easy if needed.
- Heavy Cream (2 cups / 480 ml) – Use fresh, cold heavy cream for the best whipping results. I prefer organic options when I can find them.
- Sweetened Condensed Milk (1 can / 14 oz / 396 g) – This adds sweetness and creaminess without extra fuss. I recommend Eagle Brand if you want a reliable brand.
- Salted Caramel Sauce (½ cup / 120 ml) – Homemade is ideal for that fresh buttery flavor, but store-bought works just fine. Just watch for overly sweet brands.
- Flaky Sea Salt (a pinch or two) – This really brings out the salted caramel essence. Maldon salt flakes are a favorite of mine.
- Vanilla Extract (1 teaspoon) – Adds warmth and depth to the base. Pure vanilla extract is always best.
Optional:
- Chocolate Chips or Chopped Nuts – For added texture and fun.
- Dairy-Free Alternatives: Use coconut cream instead of heavy cream and a dairy-free sweetened condensed milk substitute for a vegan version.
Equipment Needed
- Mixing Bowl: A large bowl for whipping the cream. Glass or metal works best to keep the cream cold, which helps it whip faster.
- Electric Mixer or Hand Whisk: An electric hand mixer makes whipping heavy cream effortless, but a sturdy whisk and a bit of elbow grease will do.
- Spatula: For folding ingredients gently without deflating the whipped cream.
- Freezer-Safe Container: I like to use a loaf pan or a plastic container with a lid to freeze the ice cream evenly.
- Measuring Cups and Spoons: Precision helps with balance, especially for the sweetened condensed milk and caramel sauce.
If you’re on a budget, you can skip the electric mixer and use a whisk, just expect to spend a few extra minutes whipping the cream. Keeping your bowl chilled in the freezer for 10 minutes before whipping really helps, too.
Preparation Method
- Chill your mixing bowl and beaters: Pop them in the freezer for about 10 minutes before starting. Cold equipment helps the heavy cream whip up faster and fluffier. (Prep time: 10 min)
- Whip the heavy cream: Pour the 2 cups (480 ml) of cold heavy cream into the chilled bowl. Using an electric mixer on medium-high speed, whip until you get stiff peaks—this usually takes about 3-5 minutes. You’ll know it’s ready when you lift the beaters and the peaks hold their shape without drooping.
- Combine sweetened condensed milk and vanilla: In a separate bowl, mix the 14 oz (396 g) can of sweetened condensed milk with 1 teaspoon of pure vanilla extract. Stir gently to combine.
- Fold the whipped cream into the condensed milk mixture: Use a spatula to fold carefully so you don’t lose the airiness. The goal is a light, creamy base—don’t overmix.
- Swirl in the salted caramel sauce: Gently fold in ½ cup (120 ml) of salted caramel sauce. For a marbled effect, fold just a few times; for a fully mixed flavor, fold until evenly distributed.
- Add a pinch of flaky sea salt: Sprinkle 1/4 to 1/2 teaspoon of flaky sea salt over the mixture and give a final gentle fold. This step really makes a difference, balancing sweetness with that signature salted caramel kick.
- Transfer to a freezer-safe container: Pour the mixture into your container, smoothing the top with a spatula. Cover tightly with a lid or plastic wrap to prevent ice crystals.
- Freeze for at least 6 hours or overnight: The ice cream will firm up without needing an ice cream maker. If you want to serve it immediately after freezing, let it sit at room temperature for 5-10 minutes to soften slightly for easy scooping.
Pro tip: If you want to mix in chocolate chips or nuts, fold them in right before freezing in step 7. Also, if your caramel sauce is very thick, warm it slightly to make folding easier.
Cooking Tips & Techniques
Whipping cream to the perfect stiffness is the key to this no-churn recipe’s creamy texture. I’ve learned the hard way that over-whipping turns it grainy and butter-like, while under-whipping makes the ice cream dense and icy. So, keep a close eye and stop as soon as stiff peaks form.
Another tip? Folding gently is an art. I remember the first time I rushed this part and ended up with a flat, less fluffy ice cream. Trust me, take your time using a spatula with a light hand.
When it comes to the salted caramel, homemade really shines. I usually make mine by slowly melting sugar until it’s golden brown, then stirring in butter and cream. But store-bought can work in a pinch—just pick one that’s not too sweet or artificial tasting.
Timing is everything here. Prep the base in the evening, then freeze overnight. This way, you wake up to a perfect treat without any extra work. Multitasking tip: whip your cream while the caramel sauce cools, so you save time.
Variations & Adaptations
- Vegan Version: Swap heavy cream for full-fat coconut cream and use a dairy-free sweetened condensed milk alternative. Use a vegan salted caramel sauce or make your own with coconut sugar and coconut milk.
- Chocolate Swirl: Add a swirl of chocolate ganache or fudge sauce along with the salted caramel for a chocolate-caramel combo that’s irresistible.
- Nutty Delight: Fold in toasted pecans or almonds for crunch and a nutty flavor contrast. I once tried this with chopped macadamia nuts, and it was a hit at a summer BBQ.
- Fruit Twist: Mix in chopped fresh or frozen pears or apples caramelized lightly in butter and brown sugar to add a seasonal fruit note.
- Spiced Caramel: Stir a pinch of cinnamon or cayenne pepper into the caramel sauce for a subtle warmth or kick.
If you want to speed things up, you can freeze the ice cream in smaller containers for quicker setting. Alternatively, try freezing it in popsicle molds for salted caramel ice cream bars!
Serving & Storage Suggestions
This creamy no-churn salted caramel ice cream is best served slightly softened for easy scooping. Let it sit at room temperature for about 5-10 minutes before serving. It pairs beautifully with warm chocolate brownies, sliced fresh fruit, or a drizzle of extra salted caramel sauce.
Store the ice cream tightly covered in the freezer for up to 2 weeks. After that, it might start to develop ice crystals or lose some creaminess. When reheating or softening, avoid microwaving as it melts unevenly—leave it out or scoop into bowls and let it temper naturally.
Interestingly, the flavors actually deepen after a day or two frozen, so if you can resist, it’s worth waiting. I’ve found that this ice cream keeps its luscious texture remarkably well, thanks to the sweetened condensed milk acting as a stabilizer.
Nutritional Information & Benefits
Approximately per serving (1/2 cup): 250 calories, 16g fat, 24g carbohydrates, 2g protein.
The heavy cream provides a rich source of calcium and fat-soluble vitamins, while the caramel brings sweetness with a pinch of sea salt that can help balance electrolytes. Of course, this recipe is a treat, so enjoy it mindfully.
For those watching carbs, swapping sweetened condensed milk with a low-carb condensed milk alternative or using sugar-free caramel can help reduce the sugar load. This recipe is naturally gluten-free and easily adaptable for dairy-free diets.
Conclusion
This creamy no-churn salted caramel ice cream recipe is the kind of homemade treat that sticks with you. It’s simple enough to whip up on a whim but special enough to impress anyone who tries it. I love how it combines the rich, buttery flavor of caramel with just the right hint of salt, all wrapped in a smooth, creamy texture.
Feel free to customize it with your favorite mix-ins or tweak the sweetness to your liking. Honestly, once you make it, you’ll find yourself reaching for this recipe whenever the craving strikes. I’d love to hear how you make it your own—drop a comment or share your variations!
Go ahead, treat yourself—you deserve it.
FAQs
Can I use store-bought caramel sauce for this recipe?
Absolutely! Just pick a high-quality salted caramel sauce with a balanced flavor. If it’s very thick, warm it slightly before folding in for easier mixing.
How long can I store this no-churn ice cream in the freezer?
It’s best eaten within two weeks for optimal texture and flavor. Keep it tightly covered to prevent ice crystals.
Do I need an ice cream maker for this recipe?
Nope! This recipe is designed to be no-churn, meaning you just mix and freeze. Easy and foolproof.
Can I make this recipe dairy-free?
Yes, substitute heavy cream with full-fat coconut cream and use a dairy-free sweetened condensed milk. Vegan salted caramel options work well too.
Why is folding the whipped cream gently important?
Folding preserves the air in the whipped cream, keeping the ice cream light and creamy. Stirring too hard deflates it, resulting in a denser, icy texture.
Pin This Recipe!
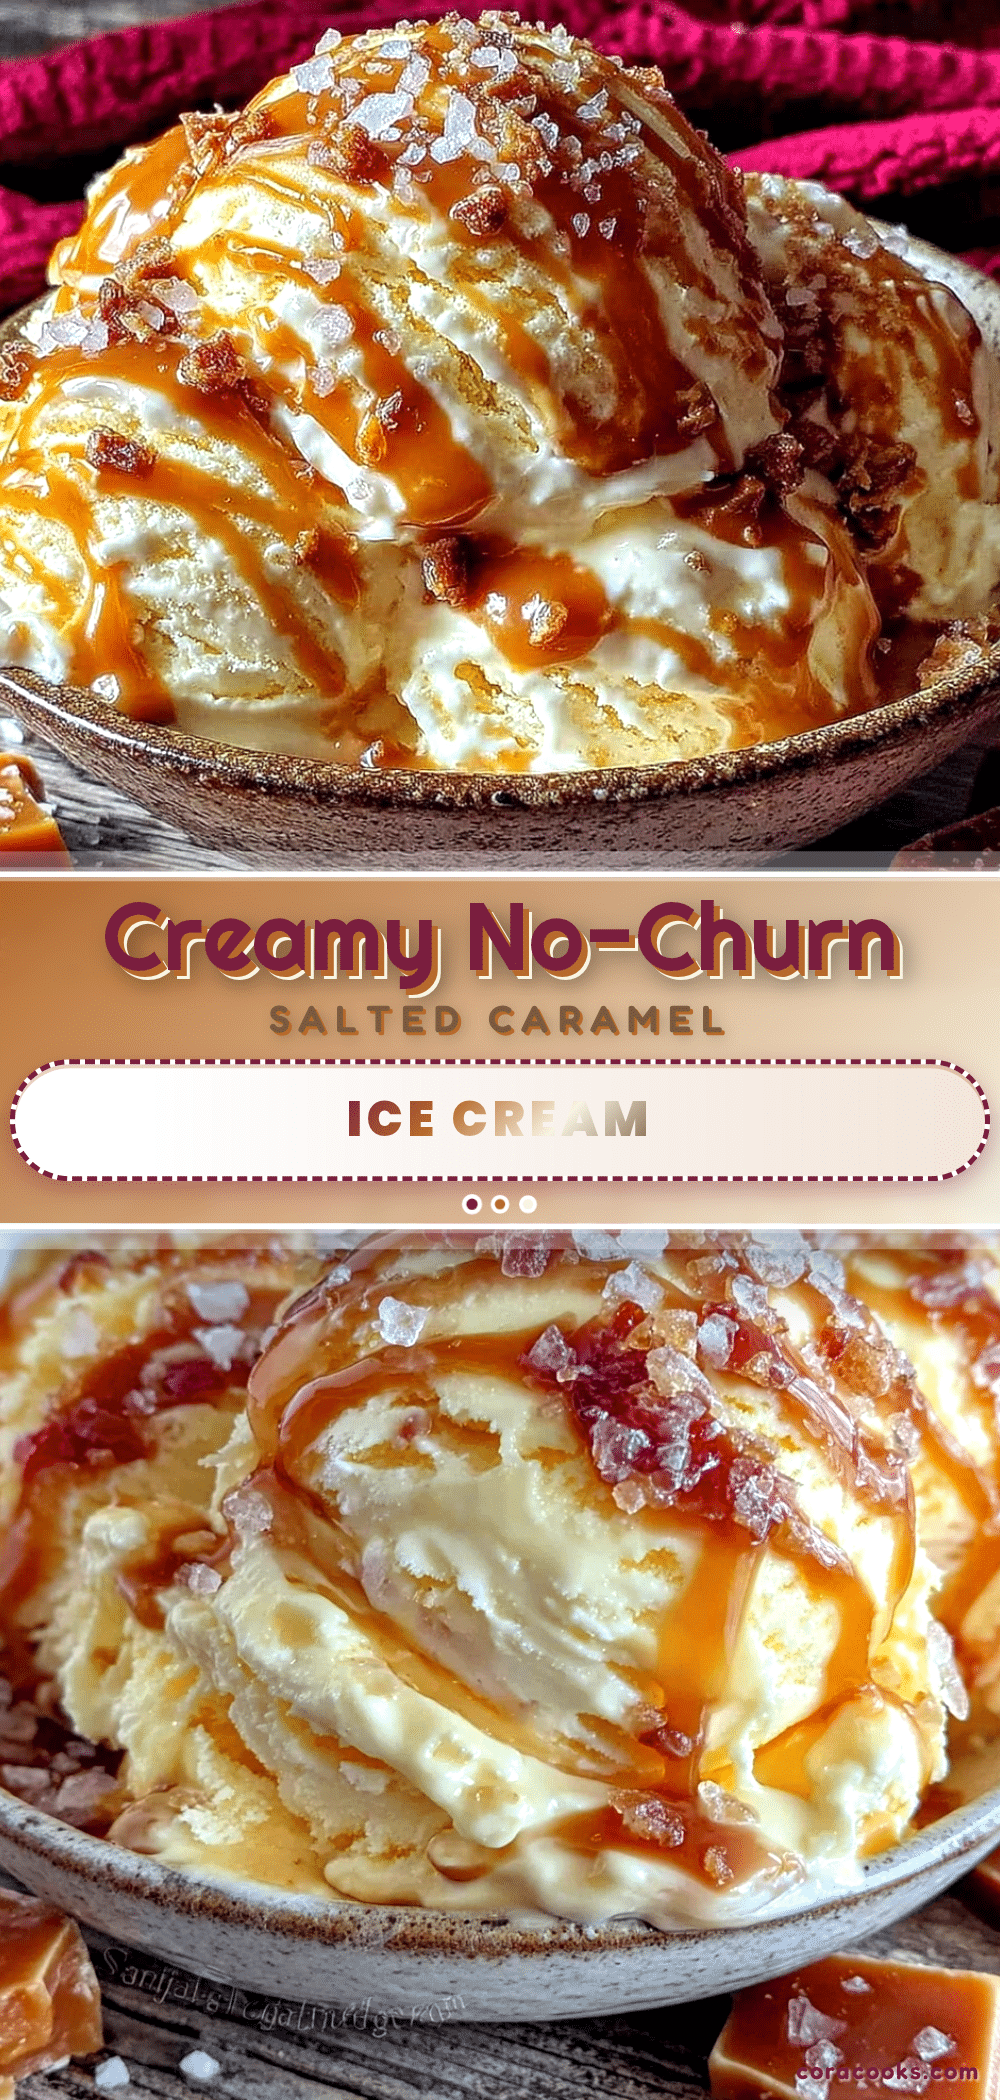
Creamy No-Churn Salted Caramel Ice Cream

A simple and luscious no-churn salted caramel ice cream recipe that requires no ice cream maker and comes together in under 15 minutes. Perfect for last-minute indulgence with a creamy, sweet-and-salty flavor.
- Prep Time: 15 minutes
- Cook Time: 0 minutes
- Total Time: 6 hours 15 minutes
- Yield: 8 servings 1x
- Category: Dessert
- Cuisine: American
Ingredients
- 2 cups (480 ml) heavy cream
- 1 can (14 oz / 396 g) sweetened condensed milk
- ½ cup (120 ml) salted caramel sauce (homemade or store-bought)
- Pinch or two of flaky sea salt (about 1/4 to 1/2 teaspoon)
- 1 teaspoon vanilla extract
- Optional: chocolate chips or chopped nuts
- Optional (vegan): coconut cream instead of heavy cream
- Optional (vegan): dairy-free sweetened condensed milk substitute
Instructions
- Chill your mixing bowl and beaters in the freezer for about 10 minutes to help whip the cream faster and fluffier.
- Pour the 2 cups of cold heavy cream into the chilled bowl and whip with an electric mixer on medium-high speed until stiff peaks form, about 3-5 minutes.
- In a separate bowl, mix the 14 oz can of sweetened condensed milk with 1 teaspoon of vanilla extract until combined.
- Gently fold the whipped cream into the condensed milk mixture using a spatula, being careful not to deflate the airiness.
- Fold in ½ cup of salted caramel sauce. For a marbled effect, fold a few times; for fully mixed flavor, fold until evenly distributed.
- Sprinkle 1/4 to 1/2 teaspoon of flaky sea salt over the mixture and fold gently one last time.
- Transfer the mixture to a freezer-safe container, smooth the top with a spatula, and cover tightly with a lid or plastic wrap.
- Freeze for at least 6 hours or overnight until firm. Let sit at room temperature for 5-10 minutes before scooping for easier serving.
- Optional: fold in chocolate chips or chopped nuts before freezing.
Notes
Chill your mixing bowl and beaters before whipping cream for best results. Fold whipped cream gently to preserve airiness. If caramel sauce is thick, warm slightly before folding. Store ice cream tightly covered for up to 2 weeks. Let ice cream soften 5-10 minutes before serving for easy scooping.
Nutrition
- Serving Size: 1/2 cup
- Calories: 250
- Fat: 16
- Carbohydrates: 24
- Protein: 2
Keywords: no-churn ice cream, salted caramel ice cream, easy homemade ice cream, no ice cream maker, creamy dessert, quick ice cream recipe