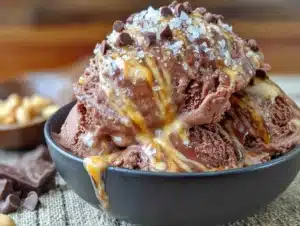
Love this? Save it for later!
Share the inspiration with your friends
Last July, when the thermometer hit 97 degrees and my kitchen felt like a sauna, I found myself standing in front of my freezer with the door open, just letting the cold air wash over my face. That’s when my neighbor across the hall, an older woman named Rosa who always has something cooking, peeked her head out and laughed. “You look like you’re praying to the ice cream gods,” she said. I was. I was desperate for something cold, something creamy, and honestly, something that wouldn’t leave me feeling like I needed a nap after eating it.
Rosa disappeared for a minute and came back with a small container of homemade ice cream. It was chocolate, but it had this richness I couldn’t place—not too sweet, not too heavy. She shrugged when I asked what was in it. “Frozen bananas, cocoa, peanut butter, a little milk. That’s it.” I nearly dropped the spoon. No heavy cream? No sugar? No complicated custard base? She just smiled and went back inside, leaving me with what would become my summer obsession.
That first bite was a revelation. It was creamy, dreamy, and tasted like an indulgence, but I knew my body was getting protein and healthy fats instead of empty calories. I’ve tweaked her original recipe over the past year, adding a scoop of chocolate protein powder to make it truly high-protein and perfect for post-workout recovery or a mid-afternoon pick-me-up. Maybe you’ve been there—staring into your freezer, wishing for something cold that actually fuels you instead of draining you. This Summer High-Protein Chocolate Peanut Butter Ice Cream is that answer.
Why You’ll Love This Recipe
Look, I’ve tested a lot of “healthy” ice cream recipes over the years. Some were icy, some were bland, and some required equipment I don’t own. This one is different. It’s the kind of recipe that makes you wonder why you ever bothered with store-bought pints. Here’s what makes it stand out:
- Quick & Easy: From freezer to bowl in under 10 minutes of active prep time. No ice cream maker required. I mean it—you just need a good blender or food processor.
- Simple Ingredients: You probably have frozen bananas in your freezer right now. If you don’t, that’s the only thing you need to buy. Peanut butter, cocoa powder, milk, and protein powder are pantry staples for most of us.
- Perfect for Summer: This is the ultimate hot-weather treat. It cools you down without weighing you down. I’ve eaten it after runs, after yoga, and honestly, after just sitting on my porch fanning myself.
- Crowd-Pleaser: My nephew, who is notoriously picky, asked for seconds. My fitness-obsessed brother-in-law asked for the recipe. It bridges that gap between “healthy” and “actually delicious” effortlessly.
- Unbelievably Delicious: The texture is what gets me every time. It’s scoopable, creamy, and has that slight fudginess that makes chocolate ice cream so satisfying. The peanut butter adds this savory-sweet note that balances everything perfectly.
This isn’t just another protein ice cream recipe. It’s the one I’ve made more times than I can count, tweaking the ratios until the texture was just right. The secret is using very ripe, spotty bananas and letting them freeze completely. That’s what gives it that silky, soft-serve consistency without any added cream. It’s comfort food that actually supports your summer goals—whether that’s staying active, eating cleaner, or just enjoying a guilt-free treat.
What Ingredients You Will Need
This recipe uses simple, whole-food ingredients to deliver a creamy, protein-packed dessert that tastes like a cheat meal but isn’t. The beauty is in the simplicity—each ingredient pulls its weight, and there’s nothing here you need to hunt down at a specialty store.
- Frozen ripe bananas (2 large, sliced and frozen): This is the backbone of the recipe. The riper the bananas, the sweeter your ice cream will be. I let mine go until they’re covered in brown spots—that’s when the natural sugars are at their peak. Slice them before freezing so your blender doesn’t struggle. Pro tip: freeze them in a single layer on a baking sheet first, then transfer to a bag. This prevents them from clumping together into one giant banana brick.
- Unsweetened cocoa powder (2 tablespoons): I use Dutch-processed cocoa for a deeper, more mellow chocolate flavor, but natural cocoa powder works perfectly too. If you want that intense, dark chocolate experience, go for the Dutch-processed. I’ve found that Hershey’s Special Dark works beautifully in a pinch.
- Creamy peanut butter (2 tablespoons): Natural peanut butter is best here—the kind that’s just peanuts and salt. The oil separation is actually your friend because it blends more smoothly into the frozen bananas. If you use a processed peanut butter with added sugar and hydrogenated oils, the texture can turn a bit waxy. I like Smucker’s Natural or Trader Joe’s brand. For a nut-free option, sunflower seed butter works surprisingly well, though it does change the color slightly.
- Chocolate protein powder (1 scoop, about 30 grams): This is what transforms the recipe from a simple nice cream into a high-protein meal or post-workout recovery treat. I recommend a whey or plant-based chocolate protein powder. My go-to is Orgain Organic Chocolate, but anything you enjoy the taste of will work. If your protein powder is sweetened, you might want to skip any additional sweetener. If it’s unsweetened, taste the base before freezing and add a teaspoon of maple syrup if needed.
- Milk of choice (¼ cup, plus more as needed): Any milk works here. I usually use unsweetened almond milk because it’s what I always have on hand, but oat milk gives it a creamier texture, and whole milk makes it extra luxurious. Start with ¼ cup and add more a tablespoon at a time if your blender is struggling. The goal is a thick, scoopable consistency—not a smoothie.
Optional add-ins: a pinch of sea salt (trust me on this), ½ teaspoon of vanilla extract, or a tablespoon of mini chocolate chips for texture. I sometimes add a teaspoon of instant coffee granules to deepen the chocolate flavor without making it taste like coffee.
Equipment Needed
You don’t need much for this recipe, which is one of the reasons I make it so often. Here’s what you’ll need:
- High-speed blender or food processor: This is non-negotiable. A regular blender might struggle with frozen bananas unless you have a powerful motor. I use a Ninja blender, and it handles the job beautifully. A food processor works even better because it allows you to scrape down the sides more easily. If you have a Vitamix, you’re golden.
- Spatula: A silicone spatula is your best friend here. You’ll need it to scrape down the sides between blending pulses. Trust me, you’ll use it multiple times.
- Freezer-safe container: If you’re not eating the ice cream immediately (though honestly, why wouldn’t you?), you’ll need a container to store it. A glass loaf pan with a lid works perfectly. I use a Pyrex dish with a tight-fitting lid.
- Measuring spoons and cups: Standard kitchen staples. Nothing fancy needed.
- Knife and cutting board: For slicing your bananas before freezing.
If you don’t have a high-speed blender, don’t worry. I’ve made this in a standard food processor with great results. You just need to be patient and scrape the sides frequently. Let the bananas thaw for 5 minutes on the counter before blending if your machine is on the weaker side.
Preparation Method
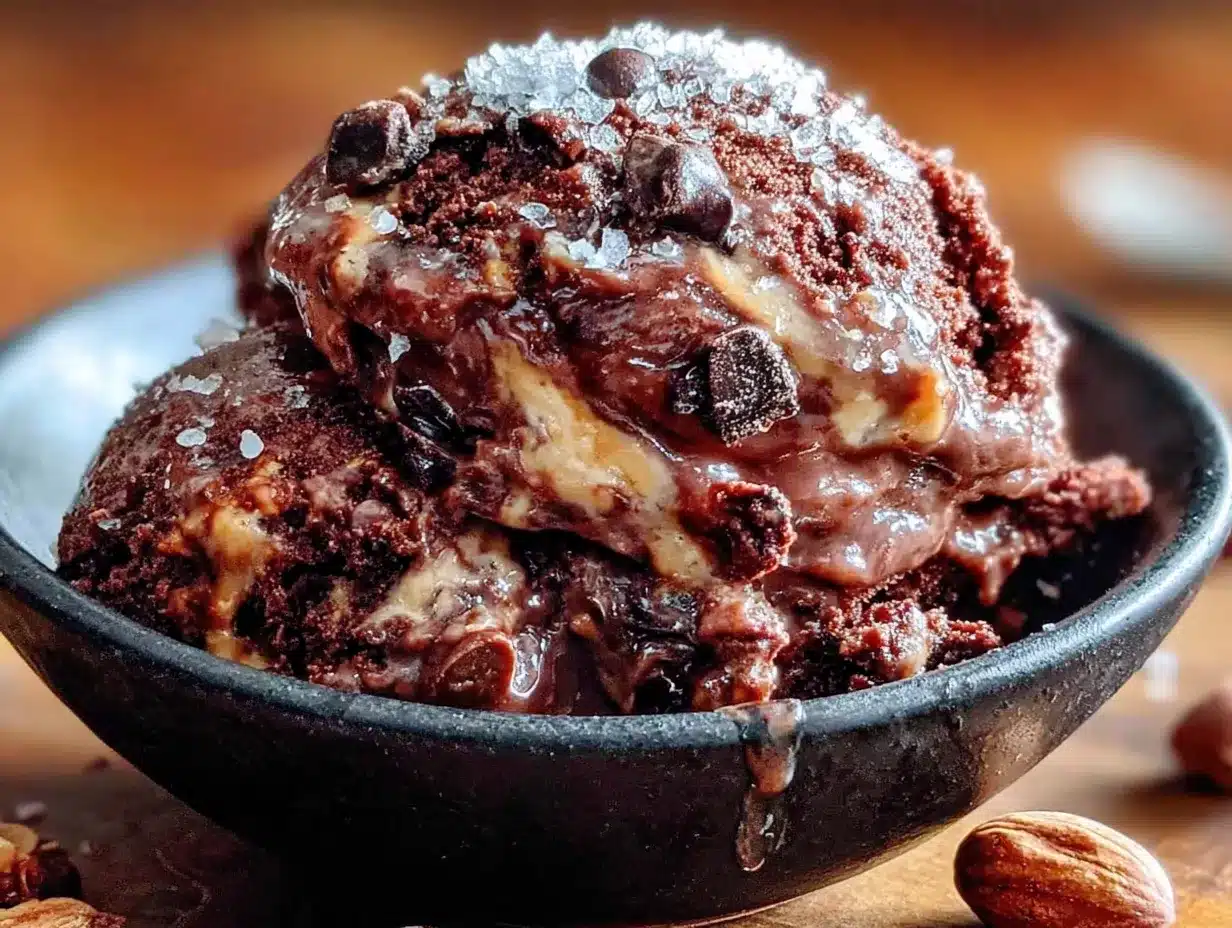
This is where the magic happens. The process is simple, but there are a few tricks to getting that perfect, creamy texture. Follow these steps, and you’ll have ice cream that rivals anything from a fancy scoop shop.
- Freeze your bananas properly. This step matters more than you think. Peel two very ripe bananas, slice them into ½-inch rounds, and arrange them in a single layer on a parchment-lined baking sheet. Freeze for at least 4 hours, preferably overnight. This prevents them from freezing into one solid clump and ensures even blending. If you’re in a hurry, you can use pre-sliced frozen bananas from the store, but they’re often not as sweet.
- Combine all ingredients in your blender or food processor. Add the frozen banana slices, cocoa powder, peanut butter, protein powder, and ¼ cup of milk. Don’t add all the milk at once—you can always add more, but you can’t take it out. The mixture will look crumbly at first. That’s normal. Don’t panic.
- Blend in pulses. Start with short pulses, about 5 seconds each, scraping down the sides of the container with your spatula between pulses. This is the most important step. If you just run the blender continuously, the friction can warm up the mixture and make it soupy. Patience is key here. It might take 3-5 minutes of pulsing and scraping to get a smooth consistency.
- Add milk as needed. If the mixture isn’t coming together after a few minutes, add milk one tablespoon at a time. You’re looking for a thick, soft-serve consistency. It should be scoopable, not pourable. The sound of the blender will change when it’s ready—it goes from a loud, struggling sound to a smoother, quieter hum.
- Taste and adjust. This is your moment. Take a small spoonful and taste it. Is it chocolatey enough? Add another teaspoon of cocoa powder. Too thick? Add another splash of milk. Want it sweeter? A teaspoon of maple syrup or honey does the trick. I always add a tiny pinch of sea salt at this stage—it makes the chocolate and peanut butter flavors pop.
- Serve immediately or freeze for later. If you want soft-serve texture, eat it right away. Scoop it into a bowl and enjoy the creamy, almost mousse-like consistency. If you prefer firmer, scoopable ice cream, transfer the mixture to a freezer-safe container, smooth the top with your spatula, and freeze for 2-3 hours. Let it sit at room temperature for 5-10 minutes before scooping if it gets too hard.
A quick warning: if you freeze it overnight, it will become very firm. That’s okay—just let it thaw on the counter for 15 minutes before scooping. I’ve also microwaved it for 15-20 seconds to soften it up, and it works perfectly.
Cooking Tips & Techniques
I’ve made this recipe probably thirty times now, and I’ve learned a few things the hard way. Here are my best tips to ensure success every time:
- Don’t skip the single-layer freeze. I once threw whole bananas into a bag and froze them. Big mistake. They fused together into a solid mass that took forever to blend, and the texture was uneven. Slicing and freezing in a single layer takes an extra five minutes but saves you so much frustration.
- Let the bananas thaw slightly. If your blender is struggling, let the frozen banana slices sit at room temperature for 5 minutes. This softens them just enough to make blending easier without sacrificing the cold, creamy texture. I learned this after burning out the motor on an old blender. RIP, little blender.
- Scrape, scrape, scrape. I cannot emphasize this enough. Every time you pulse, scrape down the sides. The mixture will try to climb up the sides of the blender, and if you don’t push it back down, you’ll end up with an uneven, chunky mess. It’s tedious, but it’s worth it.
- Use a tamper if your blender has one. My Ninja blender came with a tamper that fits through the lid, and it’s a game-changer. It lets me push the mixture down into the blades without stopping the blender. If you don’t have one, just be patient with the pulsing and scraping.
- Double the recipe. Seriously. This ice cream disappears fast. I always make a double batch because one batch barely fills two decent portions. Plus, it freezes beautifully, so having extra on hand means you’re always prepared for a summer craving.
Variations & Adaptations
This recipe is incredibly forgiving and adaptable. Here are some of my favorite variations:
- Vegan option: This recipe is already vegan if you use plant-based protein powder and milk. I’ve made it with oat milk and pea protein, and it turned out perfectly creamy. Just make sure your chocolate protein powder is dairy-free.
- Nut-free version: Swap the peanut butter for sunflower seed butter or tahini. Sunflower seed butter gives it a slightly different flavor, but it’s still delicious. Just be aware that the color will turn a bit greenish due to a reaction between the chlorophyll in sunflower seeds and the baking soda. It’s totally safe and tastes fine, but it looks a little weird.
- Extra chocolatey: Add a tablespoon of mini chocolate chips during the last few pulses. They’ll stay whole and give you little pockets of chocolate throughout. I also like to drizzle melted dark chocolate over the top before serving.
- Peanut butter swirl: After blending, gently swirl in an extra tablespoon of peanut butter. Don’t fully mix it—leave ribbons of peanut butter running through the ice cream. It’s a textural dream.
- Mint chocolate chip: Add ¼ teaspoon of peppermint extract and a handful of mini chocolate chips. It tastes just like the classic, but with way more protein and no dairy. This is my go-to summer variation.
- Cookie dough inspired: Fold in some chopped dates and a few dairy-free chocolate chips. It mimics the texture of cookie dough chunks without any raw flour or eggs. I’ve served this to friends who had no idea it was “healthy.”
Serving & Storage Suggestions
This ice cream is best enjoyed fresh, but it stores well too. Here’s how to handle both situations:
Serving: Serve immediately for a soft-serve consistency that’s almost like a thick milkshake. Scoop it into a chilled bowl and top with a drizzle of peanut butter, a sprinkle of sea salt, or a few cacao nibs for crunch. It’s also amazing as a topping for warm brownies or a base for a protein-packed sundae. I’ve even used it as a filling for homemade ice cream sandwiches—just spread it between two chocolate cookies and freeze for an hour.
Storage: Transfer any leftovers to an airtight, freezer-safe container. Press a piece of parchment paper directly onto the surface of the ice cream before sealing the lid. This prevents ice crystals from forming and keeps the texture creamy. Stored this way, it will keep for up to two weeks. After that, the texture starts to get icy, but it’s still perfectly edible.
Reheating/Softening: If the ice cream freezes solid, let it sit at room temperature for 10-15 minutes before scooping. You can also microwave it for 15-20 seconds. Don’t overdo it, or you’ll end up with a smoothie. A trick I love: run your ice cream scoop under hot water before scooping. It glides right through.
Flavor development: Honestly, this ice cream tastes best after about 4 hours in the freezer. The flavors meld together, and the texture firms up to that perfect scoopable consistency. It’s worth the wait if you can resist eating it all immediately.
Nutritional Information & Benefits
This isn’t just a treat—it’s a functional snack that supports your active summer lifestyle. Here’s the breakdown per serving (about 1 cup, based on the recipe as written):
- Calories: Approximately 320-350
- Protein: 20-25 grams (depending on your protein powder)
- Carbohydrates: 40-45 grams (mostly from natural sugars in bananas)
- Fiber: 8-10 grams
- Fat: 12-15 grams (healthy fats from peanut butter)
- Sugar: 20-22 grams (no added sugar, all from bananas)
The bananas provide potassium, vitamin B6, and resistant starch, which supports gut health. Peanut butter adds healthy monounsaturated fats and vitamin E. Cocoa powder is rich in antioxidants called flavanols, which support heart health and reduce inflammation. And the protein powder, of course, helps with muscle recovery and keeps you feeling full and satisfied.
This recipe is naturally gluten-free, dairy-free (if you use plant-based milk), and contains no refined sugar. It’s suitable for most dietary preferences, though it does contain peanuts and potential dairy depending on your protein powder choice. Always check your labels if you have allergies.
Conclusion
This Summer High-Protein Chocolate Peanut Butter Ice Cream has become my go-to answer for every summer craving. It’s the recipe I make when I want something cold, when I need a post-workout refuel, or when I just want to feel like I’m treating myself without derailing my healthy habits. Rosa’s original version was already wonderful, but adding the protein powder turned it into something I could honestly eat every single day without guilt.
What I love most about this recipe is how adaptable it is. You can make it your own—swap the peanut butter for almond butter, use vanilla protein powder instead of chocolate, add a handful of spinach for a green monster version (trust me, you can’t taste it). The base is forgiving, and the possibilities are endless.
I’d love to hear how it turns out for you. Did you try a variation? Did your kids love it? Did you eat the whole batch in one sitting? (No judgment here.) Leave a comment below or tag me in your photos. Let’s make this summer the coldest, creamiest, most delicious one yet. Go grab those bananas and start freezing—you’ve got ice cream to make!
Frequently Asked Questions
Can I make this without a high-speed blender?
Absolutely. A food processor works even better than a blender because it gives you more control and easier access to scrape down the sides. If you only have a standard blender, let the bananas thaw for 5-10 minutes first, and add the milk a little at a time. Be patient with the pulsing and scraping.
Can I use fresh bananas instead of frozen?
Technically yes, but the texture will be completely different. You’ll end up with a chocolate peanut butter smoothie rather than ice cream. The frozen bananas are what give this recipe its creamy, scoopable texture. If you only have fresh bananas, slice and freeze them first—it’s worth the wait.
How can I make this higher in protein?
You can easily bump up the protein by adding an extra half scoop of protein powder, a tablespoon of collagen peptides, or a spoonful of Greek yogurt (if you’re not avoiding dairy). Just keep in mind that adding more dry ingredients might require a little extra milk to maintain the right consistency.
Can I use a different nut butter?
Yes! Almond butter, cashew butter, or even tahini work beautifully. Each one will change the flavor profile slightly, but they all create a creamy, satisfying ice cream. If you’re avoiding nuts, sunflower seed butter is a great alternative, though it will turn the ice cream a greenish-gray color. It’s safe and delicious, just not as pretty.
How long does this last in the freezer?
Properly stored in an airtight container with parchment paper pressed onto the surface, this ice cream will stay creamy for up to two weeks. After that, it may develop ice crystals and become more icy. If that happens, just let it thaw slightly and give it a quick re-blend with a splash of milk to restore the texture.
Pin This Recipe!
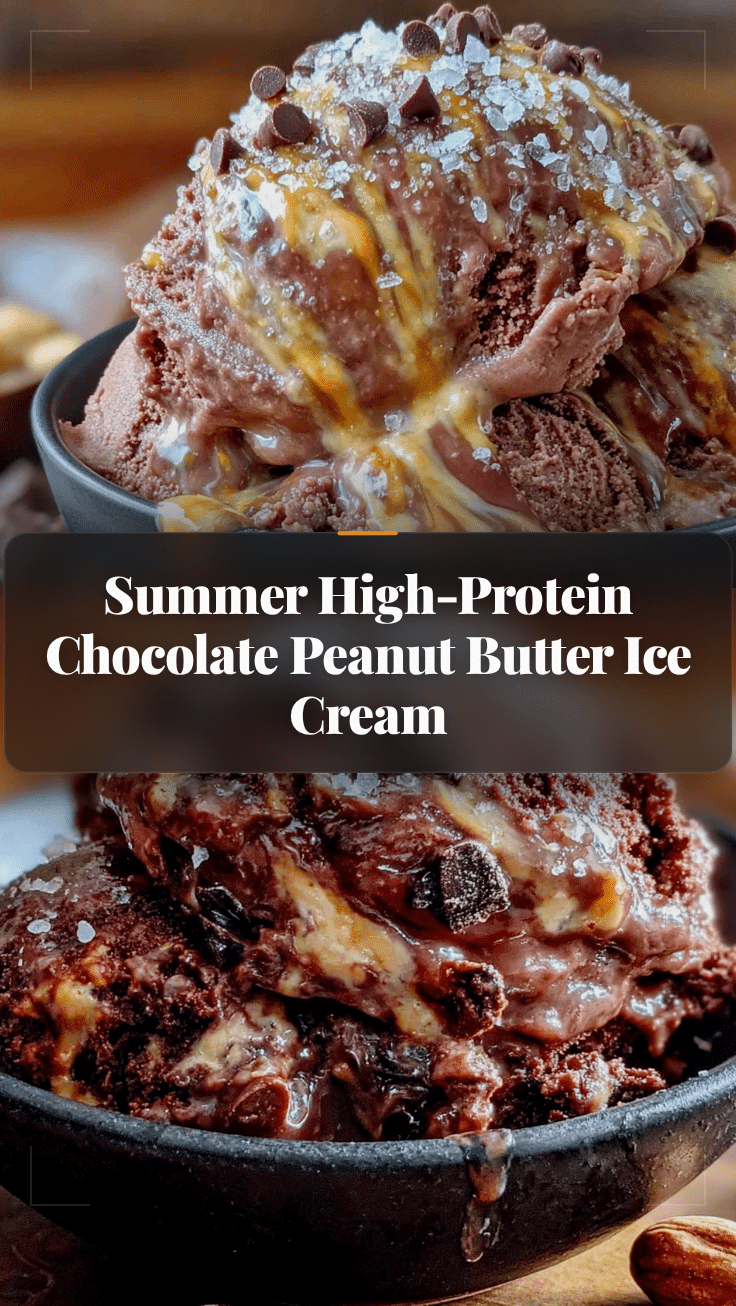
Summer High-Protein Chocolate Peanut Butter Ice Cream
A creamy, protein-packed ice cream made with just 5 simple ingredients. This easy, no-churn recipe uses frozen bananas, cocoa powder, peanut butter, and chocolate protein powder for a guilt-free summer treat that tastes like an indulgence.
- Prep Time: 10 minutes
- Cook Time: 0 minutes
- Total Time: 4 hours 10 minutes (includes freezing bananas)
- Yield: 2 servings 1x
- Category: Dessert
- Cuisine: American
Ingredients
- 2 large ripe bananas, sliced and frozen
- 2 tablespoons unsweetened cocoa powder
- 2 tablespoons creamy peanut butter
- 1 scoop (about 30 grams) chocolate protein powder
- ¼ cup milk of choice (plus more as needed)
- Pinch of sea salt (optional)
- ½ teaspoon vanilla extract (optional)
- 1 tablespoon mini chocolate chips (optional)
Instructions
- Peel two very ripe bananas, slice them into ½-inch rounds, and arrange in a single layer on a parchment-lined baking sheet. Freeze for at least 4 hours, preferably overnight.
- Add frozen banana slices, cocoa powder, peanut butter, protein powder, and ¼ cup milk to a high-speed blender or food processor.
- Blend in short pulses (about 5 seconds each), scraping down the sides with a spatula between pulses. Continue for 3-5 minutes until smooth.
- If the mixture isn’t coming together, add milk one tablespoon at a time until a thick, soft-serve consistency is reached.
- Taste and adjust: add more cocoa powder for chocolate flavor, a splash of milk if too thick, or a teaspoon of maple syrup if sweeter is desired. Add a pinch of sea salt if using.
- Serve immediately for soft-serve texture, or transfer to a freezer-safe container and freeze for 2-3 hours for firmer, scoopable ice cream. Let sit at room temperature for 5-10 minutes before scooping if frozen solid.
Notes
Use very ripe, spotty bananas for maximum sweetness. Freeze banana slices in a single layer to prevent clumping. If blender struggles, let bananas thaw for 5 minutes. Scrape sides frequently during blending. For firmer texture, freeze 2-3 hours. Store in airtight container with parchment paper on surface for up to 2 weeks.
Nutrition
- Serving Size: 1 cup
- Calories: 335
- Sugar: 21
- Sodium: 150
- Fat: 13.5
- Saturated Fat: 2.5
- Carbohydrates: 42.5
- Fiber: 9
- Protein: 22.5
Keywords: high-protein ice cream, chocolate peanut butter ice cream, healthy ice cream, no-churn ice cream, banana ice cream, summer dessert, protein dessert