Love this? Save it for later!
Share the inspiration with your friends
It was 11:47 PM on a random Wednesday in mid-December, and I was staring into the fridge like it owed me money. The craving hit me out of nowhere—not for the elaborate, three-tier peppermint cheesecake I’d seen on Instagram earlier that day, but for something simpler. Something I could actually pull off without waking up the whole house with a stand mixer. I didn’t have the springform pan for a full cheesecake, and honestly, I didn’t have the patience either. But I had a package of chocolate sandwich cookies that were probably a month past their prime, a block of cream cheese that needed using up, and a half-empty bag of candy canes from last year’s Christmas tree decorating session. That’s when the idea arrived—what if I just pressed the cookies into a pan, poured the cheesecake filling right on top, and skipped all the fancy water bath nonsense? I grabbed the butter, melted it in the microwave (don’t judge), and got to work. By midnight, the kitchen smelled like a holiday bakery, and I had a pan of the most ridiculous, delicious, easy peppermint cheesecake bars cooling on the counter. I ate a corner piece while standing in my pajamas, and let me tell you—it was exactly what I needed. This recipe stayed with me because it proved that you don’t need fancy equipment or a full day in the kitchen to make something that tastes like you did. Maybe you’ve been there too, standing in your kitchen late at night, wanting something festive but not having the energy for a project. These bars are for those nights.
Why You’ll Love This Recipe
These easy peppermint cheesecake bars are the kind of recipe that makes you look like a holiday hero without actually working like one. I’ve tested this recipe at least seven times over three holiday seasons, tweaking the ratios until the filling was perfectly creamy and the crust stayed firm enough to hold a slice. Here’s why they work so well for busy people like us:
- Quick & Easy: From start to finish, these bars take about 30 minutes of active prep time. The oven does the rest of the work while you wrap presents or binge-watch your favorite holiday movie.
- Simple Ingredients: You probably already have most of these in your pantry. No trips to specialty baking stores, no hunting down obscure extracts. Just good old-fashioned staples.
- Perfect for Holiday Gatherings: Bring these to a cookie swap, a family dinner, or a work party, and watch them disappear. They’re fancy enough for a Christmas table but casual enough for a Tuesday night.
- Crowd-Pleaser: I’ve served these to kids who usually pick around desserts and adults who claim they don’t have a sweet tooth. Every single person went back for seconds.
- Unbelievably Delicious: The combination of the crunchy chocolate cookie crust, the silky cream cheese filling, and the cool, refreshing peppermint is next-level comfort food. It’s like a holiday dream in bar form.
What makes these bars different from every other cheesecake recipe out there is the technique. Instead of a water bath, which is honestly a pain and always leaks, I use a low-and-slow baking method that prevents cracking without the fuss. And instead of peppermint extract that can taste artificial, I use crushed candy canes for natural flavor and that satisfying crunch on top. This isn’t just another version of cheesecake bars—it’s the best version, perfected through trial and error so you don’t have to make my mistakes.
These easy peppermint cheesecake bars are the kind of dessert that makes you close your eyes after the first bite. It’s comfort food reimagined—faster, simpler, but with the same soul-soothing satisfaction that only a good cheesecake can deliver. Perfect for impressing guests without stress, or turning a quiet Wednesday night into something a little more special.
What Ingredients You Will Need
This recipe uses simple, wholesome ingredients to deliver bold holiday flavor without the fuss. Most of these are pantry staples you probably already have, especially if you’ve done any holiday baking this season.
For the Chocolate Cookie Crust
- Chocolate sandwich cookies (about 24 cookies, crushed into fine crumbs) — I prefer Oreo brand for the best texture, but any chocolate sandwich cookie works. You can use regular or double-stuf, just adjust the butter slightly if using double-stuf since they have more filling.
- Unsalted butter (5 tablespoons, melted) — This binds the crust together and adds richness. If you only have salted butter, reduce the added salt in the recipe.
- Granulated sugar (2 tablespoons) — Just a touch to balance the bitterness of the chocolate cookies.
- Salt (a pinch) — Sounds weird in a sweet crust, but it makes the chocolate flavor pop.
For the Peppermint Cheesecake Filling
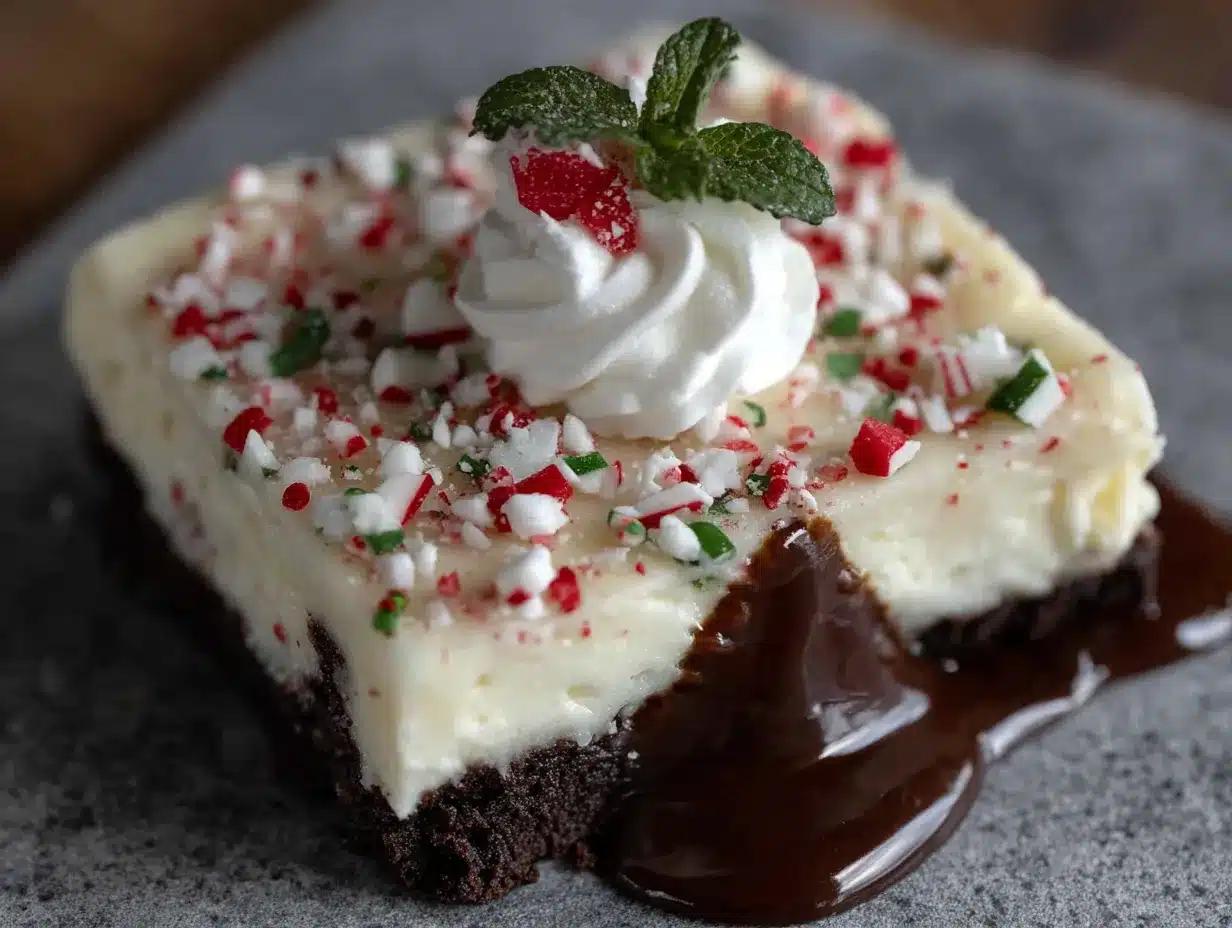
- Cream cheese (16 ounces, softened to room temperature) — Use full-fat cream cheese for the creamiest texture. I’ve tried reduced-fat versions, and they just don’t set up as nicely. Philadelphia brand is my go-to.
- Granulated sugar (¾ cup) — Sweet enough to balance the tangy cream cheese without being cloying.
- Sour cream (½ cup, room temperature) — This is the secret to a silky, non-cracked cheesecake filling. Don’t skip it!
- Large eggs (2, room temperature) — Room temperature eggs incorporate more smoothly into the batter, preventing lumps.
- Vanilla extract (1 teaspoon) — Use pure vanilla extract if you have it, but imitation works fine too.
- Peppermint extract (½ teaspoon) — Be careful with this one—a little goes a long way. Start with ¼ teaspoon and taste the batter before adding more. I’ve ruined a batch by being too generous.
- All-purpose flour (2 tablespoons) — This stabilizes the filling and prevents cracking. It’s a trick I learned from a pastry chef friend.
For the Topping
- Crushed candy canes (½ cup, about 6-8 regular candy canes) — Crush them in a sealed bag with a rolling pin. You want a mix of fine powder and small chunks for the best texture.
- White chocolate chips (¼ cup, melted, optional) — For drizzling over the top. This makes the bars look extra fancy with almost no extra effort.
If you’re dairy-free, you can substitute the cream cheese with a good quality dairy-free version and use a vegan butter alternative. Just know the texture will be slightly different—still delicious, but not quite as creamy.
Equipment Needed
You don’t need a professional pastry kitchen to make these easy peppermint cheesecake bars. Here’s what you’ll actually use:
- 9×9 inch baking pan — Glass or metal both work. I prefer metal because it conducts heat more evenly, but glass is fine if that’s what you have. Just reduce the oven temperature by 25°F if using glass.
- Parchment paper — Line the pan with parchment paper, leaving overhang on two sides. This creates “handles” that make lifting the bars out a breeze. Trust me, trying to cut cheesecake bars that are stuck to the pan is a nightmare I’ve lived through.
- Food processor or zip-top bag — For crushing the cookies. A food processor gives you the most consistent crumbs, but a zip-top bag and a rolling pin work just fine. I’ve used both methods many times.
- Electric hand mixer or stand mixer — You can mix the filling by hand if you have strong arms, but an electric mixer makes the process much faster and gives you a smoother result.
- Mixing bowls — One large bowl for the filling and one medium bowl for the crust.
- Measuring cups and spoons — Accuracy matters in baking, even for simple recipes like this.
- Spatula — For scraping every last bit of cream cheese filling into the pan. Waste not, want not.
If you don’t have a 9×9 pan, an 8×8 pan works too—just increase the baking time by about 5-7 minutes since the filling will be deeper. A 9×13 pan will give you thinner bars that bake faster, around 20-22 minutes.
Preparation Method
- Preheat your oven to 325°F (163°C). Line a 9×9 inch baking pan with parchment paper, leaving about 2 inches of overhang on two opposite sides. This is your insurance policy against stuck bars.
- Make the crust. Place 24 chocolate sandwich cookies in a food processor and pulse until you have fine crumbs. If you don’t have a food processor, put the cookies in a large zip-top bag and crush them with a rolling pin. You should have about 2 cups of crumbs. Pour the crumbs into a medium bowl, add 5 tablespoons melted butter, 2 tablespoons sugar, and a pinch of salt. Stir with a fork until the mixture looks like wet sand and holds together when pressed in your hand.
- Press the crust into the pan. Dump the crust mixture into your prepared pan and press it down firmly and evenly. I use the bottom of a measuring cup to get it really compact. Don’t skip this step—a loose crust will fall apart when you cut the bars. Bake the crust for 10 minutes, then set it aside to cool slightly while you make the filling.
- Prepare the cream cheese filling. In a large mixing bowl, beat 16 ounces of softened cream cheese with an electric mixer on medium speed until smooth and creamy, about 2 minutes. Scrape down the sides of the bowl with a spatula. Add ¾ cup sugar and beat for another minute until well combined. Add ½ cup sour cream and beat until smooth.
- Add the eggs and flavorings. Crack 2 eggs into a small bowl and lightly beat them with a fork. With the mixer on low speed, add the eggs to the cream cheese mixture one at a time, mixing just until incorporated after each addition. Overmixing at this stage adds too much air, which can cause cracks. Add 1 teaspoon vanilla extract and ½ teaspoon peppermint extract. Mix gently. Finally, add 2 tablespoons flour and mix on low just until you can’t see any white streaks. The batter should be smooth and silky.
- Pour the filling over the crust. Pour the cream cheese mixture over the pre-baked crust and spread it into an even layer with a spatula. Give the pan a gentle tap on the counter to release any air bubbles.
- Bake the cheesecake bars. Bake at 325°F (163°C) for 28-32 minutes. The edges should be set and slightly puffed, but the center should still jiggle slightly when you gently shake the pan. This is the sweet spot—overbaking leads to cracks and a dry texture. My first batch came out overbaked because I waited until the center was completely firm, and it was a sad, cracked mess. Learn from my mistake.
- Cool the bars properly. Turn off the oven and crack the oven door open. Let the bars sit in the oven for 10 minutes. This gentle cooling helps prevent the dreaded crack. Then remove the pan from the oven and let it cool completely on a wire rack, about 1 hour.
- Chill the bars. Once the bars are at room temperature, cover the pan with plastic wrap and refrigerate for at least 4 hours, but overnight is best. This is the hardest part—waiting. But trust me, the texture is so much better after a full chill.
- Add the topping and cut. When you’re ready to serve, lift the bars out of the pan using the parchment paper handles. Sprinkle the top with crushed candy canes. If you’re using the white chocolate drizzle, melt ¼ cup white chocolate chips in the microwave in 20-second intervals, stirring between each, then drizzle it over the top with a fork. Cut into 16 bars using a sharp knife. Wipe the knife clean between cuts for the cleanest edges.
Cooking Tips & Techniques
After making these easy peppermint cheesecake bars more times than I care to count, I’ve learned a few things the hard way. Let me save you some trouble.
Room temperature ingredients matter. I know, I know—every recipe says this, and it feels like a hassle. But cold cream cheese creates lumpy batter, and cold eggs can cause the mixture to curdle. Take everything out of the fridge 30 minutes before you start. Set a timer if you have to. I’ve forgotten this step multiple times and regretted it every single one.
Don’t overmix the filling. When you add the eggs, mix on low speed and stop as soon as they’re incorporated. Too much mixing incorporates air that expands during baking and then collapses, leaving you with cracks. The first time I made these, I was so excited I whipped the filling like I was making frosting. The result was a cheesecake that looked like a topographical map.
Watch the baking time closely. Every oven runs differently. Start checking your bars at 25 minutes. The edges should be set, and the center should have a slight jiggle—like Jell-O, not like soup. If the center looks liquid, give it 3 more minutes and check again. Overbaking is the number one cause of dry, cracked cheesecake.
Use the water bath alternative. Traditional cheesecake recipes call for a water bath to prevent cracking, but honestly, who has time for that? The combination of sour cream, a little flour, and the gentle cooling method in the oven does the same job without the risk of water leaking into your pan. I’ve been using this method for years, and it works every time.
Crush candy canes strategically. Don’t crush them all into powder—you want a mix of textures. I put the candy canes in a zip-top bag and give them a few firm whacks with a rolling pin, then a few gentle rolls. Some pieces stay larger, some turn to dust. The variety makes for a prettier presentation and a more interesting bite.
Variations & Adaptations
One of the best things about this recipe is how flexible it is. Here are some variations I’ve tried and loved:
Gluten-Free Version: Use gluten-free chocolate sandwich cookies for the crust. Most brands work well, but check the texture—some gluten-free cookies are more crumbly than regular ones. You might need an extra tablespoon of butter to help them hold together. The filling is naturally gluten-free as long as you use gluten-free flour or cornstarch instead of all-purpose flour.
Chocolate Mint Twist: Swap the peppermint extract for mint extract, and fold ½ cup of mini chocolate chips into the filling before baking. The combination of chocolate and mint is classic for a reason. I made this version for a St. Patrick’s Day party, and it was a huge hit.
No-Bake Version: For a no-bake version, skip the eggs and flour. Instead, beat the cream cheese and sugar until fluffy, then fold in 1 cup of heavy cream that you’ve whipped to stiff peaks. Add the extracts, pour over the pre-baked crust, and chill for at least 6 hours. The texture is lighter and mousse-like, perfect for when you don’t want to turn on the oven.
White Chocolate Peppermint: Melt 4 ounces of white chocolate and let it cool slightly. Fold it into the cream cheese filling after adding the eggs. This creates an even creamier, richer bar with a subtle white chocolate flavor that pairs beautifully with the peppermint.
Individual Mini Bars: Line a muffin tin with paper liners and press the crust into the bottom of each cup. Fill with the cheesecake mixture and bake for 15-18 minutes. These are perfect for parties or portion control. Just be warned—they’re so good that “portion control” becomes a theoretical concept.
Serving & Storage Suggestions
These easy peppermint cheesecake bars are best served cold, straight from the refrigerator. The texture is firmer and cleaner when chilled, and the peppermint flavor is more refreshing. If you want to take the chill off slightly, let them sit at room temperature for 10-15 minutes before serving.
For presentation, I like to arrange the bars on a white platter so the red candy cane pieces really pop. A dusting of powdered sugar adds a snowy effect that looks beautiful for Christmas. If you’re serving these at a holiday party, consider pairing them with hot cocoa, coffee, or a peppermint mocha. The rich, creamy bars balance perfectly with a warm, bitter drink.
Storage: Keep these bars in an airtight container in the refrigerator for up to 5 days. Place a layer of parchment paper between stacked bars to prevent them from sticking together. The flavor actually improves after a day or two as the peppermint mellows and melds with the cream cheese.
Freezing: These bars freeze beautifully. Place the fully chilled and cut bars on a baking sheet and freeze for 1 hour, then transfer them to a freezer-safe container with parchment paper between layers. They’ll keep for up to 3 months. To thaw, move them to the refrigerator overnight. Don’t add the candy cane topping until just before serving, as it can get sticky in the freezer.
Reheating: I don’t recommend reheating these bars—they’re meant to be enjoyed cold. But if you accidentally leave them out and they get too soft, pop them back in the fridge for 30 minutes to firm up.
One thing I love about this recipe is that the flavors continue to develop over time. The peppermint becomes more subtle and integrated, and the crust softens slightly into a fudgy texture. Day-old bars are arguably better than fresh ones, which is rare for a dessert.
Nutritional Information & Benefits
Let’s be real—these are a treat, not a health food. But here’s the nutritional breakdown for one bar (based on 16 servings):
| Nutrient | Amount per serving |
|---|---|
| Calories | 285 |
| Total Fat | 18g |
| Saturated Fat | 10g |
| Cholesterol | 65mg |
| Sodium | 210mg |
| Total Carbohydrates | 28g |
| Dietary Fiber | 1g |
| Sugars | 20g |
| Protein | 4g |
On the bright side, cream cheese provides calcium and protein, and dark chocolate cookies contain antioxidants. The peppermint can aid digestion and freshen breath—which you’ll need after enjoying these rich bars. If you’re watching your sugar intake, you can reduce the sugar in the filling to ½ cup without affecting the texture too much.
These bars contain dairy, gluten, and eggs, so they’re not suitable for those with allergies to those ingredients. But the gluten-free and dairy-free variations I mentioned earlier work beautifully if you need them.
Conclusion
These easy peppermint cheesecake bars have become my go-to holiday dessert for good reason. They’re simple enough for a Tuesday night craving but impressive enough for a Christmas party. The combination of the chocolate cookie crust, the creamy peppermint filling, and the crunchy candy cane topping is genuinely addictive—I’ve had friends text me for the recipe the next day more times than I can count.
What I love most about this recipe is how forgiving it is. You don’t need to be a pastry chef or own fancy equipment. You just need a pan, some cream cheese, and a little patience while they chill. The recipe works exactly as written, but it also welcomes your own twists and adaptations. Add more peppermint if you like a stronger kick. Use different cookies for the crust. Drizzle caramel instead of white chocolate. Make it your own.
I’d love to hear how these turn out for you! Drop a comment below and let me know if you tried any variations, or share a photo of your bars on social media. Tag me so I can see your beautiful creations. And if you’re looking for more holiday dessert inspiration, don’t miss my cranberry orange shortbread cookies or these chocolate peppermint bark—they’re both perfect for your holiday baking lineup.
Happy baking, and remember—the best desserts are the ones shared with people you love. Even if that person is just you, standing in your kitchen at midnight in your pajamas. You deserve a treat.
Frequently Asked Questions
Can I use low-fat cream cheese for these bars?
You can, but I don’t recommend it. Low-fat cream cheese has a higher water content, which can make the filling watery and prevent it from setting properly. Full-fat cream cheese gives you that rich, creamy texture that makes these bars so satisfying. If you’re watching calories, just eat one smaller bar instead of two—it’s a better trade-off.
Why did my cheesecake bars crack on top?
Cracks usually happen from overbaking or overmixing. Make sure you take the bars out of the oven when the center still has a slight jiggle—it will continue to set as it cools. Also, avoid whipping too much air into the batter, especially after adding the eggs. And don’t skip the gradual cooling step in the oven with the door cracked open. That gentle temperature change is your best defense against cracks.
Can I use homemade chocolate cookies instead of store-bought?
Absolutely! Homemade chocolate cookies or chocolate wafers work great. Just make sure they’re fully baked and cooled before crushing them into crumbs. The key is that the cookies are dry and crisp—soft, chewy cookies won’t create a sturdy crust. If you’re using homemade cookies, you might need to bake them a bit longer than usual to get them crunchy enough.
How far in advance can I make these bars?
These bars are actually better made a day ahead. You can prepare them up to 3 days in advance and keep them covered in the refrigerator. Just wait to add the crushed candy cane topping until right before serving, or the moisture from the cheesecake will make it sticky and melt it slightly. For freezing, you can make them up to 3 months ahead—just thaw in the refrigerator overnight before serving.
Can I use peppermint oil instead of peppermint extract?
You can, but be very careful—peppermint oil is much more concentrated than extract. Use just ⅛ teaspoon or even less. Start with a tiny amount, mix it in, and taste the batter. You can always add more, but you can’t take it out. I once used peppermint oil without adjusting the amount, and the bars tasted like toothpaste. Not my finest baking moment.
Pin This Recipe!
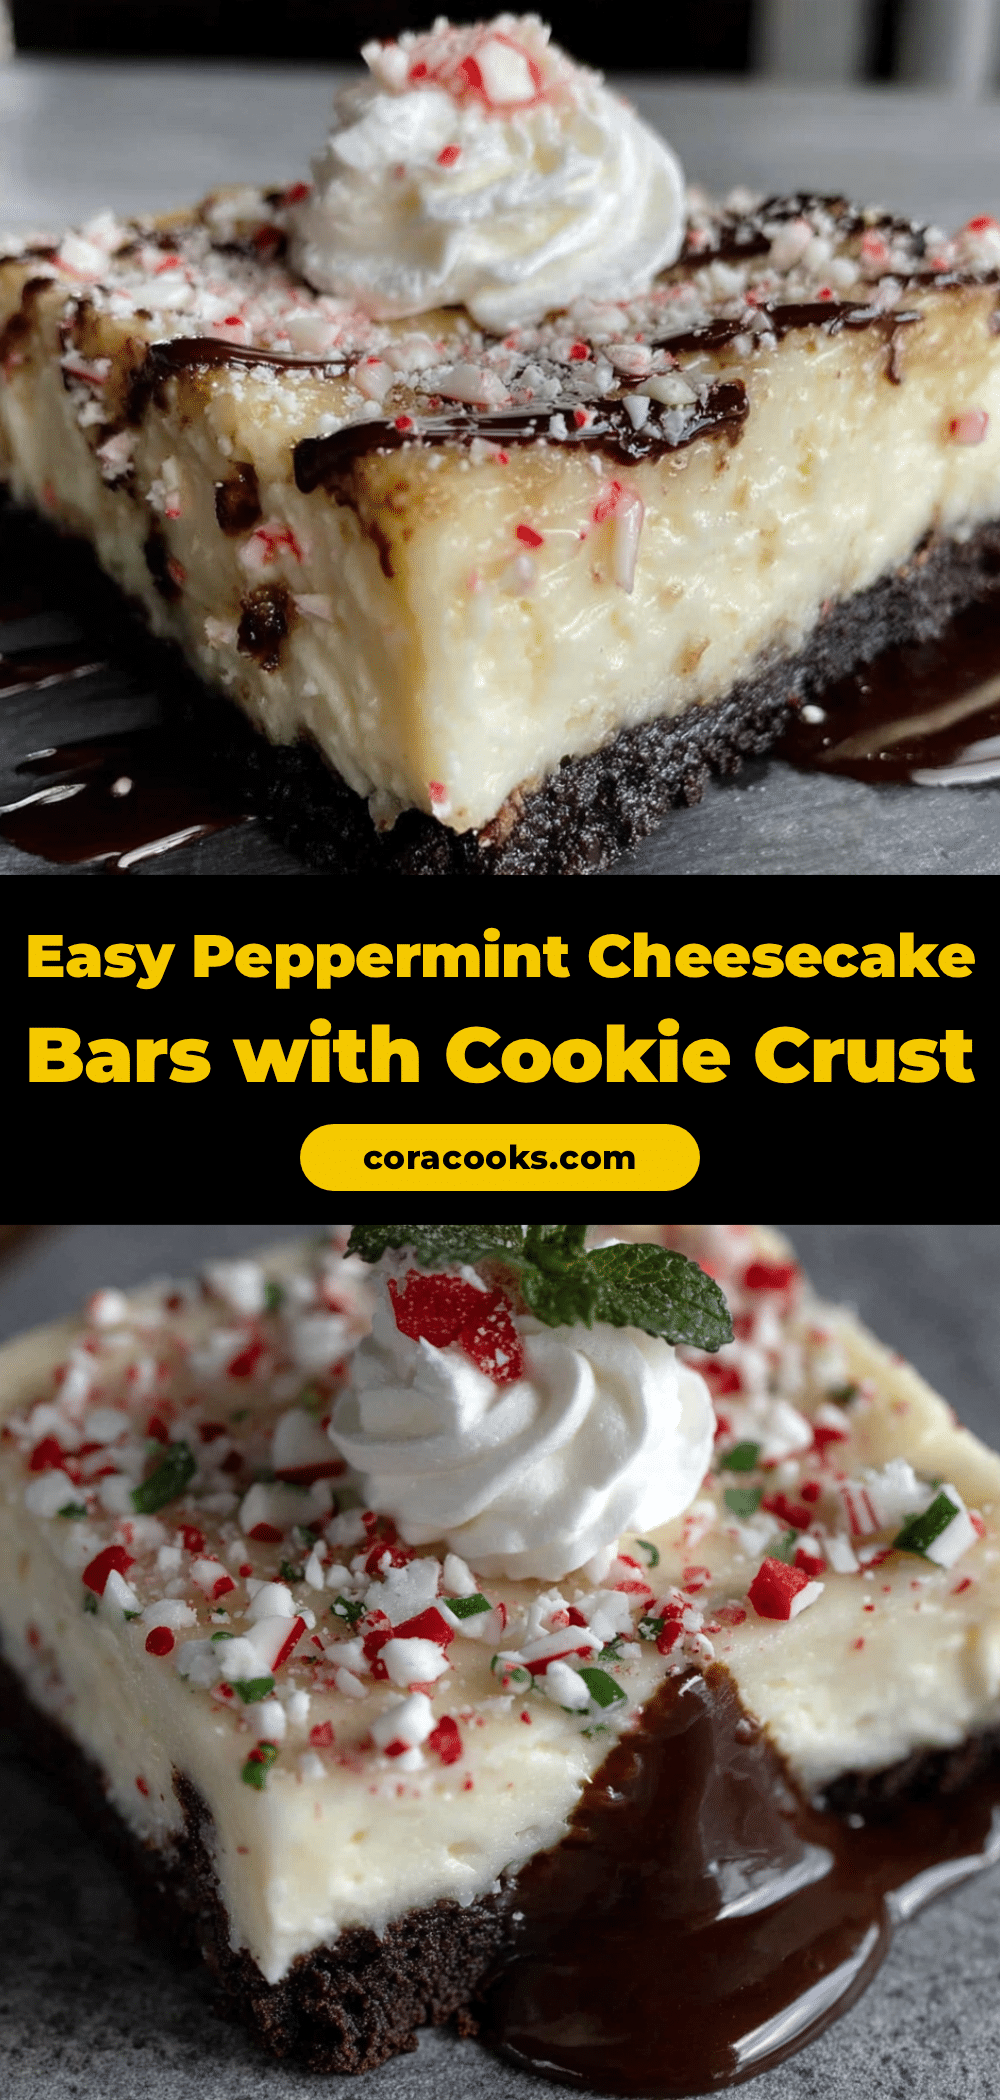
Easy Peppermint Cheesecake Bars: Best Holiday Dessert
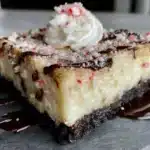
These easy peppermint cheesecake bars are the perfect holiday dessert—simple enough for a Tuesday night craving but impressive enough for a Christmas party. With a chocolate cookie crust, creamy peppermint filling, and crunchy candy cane topping, they’re a crowd-pleaser that requires no fancy equipment or water bath.
- Prep Time: 30 minutes
- Cook Time: 32 minutes
- Total Time: 5 hours 2 minutes (includes 4 hours chilling)
- Yield: 16 servings 1x
- Category: Dessert
- Cuisine: American
Ingredients
- 24 chocolate sandwich cookies (about 2 cups crushed)
- 5 tablespoons unsalted butter, melted
- 2 tablespoons granulated sugar
- 1 pinch salt
- 16 ounces cream cheese, softened to room temperature
- 3/4 cup granulated sugar
- 1/2 cup sour cream, room temperature
- 2 large eggs, room temperature
- 1 teaspoon vanilla extract
- 1/2 teaspoon peppermint extract
- 2 tablespoons all-purpose flour
- 1/2 cup crushed candy canes (about 6–8 regular candy canes)
- 1/4 cup white chocolate chips, melted (optional, for drizzling)
Instructions
- Preheat your oven to 325°F (163°C). Line a 9×9 inch baking pan with parchment paper, leaving about 2 inches of overhang on two opposite sides.
- Make the crust: Place 24 chocolate sandwich cookies in a food processor and pulse until you have fine crumbs (or crush in a zip-top bag with a rolling pin). Pour crumbs into a medium bowl, add 5 tablespoons melted butter, 2 tablespoons sugar, and a pinch of salt. Stir until the mixture looks like wet sand and holds together when pressed.
- Press the crust mixture firmly and evenly into the prepared pan using the bottom of a measuring cup. Bake for 10 minutes, then set aside to cool slightly.
- Prepare the filling: In a large mixing bowl, beat 16 ounces softened cream cheese with an electric mixer on medium speed until smooth, about 2 minutes. Scrape down sides. Add 3/4 cup sugar and beat for another minute. Add 1/2 cup sour cream and beat until smooth.
- Add eggs and flavorings: Lightly beat 2 eggs in a small bowl. With mixer on low, add eggs one at a time, mixing just until incorporated. Add 1 teaspoon vanilla extract and 1/2 teaspoon peppermint extract. Mix gently. Add 2 tablespoons flour and mix on low until no white streaks remain.
- Pour the filling over the pre-baked crust and spread into an even layer. Tap the pan gently on the counter to release air bubbles.
- Bake at 325°F (163°C) for 28-32 minutes. The edges should be set and slightly puffed, but the center should still jiggle slightly when shaken.
- Turn off the oven and crack the oven door open. Let bars sit in the oven for 10 minutes for gentle cooling. Then remove and cool completely on a wire rack, about 1 hour.
- Cover the pan with plastic wrap and refrigerate for at least 4 hours, preferably overnight.
- When ready to serve, lift bars out using parchment handles. Sprinkle with crushed candy canes. If using white chocolate drizzle, melt 1/4 cup white chocolate chips in the microwave in 20-second intervals, then drizzle over top. Cut into 16 bars using a sharp knife, wiping clean between cuts.
Notes
Room temperature ingredients are crucial for a smooth batter. Don’t overmix after adding eggs to prevent cracks. The center should still jiggle when done—overbaking causes cracks. Crush candy canes into a mix of fine powder and small chunks for best texture. Bars are best served cold and can be made up to 3 days ahead. Freeze for up to 3 months without candy cane topping.
Nutrition
- Serving Size: 1 bar
- Calories: 285
- Sugar: 20
- Sodium: 210
- Fat: 18
- Saturated Fat: 10
- Carbohydrates: 28
- Fiber: 1
- Protein: 4
Keywords: peppermint cheesecake bars, holiday dessert, easy cheesecake, Christmas dessert, no water bath cheesecake, chocolate cookie crust, candy cane dessert