Love this? Save it for later!
Share the inspiration with your friends
I was standing in line at the hardware store last October, holding a bag of lightbulbs and a new paintbrush, when the man behind me—a retired plumber named Frank with paint splatters on his boots—started talking about dessert. Not just any dessert, mind you. He was describing these candy corn rice krispie treats he’d made for his grandkids’ Halloween party, and honestly, I almost forgot why I was there. Frank had this way of explaining things that made you feel like you were right there in his kitchen, watching him stir the marshmallows. He told me he’d been making them for thirty years, ever since his wife brought home a bag of candy corn on a whim, and they realized the combination was something special. I scribbled his instructions on the back of my receipt, right next to the paint color code. That night, I made my first batch, and let me tell you—my kitchen smelled like a carnival and my kids thought I was some kind of dessert wizard. Maybe you’ve been there, standing in an unexpected place when a recipe finds you. That’s exactly how these easy candy corn rice krispie treats came into my life, and I’ve been making them every fall since.
The thing about Frank’s recipe was its beautiful simplicity. He wasn’t trying to reinvent the wheel or impress anyone with fancy techniques. He just wanted something that looked festive, tasted amazing, and came together fast—because let’s face it, Halloween week is chaotic enough without spending hours in the kitchen. These treats check all those boxes. They’re colorful, playful, and ridiculously easy to make. I’ve tweaked Frank’s original method just a bit over the years—added a pinch of salt to balance the sweetness, figured out the best way to layer the colors—but the heart of it is still his. Every time I make them, I think about that day in the hardware store and how the best recipes often come from the most unexpected people.
Why You’ll Love This Recipe
These easy candy corn rice krispie treats aren’t just another dessert—they’re the kind of thing that disappears before you even get a chance to take a photo for Instagram. I’ve tested this recipe at three different Halloween parties, two school bake sales, and one very memorable movie night, and the response is always the same. People can’t stop eating them. Here’s why this version stands out from the crowd:
- Quick & Easy: From start to finish, you’re looking at about 20 minutes of active work. No baking, no complicated steps, just melting, mixing, and pressing. Perfect for those weeknights when you suddenly remember the school party is tomorrow.
- Simple Ingredients: You probably already have butter, marshmallows, and rice krispies cereal in your pantry. The only special addition is candy corn, which is everywhere during September and October. No fancy grocery store runs required.
- Perfect for Fall Celebrations: Whether it’s a Halloween party, a Thanksgiving dessert table, or just a cozy October afternoon, these treats fit right in. They bring that nostalgic carnival vibe without any of the hassle.
- Crowd-Pleaser: Kids love the sweetness and the candy corn crunch. Adults appreciate the throwback feel and the fact that they’re not overly complicated. I’ve seen grown men go back for thirds.
- Unbelievably Delicious: The combination of gooey marshmallow, crispy cereal, and chewy candy corn is pure magic. The candy corn softens slightly as it mixes in, creating little pockets of sweetness that catch you off guard in the best way.
What makes this recipe different from every other rice krispie treat you’ve made is the layering technique. Instead of just stirring everything together, you’ll create distinct sections of color and texture that mimic the look of candy corn itself. It’s a small detail that makes a huge visual impact, and honestly, it’s easier than you think. This isn’t just another version—it’s the version that will have people asking for the recipe every single time.
What Ingredients You Will Need
This recipe relies on simple, pantry-friendly ingredients to deliver maximum flavor and festive vibes. Each component plays a specific role, and I’ve tested this combination enough times to know what works best. Here’s what you’ll need to gather before you start:
- 6 tablespoons unsalted butter (adds richness and helps the marshmallows melt smoothly; I prefer using salted butter in a pinch, just reduce the added salt)
- 1 package (10 ounces) regular marshmallows (about 40 large marshmallows or 4 cups mini marshmallows; the regular size melts more evenly, but mini works fine too)
- 6 cups crispy rice cereal (I recommend Kellogg’s Rice Krispies for that classic texture, but any store brand works well; just avoid puffed rice cereals as they get soggy)
- 1 cup candy corn (about 6 ounces; look for fresh, soft candy corn—stale ones will be too hard and won’t mix in as nicely)
- 1/4 teaspoon salt (balances the sweetness and enhances the overall flavor; don’t skip this—it makes a real difference)
- 1 teaspoon vanilla extract (adds warmth and depth; pure vanilla is best, but imitation works in a pinch)
- Orange and yellow food coloring (gel food coloring works better than liquid because it doesn’t add extra moisture; I use Americolor brand for bright, consistent colors)
- Non-stick cooking spray (for greasing your pan, spatula, and hands—trust me, you’ll need it)
Ingredient Selection Tips: When buying candy corn, look for bags that feel soft when you squeeze them through the packaging. Fresh candy corn has a slight give and will soften beautifully when mixed into the warm marshmallow mixture. If your candy corn is rock-hard, it won’t incorporate as well and might leave you with crunchy bits that are difficult to chew. I’ve learned this the hard way—twice.
Substitution Guidance: If you’re dairy-free, you can substitute the butter with a high-quality vegan butter stick (not the spreadable kind in a tub). For a gluten-free version, double-check that your crispy rice cereal is certified gluten-free—most brands are, but it’s worth confirming. And if you’re not a fan of candy corn (I know, controversial), you can use candy pumpkins or even chopped-up orange and yellow jelly beans for a similar effect.
Equipment Needed
You don’t need a fancy kitchen to make these easy candy corn rice krispie treats. In fact, you probably already own everything required. Here’s what you’ll need:
- Large pot or Dutch oven: You need something big enough to hold all the cereal and marshmallow mixture without spilling over. A 5-quart pot works perfectly. If you only have a smaller pot, work in batches.
- 9×13-inch baking dish: This gives you the perfect thickness for cutting into bars. A glass dish works great, but metal is fine too—just make sure to grease it well.
- Silicone spatula: A sturdy spatula is your best friend here. It won’t scratch your pot and makes folding the cereal into the marshmallow mixture much easier. I’ve broken wooden spoons trying to stir rice krispie treats—don’t be me.
- Parchment paper: Lining your baking dish with parchment paper creates handles that let you lift the entire block of treats out for easy cutting. It’s a game-changer. If you don’t have parchment, greasing the dish heavily with cooking spray works, but it’s messier.
- Small bowls: You’ll need a couple of small bowls for dividing the marshmallow mixture and adding food coloring. Any small cereal bowls or prep bowls will do.
- Sharp knife: For cutting clean bars once the treats have set. A chef’s knife works well, but a serrated knife can also do the job if you use a gentle sawing motion.
Budget-Friendly Options: If you don’t have a 9×13-inch dish, you can use a 9×9-inch square pan for thicker treats or even a rimmed baking sheet for thinner, crispier bars. Just adjust your expectations for thickness and adjust the setting time accordingly. And honestly, you can skip the parchment paper if you grease your dish generously—just be prepared for a bit more cleanup.
Preparation Method
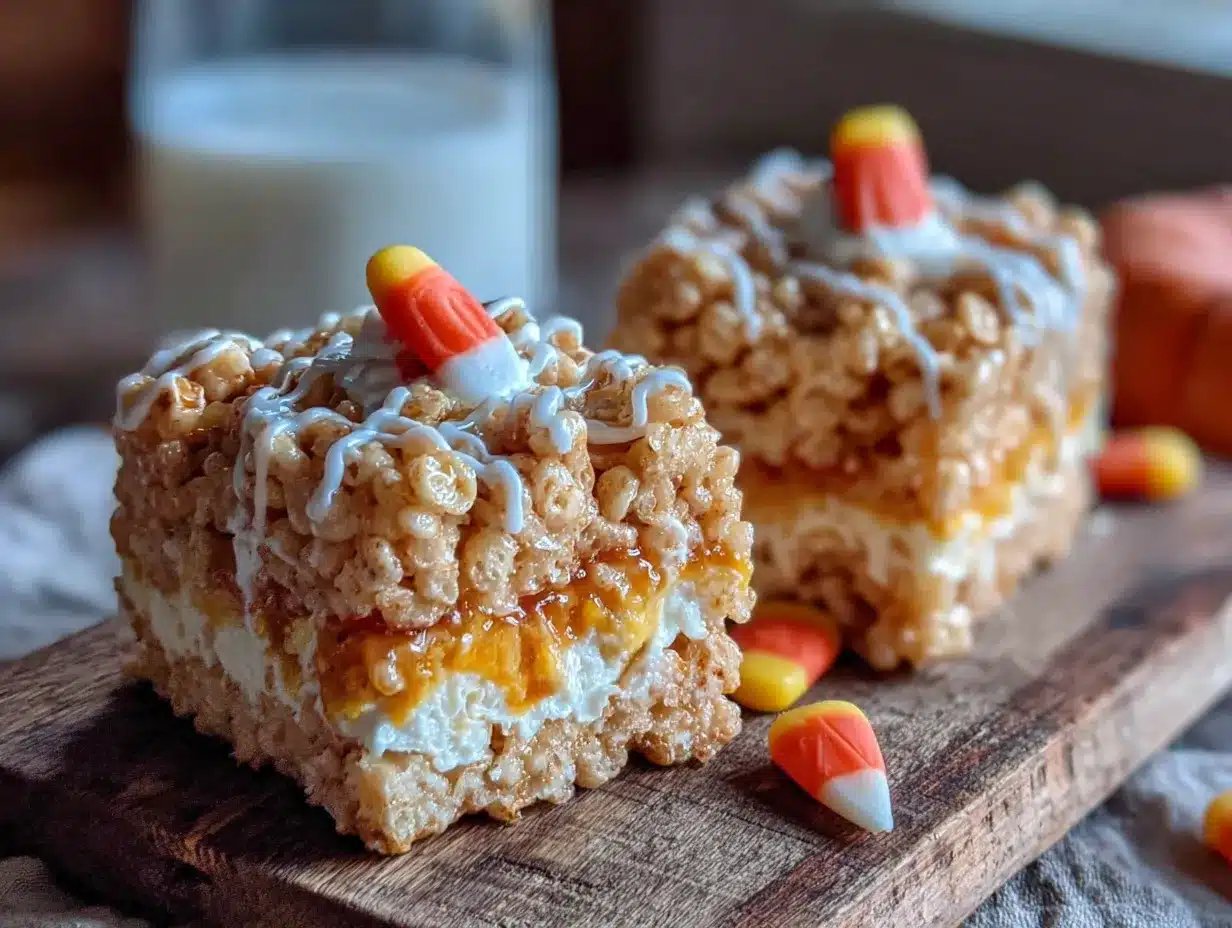
Making these treats is straightforward, but the key is working quickly once the marshmallows are melted. Have all your ingredients measured and ready before you start. Trust me, you don’t want to be hunting for the vanilla extract while your marshmallow mixture cools and stiffens. Here’s the step-by-step process:
- Prepare your baking dish: Line a 9×13-inch baking dish with parchment paper, leaving some overhang on two opposite sides. This creates handles for lifting the finished treats out later. Lightly spray the parchment with non-stick cooking spray. Set the dish aside.
- Melt the butter: In a large pot over medium-low heat, melt the 6 tablespoons of butter. Stir occasionally with your silicone spatula to prevent burning. This takes about 2 to 3 minutes. You’ll know it’s ready when the butter is fully liquid and just starting to bubble gently.
- Add the marshmallows: Pour the entire package of marshmallows into the pot with the melted butter. Stir constantly as they melt, scraping the bottom and sides of the pot. This takes about 4 to 5 minutes. The mixture should be smooth, glossy, and completely free of lumps. If you see any unmelted marshmallow bits, keep stirring—they’ll eventually give in.
- Season the mixture: Once the marshmallows are fully melted, remove the pot from the heat. Stir in the 1/4 teaspoon salt and 1 teaspoon vanilla extract. Mix until everything is well combined. The salt is crucial here—it cuts through the sweetness and makes the treats taste more balanced.
- Divide and color: This is where the magic happens. Divide the marshmallow mixture evenly into three separate bowls. Leave one bowl plain (this will be your white layer). Add a few drops of yellow food coloring to the second bowl and stir until the color is uniform. Add a few drops of orange food coloring to the third bowl and stir until well combined. The colors should be vibrant but not neon—you’re going for candy corn shades.
- Prepare the first layer: Work with one bowl at a time. Add 2 cups of crispy rice cereal to the plain (white) marshmallow mixture. Fold gently with your spatula until the cereal is evenly coated. The mixture will be sticky, but that’s normal. Transfer this into your prepared baking dish and press it into an even layer. Use a spatula sprayed with cooking spray to press it down firmly. This is your bottom layer.
- Add the second layer: Take the yellow marshmallow mixture and add 2 cups of crispy rice cereal. Fold until combined, then carefully spread this over the white layer in the baking dish. Press down gently to create an even layer. Don’t press too hard—you want the layers to stay distinct, not merge into one muddy mess.
- Finish with the top layer: Finally, add the remaining 2 cups of crispy rice cereal to the orange marshmallow mixture. Fold until combined and spread over the yellow layer. Press down gently to create a flat, even surface. This orange layer will be the top of your treats, mimicking the orange tip of candy corn.
- Add the candy corn: While the top layer is still warm and sticky, press the 1 cup of candy corn into the surface in a decorative pattern. You can arrange them in rows, scatter them randomly, or create a fun design like a pumpkin shape. Work quickly—the treats set fast. If the candy corn isn’t sticking, lightly spray your fingers with cooking spray and press them in gently.
- Let them set: Allow the treats to cool completely at room temperature. This takes about 1 to 2 hours. Don’t rush this step—cutting into warm treats will give you a sticky, crumbly mess. If you’re in a hurry, you can pop the dish in the refrigerator for 30 minutes, but let them sit at room temperature for at least 10 minutes before cutting to avoid condensation.
- Cut and serve: Once fully set, lift the entire block of treats out of the dish using the parchment paper handles. Place on a cutting board. Using a sharp knife, cut into bars or squares. I like cutting them into 12 large bars (about 3×3 inches each) or 24 smaller squares for parties. Wipe the knife clean between cuts for neater edges.
Sensory Cues: At each stage, pay attention to what you see and feel. The marshmallow mixture should be smooth and glossy, not grainy or separated. When you fold in the cereal, you should hear a gentle crackling sound—that’s the cereal staying crispy. The layers should be distinct when you look at the side of the pan, with clear white, yellow, and orange bands. If the colors start to blur, you’re pressing too hard.
Troubleshooting Tip: If your marshmallow mixture starts to stiffen before you’ve added all the cereal, don’t panic. Pop the pot back on low heat for 30 seconds, stirring constantly, to loosen it up. Just be careful not to overheat it, or the treats will turn out hard and chewy instead of soft and tender.
Cooking Tips & Techniques
After making these easy candy corn rice krispie treats more times than I can count, I’ve picked up a few tricks that make the process smoother and the results more consistent. Here are the lessons I learned the hard way so you don’t have to:
Work quickly but calmly. The marshmallow mixture starts to set the moment it comes off the heat. Have your colored bowls ready, your cereal measured, and your dish prepped before you even turn on the stove. I once had to stir orange food coloring into a half-set marshmallow blob, and let me tell you, that was not my finest moment. The streaks looked interesting, but it wasn’t the layered look I was going for.
Grease everything. And I mean everything. Your spatula, your hands (if you’re pressing the mixture down), the inside of your pot, the parchment paper. Marshmallow mixture is clingy and will stick to anything it touches. A light coating of non-stick cooking spray on your tools makes cleanup infinitely easier. I keep a can of spray right next to the stove when I’m making these.
Don’t overmix the layers. When you add the cereal to each colored marshmallow batch, fold just until the cereal is coated. Overmixing crushes the cereal and results in dense, tough treats. You want them light and airy, with that signature crispy crunch. Think of it like folding whipped cream into a batter—gentle, confident strokes.
Use gel food coloring. Liquid food coloring adds extra moisture to the marshmallow mixture, which can make your treats soggy and affect the texture. Gel colors are more concentrated, so you need less, and they won’t water down your mixture. I learned this after a batch turned out sticky and weirdly wet—never again.
Press, don’t smash. When you’re layering the treats in the pan, use a gentle pressing motion to create an even layer. If you smash the mixture down with force, you’ll compress the cereal and lose that lovely airy texture. I use the back of a greased spatula and just lightly pat everything into place. It takes a little longer, but the results are worth it.
Variations & Adaptations
One of the best things about this recipe is how easy it is to customize. I’ve played around with different flavors and presentations, and here are some variations that have worked well:
Chocolate Drizzle Version: After the treats have set, melt 1/2 cup of dark chocolate chips with 1 teaspoon of coconut oil in the microwave (30-second intervals, stirring between each). Drizzle the melted chocolate over the top of the treats in zigzag patterns. Let the chocolate set at room temperature before cutting. The combination of sweet candy corn, crispy cereal, and rich chocolate is absolutely addictive. I made this version for a Halloween party last year, and people actually fought over the corner pieces.
Peanut Butter Twist: Stir 1/3 cup of creamy peanut butter into the marshmallow mixture right after you remove it from the heat, before dividing it into bowls. The peanut butter adds a savory note that balances the sweetness of the candy corn. If you’re making this for a school event, check for peanut allergies first. For a nut-free version, try sunflower seed butter instead—it works surprisingly well.
Vegan Adaptation: Use vegan butter sticks (not spreadable margarine) and vegan marshmallows (Dandies brand works beautifully). The process is exactly the same, and the results are just as delicious. I made a vegan batch for a friend’s Halloween party, and nobody could tell the difference. Just make sure your crispy rice cereal is vegan-friendly too—most are, but it’s worth checking the label.
Spiced Fall Version: Add 1 teaspoon of pumpkin pie spice to the marshmallow mixture along with the vanilla extract. The warm spices—cinnamon, nutmeg, ginger, and cloves—complement the candy corn beautifully and give the treats a cozy autumn flavor. I like to sprinkle a little extra cinnamon on top before the treats set. It makes the kitchen smell incredible.
Individual Treat Cups: Instead of pressing the mixture into a baking dish, spoon it into greased muffin tins or silicone cupcake liners. Press each portion down gently and top with a piece of candy corn. These individual servings are perfect for party favors, lunchbox surprises, or portion control (if that’s your thing). They’re also adorable—I’m not going to lie.
Serving & Storage Suggestions
These easy candy corn rice krispie treats are best served at room temperature, when the marshmallow is soft and the cereal is still crispy. If you’ve refrigerated them, let them sit out for about 15 minutes before serving to take the chill off. The texture really suffers when they’re straight from the fridge—they get dense and chewy, which isn’t the goal here.
Presentation Ideas: Arrange the treats on a platter lined with orange and yellow napkins for a festive look. You can also stack them in a mason jar for a cute, portable dessert option. For Halloween parties, I like to cut them into small squares and serve them alongside popcorn balls and caramel apples for a nostalgic dessert spread. They also look beautiful on a Thanksgiving dessert table—the colors fit right in with the autumn theme.
Storage Instructions: Store leftover treats in an airtight container at room temperature for up to 3 days. Place a sheet of parchment paper between layers to prevent sticking. Do not refrigerate them—the cold air makes the marshmallow hard and the cereal stale. If you live in a humid climate, add a silica gel packet (the kind that comes in shoe boxes) to the container to absorb excess moisture and keep the treats crispy.
Freezing Instructions: These treats freeze surprisingly well. Wrap each bar individually in plastic wrap, then place them in a freezer-safe bag or container. They’ll keep for up to 2 months. When you’re ready to enjoy them, thaw at room temperature for about 30 minutes. The texture won’t be quite as perfect as fresh, but they’re still delicious. I usually make a double batch and freeze half for last-minute Halloween emergencies.
Flavor Development: Interestingly, these treats actually taste better the day after they’re made. The flavors meld together overnight, and the candy corn softens just enough to create a more uniform texture. If you can resist eating them all on day one, you’ll be rewarded with an even better treat on day two. Not that I’ve ever managed to wait that long.
Nutritional Information & Benefits
Let’s be honest—these are a treat, not a health food. But that doesn’t mean they can’t fit into a balanced lifestyle. Here’s the estimated nutritional breakdown for one large bar (based on 12 servings):
| Nutrient | Amount per Serving |
|---|---|
| Calories | 245 |
| Total Fat | 8g |
| Saturated Fat | 5g |
| Carbohydrates | 42g |
| Sugar | 26g |
| Protein | 2g |
| Sodium | 175mg |
Health Benefits of Key Ingredients: While these treats are indulgent, a few ingredients offer some nutritional value. The butter provides fat-soluble vitamins A, D, E, and K. The crispy rice cereal is fortified with iron and B vitamins. And the candy corn? Well, it makes people happy, and that counts for something in my book. If you want to boost the nutritional profile, you can add 1/4 cup of toasted pumpkin seeds or chopped nuts to the mixture for extra protein and healthy fats.
Dietary Considerations: This recipe contains dairy (butter) and gluten (crispy rice cereal, though most brands are gluten-free). It’s not suitable for vegans unless you use the substitutions mentioned above. The candy corn itself is typically free of common allergens, but always check the label if you’re serving someone with food allergies. I like to make a note card with the ingredients and set it next to the platter at parties—it’s a small gesture that means a lot to people with dietary restrictions.
Conclusion
These easy candy corn rice krispie treats have become a staple in my fall baking rotation, and I honestly can’t imagine October without them. They’re quick enough for a busy weeknight, festive enough for any gathering, and delicious enough to make you forget you were ever standing in a hardware store line. Every time I make them, I think of Frank and his thirty-year-old recipe, and I’m reminded that the best dishes often come from the most unexpected places. I hope these treats bring a little extra sweetness to your autumn, whether you’re making them for a Halloween party, a cozy night in, or just because you deserve something fun.
I’d love to hear how your batch turns out! Did you try any of the variations? Did you come up with your own twist? Drop a comment below and let me know—I read every single one, and I genuinely love seeing what you create. And if you’re looking for more easy fall desserts, check out my pumpkin spice popcorn balls and caramel apple bites for more quick, crowd-pleasing treats. Happy fall, and happy snacking!
Frequently Asked Questions
Can I use mini marshmallows instead of regular-sized ones?
Absolutely! Mini marshmallows melt faster and more evenly, which can actually save you a minute or two. Just measure out 4 cups of mini marshmallows to replace one 10-ounce bag of regular marshmallows. Keep an eye on them as they melt—they go from solid to liquid very quickly, and you don’t want them to burn.
Why did my treats turn out hard and chewy?
This usually happens when the marshmallow mixture is overheated or cooked too long. Once the marshmallows are fully melted and smooth, take the pot off the heat immediately. If you keep cooking, the sugar in the marshmallows starts to caramelize, which makes the final treats tough. Also, make sure you’re not pressing the mixture too firmly into the pan—gentle pressure is key to keeping them soft and airy.
Can I make these treats ahead of time for a party?
Yes, and they actually taste better the next day! Make them up to 24 hours in advance and store them in an airtight container at room temperature. Don’t refrigerate them, as the cold will make them hard. If you need to make them further in advance, freeze them as directed and thaw the morning of your event.
My candy corn isn’t sticking to the top layer. What should I do?
This usually means the top layer has cooled too much before you added the candy corn. Try pressing the candy corn in while the top layer is still very warm—immediately after you spread it in the pan. If it’s already cooled, you can warm the candy corn slightly in the microwave (about 10 seconds) to soften it, then press it in. Alternatively, you can mix the candy corn directly into the marshmallow mixture before pressing it into the pan for a more integrated look.
Can I double this recipe?
Definitely! If you’re feeding a crowd, double all the ingredients and use a larger baking dish (a 12×17-inch half-sheet pan works well). Just keep in mind that the marshmallow mixture will be harder to stir in a larger quantity, so work quickly and consider using a bigger pot. You might also need to let the treats set for an extra 30 minutes since the block will be thicker.
Pin This Recipe!
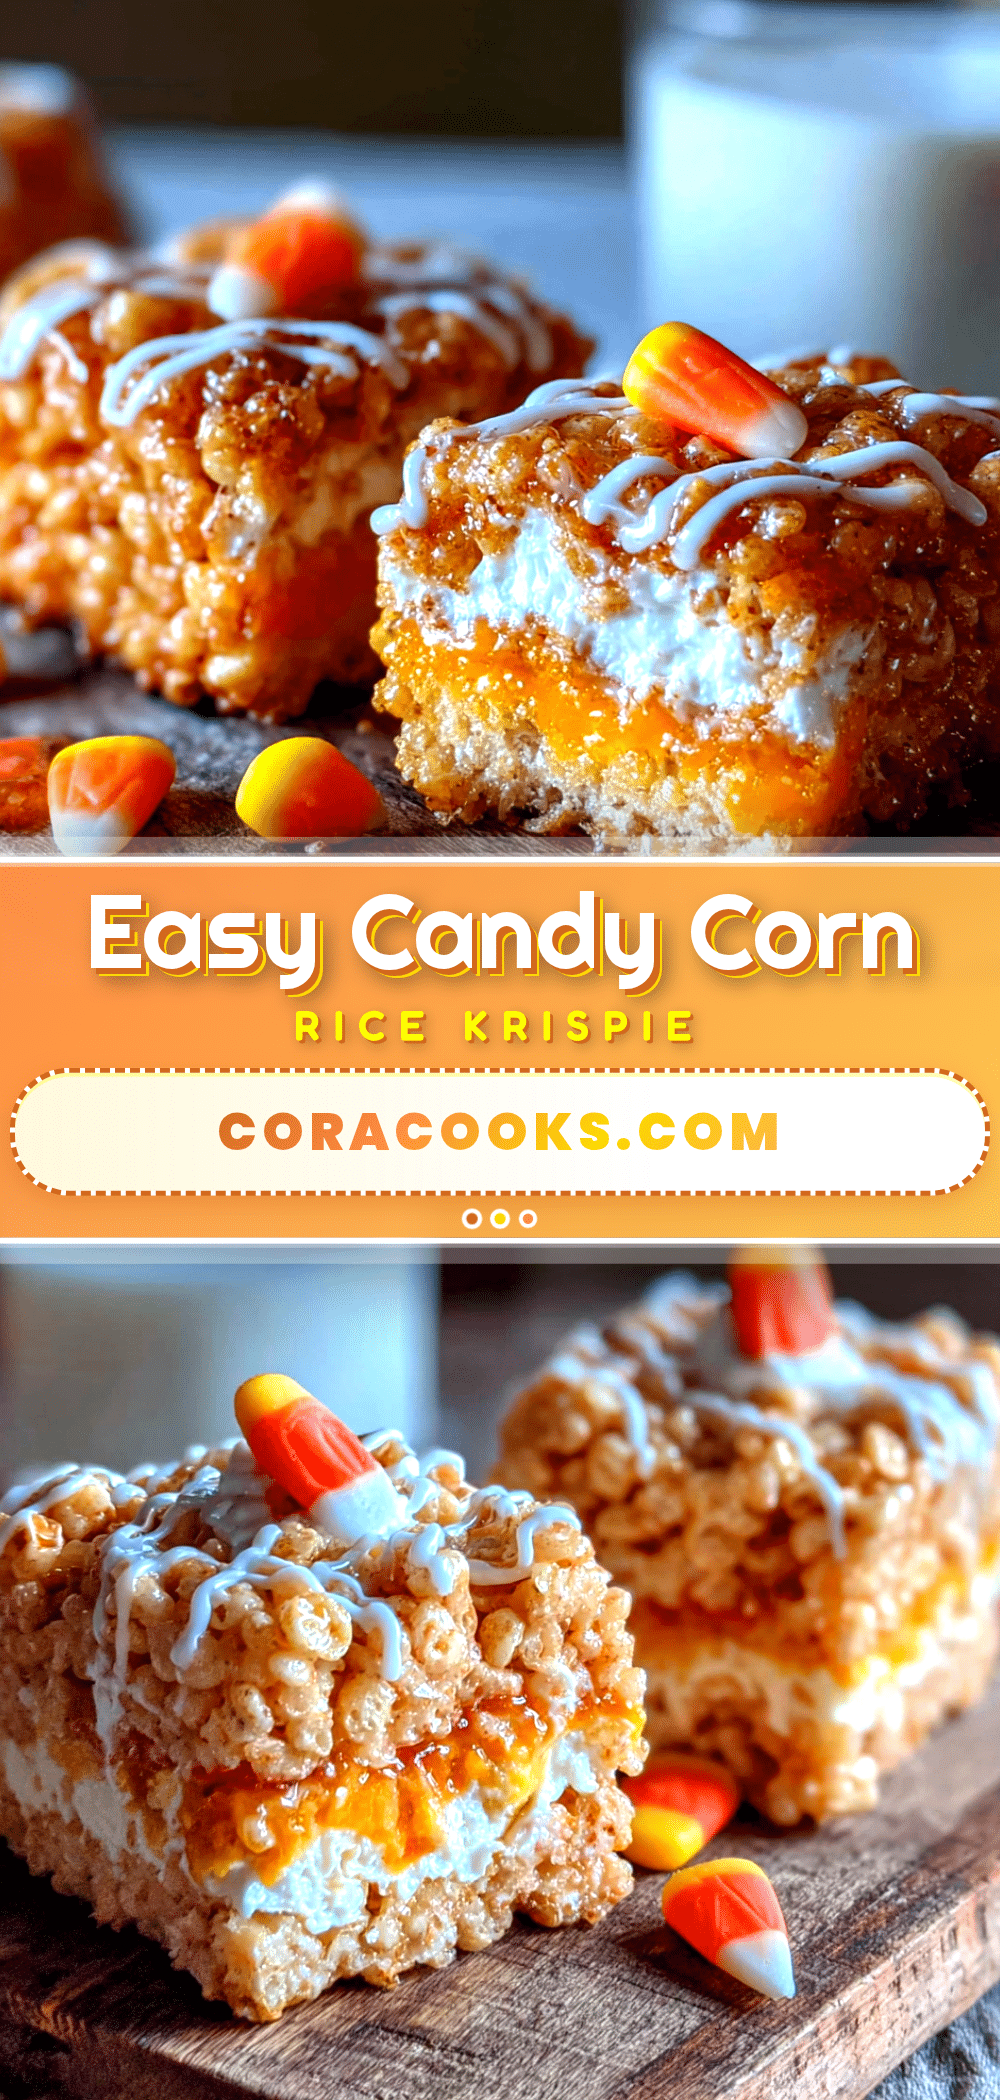
Easy Candy Corn Rice Krispie Treats: Best Fall Dessert

These easy candy corn rice krispie treats are a festive fall dessert that combines gooey marshmallow, crispy cereal, and chewy candy corn in colorful layers. Quick to make and perfect for Halloween parties or cozy autumn gatherings.
- Prep Time: 20 minutes
- Cook Time: 10 minutes
- Total Time: 1 hour 30 minutes (including cooling)
- Yield: 12 servings 1x
- Category: Dessert
- Cuisine: American
Ingredients
- 6 tablespoons unsalted butter
- 1 package (10 ounces) regular marshmallows (about 40 large or 4 cups mini)
- 6 cups crispy rice cereal (e.g., Kellogg’s Rice Krispies)
- 1 cup candy corn (about 6 ounces)
- 1/4 teaspoon salt
- 1 teaspoon vanilla extract
- Orange and yellow food coloring (gel preferred)
- Non-stick cooking spray
Instructions
- Line a 9×13-inch baking dish with parchment paper, leaving overhang on two sides. Lightly spray with non-stick cooking spray. Set aside.
- In a large pot over medium-low heat, melt 6 tablespoons butter, stirring occasionally, until fully liquid and just starting to bubble (2-3 minutes).
- Add the marshmallows to the pot and stir constantly until completely melted, smooth, and glossy (4-5 minutes).
- Remove pot from heat. Stir in 1/4 teaspoon salt and 1 teaspoon vanilla extract until well combined.
- Divide the marshmallow mixture evenly into three separate bowls. Leave one bowl plain (white layer). Add yellow food coloring to the second bowl and orange food coloring to the third bowl; stir each until uniform.
- To the plain (white) bowl, add 2 cups crispy rice cereal and fold gently until evenly coated. Transfer to the prepared baking dish and press into an even layer using a greased spatula.
- To the yellow bowl, add 2 cups cereal and fold until combined. Spread over the white layer and press down gently.
- To the orange bowl, add the remaining 2 cups cereal and fold until combined. Spread over the yellow layer and press down gently to create a flat surface.
- While the top layer is still warm, press 1 cup candy corn into the surface in a decorative pattern. Work quickly.
- Let treats cool completely at room temperature (1-2 hours). For faster setting, refrigerate for 30 minutes, then let sit at room temperature for 10 minutes before cutting.
- Lift the block out using parchment handles. Cut into 12 large bars or 24 smaller squares with a sharp knife, wiping the knife clean between cuts.
Notes
Work quickly once marshmallows are melted. Grease all tools and hands with cooking spray to prevent sticking. Use gel food coloring for best results. Do not overmix the cereal to keep treats light and airy. For best texture, let treats set completely before cutting. Store in an airtight container at room temperature for up to 3 days; do not refrigerate. Freeze individually wrapped bars for up to 2 months.
Nutrition
- Serving Size: 1 large bar (3x3 inc
- Calories: 245
- Sugar: 26
- Sodium: 175
- Fat: 8
- Saturated Fat: 5
- Carbohydrates: 42
- Protein: 2
Keywords: candy corn, rice krispie treats, Halloween dessert, fall dessert, easy dessert, no-bake, festive treats


