Love this? Save it for later!
Share the inspiration with your friends
My neighbor Elena watched me fumbling with a muffin tin one rainy Tuesday morning, my kitchen counter a disaster zone of oat flakes and pumpkin puree. I was trying to make something—anything—that could feed the chaos of a weekend brunch I had planned for eight people. She didn’t say anything at first. Then she reached over, picked up a stray oat that had rolled onto the cutting board, and popped it in her mouth. “You’re overthinking it,” she said. “Pumpkin baked oatmeal cups. They’re forgiving. They’re meant to be shared.” That was it. No formal lesson, no written recipe. Just a conversation that started with a shared laugh over my mess and ended with her scribbling a few notes on a napkin. I tweaked her method over the years, swapping in a little extra spice, playing with the sweetness, but the heart of it—the warmth, the simplicity, the way it brings people together—stayed exactly the same.
Why You’ll Love This Recipe
Let’s be honest—hosting a crowd for breakfast can feel like a high-wire act. You want something impressive but not fussy, delicious but not demanding. These pumpkin baked oatmeal cups are my secret weapon. I’ve tested them for everything from laid-back Sunday brunches to holiday morning gatherings, and they deliver every single time. Here’s why you’ll fall for them too:
- Perfect for Hosting: These cups are built for a crowd. You can easily double the batch, and they look gorgeous on a platter—no slicing, no mess, just grab-and-go goodness.
- Make-Ahead Magic: Prep them the night before your gathering. Pop them in the oven while your guests sip coffee, and you’ll look like a kitchen hero without breaking a sweat.
- Simple Ingredients: No fancy grocery runs. You probably have most of this in your pantry right now—oats, pumpkin, eggs, a few warm spices.
- Crowd-Pleaser: I’ve served these to kids who usually turn their noses up at oatmeal and adults who swear they’re “not breakfast people.” Empty plates every time.
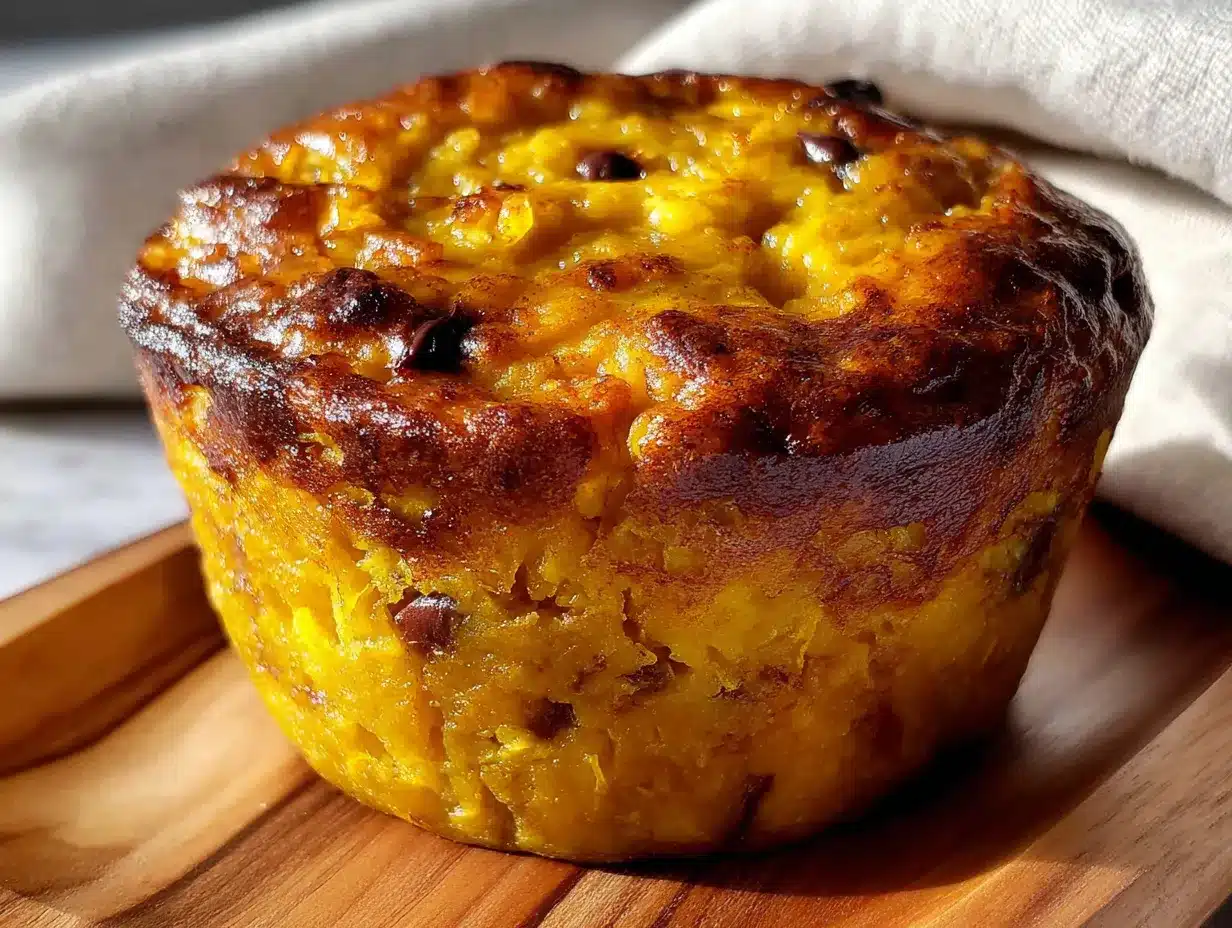
- Unbelievably Delicious: The texture is what gets me. Soft and tender in the middle, with slightly crisp edges. That first bite? Honestly, it’s like comfort food in a cup.
What makes this recipe different is the technique. Instead of just mixing everything together, I’ve found that letting the oats sit for a few minutes before baking makes them extra creamy. It’s a small step, but it changes everything. And the pumpkin? It adds this subtle sweetness and moisture that keeps the cups from drying out, even when you reheat them the next day. This isn’t just another oatmeal recipe—it’s your new go-to for hosting without the stress.
What Ingredients You Will Need
This recipe leans on pantry staples, which is exactly what you want when you’re planning for a crowd. The ingredients are simple, but each one plays a role in creating that perfect texture and flavor. Here’s what you’ll need:
For the Oatmeal Cups
- Rolled oats, 2 cups (180g) – Not instant oats, please. Rolled oats give you that chewy, satisfying texture. I prefer Bob’s Red Mill for consistency.
- Pumpkin puree, 1 cup (240g) – Make sure it’s 100% pure pumpkin, not pumpkin pie filling. The unsweetened kind lets you control the sweetness.
- Milk, 1 cup (240ml) – Any milk works here. I usually use whole milk for richness, but oat milk or almond milk is great too.
- Eggs, 2 large – They bind everything together. Room temperature eggs mix in more evenly.
- Maple syrup, 1/3 cup (80ml) – Adds natural sweetness. You can swap with honey or brown sugar if that’s what you have.
- Melted coconut oil or butter, 3 tablespoons (45g) – For moisture and richness. Coconut oil gives a subtle flavor; butter makes them extra tender.
- Vanilla extract, 1 teaspoon – Don’t skip it. It rounds out the spices beautifully.
- Baking powder, 1 teaspoon – Helps them rise just a little, so they’re not dense.
- Pumpkin pie spice, 1 1/2 teaspoons – Or make your own with cinnamon, nutmeg, ginger, and cloves. I actually prefer my own blend—more cinnamon, less clove.
- Cinnamon, 1/2 teaspoon – Because you can never have too much cinnamon.
- Salt, 1/4 teaspoon – Balances the sweetness and brings out the flavors.
Optional Mix-Ins and Toppings
- Chocolate chips, 1/2 cup (90g) – Dark chocolate chips are my favorite. They melt into little pockets of goodness.
- Chopped pecans or walnuts, 1/2 cup (60g) – Adds crunch. Toast them first for extra flavor.
- Dried cranberries or raisins, 1/4 cup (40g) – For a little tartness.
- Pepitas (pumpkin seeds), for topping – Makes them look pretty and adds a nice crunch.
Ingredient tip: If you’re using a different milk, like canned coconut milk, it will make the cups richer and slightly denser. That’s not a bad thing—just something to know. And for the pumpkin, I always buy an extra can because I inevitably forget and have to run to the store. Learn from my mistakes.
Equipment Needed
You don’t need a fancy kitchen for this recipe, which is part of the charm. Here’s what you’ll need:
- Muffin tin, 12-cup standard size – This is non-negotiable. A 12-cup tin gives you the perfect portion size for a crowd.
- Muffin liners or silicone baking cups – Paper liners work fine, but silicone ones are reusable and make clean-up a breeze. I’ve used both, and honestly, silicone is worth the investment if you bake these often.
- Large mixing bowl – Any bowl will do, but a wide one makes mixing easier.
- Whisk – For combining the wet ingredients. A fork works in a pinch, but a whisk gives you a smoother mixture.
- Spatula – For scraping every last bit of batter into the cups. Waste not, want not.
- Measuring cups and spoons – Precise measurements matter here, especially for the oats and pumpkin.
- Oven – Preheated to 350°F (175°C).
Budget-friendly tip: If you don’t have a muffin tin, you can bake the mixture in a greased 8×8-inch baking dish. Just increase the baking time by about 10 minutes and cut into squares. It’s not as portable, but it tastes just as good.
Preparation Method
Ready to make these? Let’s walk through it step by step. I’ve included all the little details that make a difference, so you get perfect results every time.
- Preheat your oven to 350°F (175°C). Line a 12-cup muffin tin with paper liners or lightly grease with butter or oil. If you’re using silicone cups, place them on a baking sheet for stability.
- In a large mixing bowl, whisk together the pumpkin puree, milk, eggs, maple syrup, melted coconut oil (or butter), and vanilla extract. Whisk until smooth and well combined. The mixture should look like a thick, creamy orange liquid. If it’s lumpy, keep whisking—you want it silky.
- Add the rolled oats, baking powder, pumpkin pie spice, cinnamon, and salt. Stir with a spatula until everything is evenly incorporated. Don’t overmix—just until you don’t see any dry oats. At this point, the mixture will look quite loose, but that’s okay. It will thicken as the oats absorb the liquid.
- Let the mixture sit for 5 minutes. This is the secret step I mentioned earlier. Giving the oats time to soak up the liquid makes them creamier and prevents the cups from being dry. Use this time to clean up your workspace or prep your mix-ins.
- Fold in your chosen mix-ins. If you’re using chocolate chips, nuts, or dried fruit, gently stir them in now. I usually save a few chocolate chips to press on top of each cup—it makes them look prettier.
- Spoon the mixture evenly into the prepared muffin cups. Fill each cup almost to the top—these don’t rise much, so you want them full. A cookie scoop or a 1/4-cup measuring cup works perfectly here. Sprinkle pepitas or extra nuts on top if you like.
- Bake for 20 to 25 minutes, or until the tops are set and golden brown. A toothpick inserted into the center should come out clean or with just a few moist crumbs. The edges should be slightly firm to the touch. Don’t overbake, or they’ll dry out. I start checking at 20 minutes because all ovens are different.
- Let the cups cool in the pan for 5 minutes. This helps them set and makes them easier to remove. Then transfer them to a wire rack to cool completely. If you try to take them out too soon, they might fall apart. Trust me, I’ve learned this the hard way.
Visual cue: When they’re done, the tops will be a deep golden brown, and the edges will have pulled away slightly from the liners. The kitchen will smell like fall—warm spices and pumpkin—which is my favorite part.
Cooking Tips & Techniques
After making these pumpkin baked oatmeal cups more times than I can count, I’ve picked up a few tricks that make a real difference. Here are my best tips:
- Don’t skip the resting time. I know it’s tempting to just mix and bake, but those 5 minutes are crucial. The oats need time to hydrate, or you’ll end up with dry, crumbly cups. I once forgot this step when I was rushing for a brunch, and the cups were noticeably less tender. Never again.
- Use room temperature ingredients. Cold eggs and milk can make the coconut oil or butter clump up. If you forget to take them out ahead of time, place the eggs in a bowl of warm water for 5 minutes and microwave the milk for 15 seconds.
- Line your muffin tin well. Even if you use non-stick liners, I recommend spraying them lightly with cooking spray. These cups can be a little sticky, especially if you add chocolate chips. A little extra insurance goes a long way.
- Toast your nuts before adding them. This takes just 5 minutes in a dry skillet, and it brings out their flavor so much. I learned this from a friend who’s a pastry chef, and now I never skip it.
- Make them ahead for a crowd. These cups are perfect for hosting because you can prep everything the night before. Just mix the wet and dry ingredients separately, combine them in the morning, and bake. Or bake them fully and reheat in a 300°F oven for 10 minutes before serving. Your guests will think you’ve been up for hours.
Variations & Adaptations
One of the best things about this recipe is how versatile it is. Here are some ways to make it your own:
- Dairy-Free: Use oat milk or almond milk and swap the butter for coconut oil. I’ve made this version for friends with dairy sensitivities, and they couldn’t tell the difference.
- Gluten-Free: Use certified gluten-free rolled oats. That’s the only swap you need—everything else is naturally gluten-free.
- Lower Sugar: Reduce the maple syrup to 1/4 cup and add an extra mashed banana for sweetness. I tried this when I was cutting back on sugar, and the banana adds a lovely flavor.
- Savory Twist: Skip the maple syrup and spices, and add shredded cheese, cooked bacon bits, and chives. Bake as directed. It sounds weird, but it’s surprisingly good—kind of like a savory oatmeal muffin.
- Seasonal Swap: In summer, replace the pumpkin with an equal amount of mashed ripe banana or grated zucchini (squeeze out the excess liquid first). The spices work with both, but I add a little extra cinnamon.
- Protein Boost: Add a scoop of vanilla or unflavored protein powder. You may need to add an extra tablespoon or two of milk to keep the mixture from being too thick. I’ve done this after a workout, and it’s a great post-gym snack.
My personal favorite variation is adding dark chocolate chips and a pinch of sea salt on top. The salty-sweet combo is irresistible, and it feels a little decadent for breakfast.
Serving & Storage Suggestions
These pumpkin baked oatmeal cups are incredibly versatile when it comes to serving. Here’s how to make the most of them:
- Serving Temperature: They’re delicious warm, at room temperature, or even cold. For a gathering, I usually serve them warm with a drizzle of maple syrup or a dollop of Greek yogurt on the side.
- Presentation Tips: Arrange them on a large platter or wooden board. Sprinkle with a little extra cinnamon or powdered sugar for a pretty finish. Add some fresh fruit and a pitcher of coffee, and you’ve got a beautiful brunch spread.
- What to Serve Alongside: These cups pair beautifully with scrambled eggs, fresh fruit salad, or a simple green smoothie. For a heartier spread, add bacon or sausage links. Honestly, they’re great on their own too.
- Storage: Store leftover cups in an airtight container in the refrigerator for up to 5 days. They also freeze beautifully. Place them in a single layer on a baking sheet, freeze until solid, then transfer to a freezer bag. They’ll keep for up to 3 months.
- Reheating: Microwave a single cup for 20 to 30 seconds. For a crowd, reheat them in a 300°F oven for 10 minutes. The texture comes back beautifully—almost like fresh-baked.
- Flavor Development: Here’s a little secret: these cups actually taste better the next day. The spices meld together, and the oats get even more tender. So if you’re hosting, don’t stress about baking them fresh. Make them a day ahead, and they’ll be even better.
Nutritional Information & Benefits
These pumpkin baked oatmeal cups are a wholesome choice for breakfast or a snack. Here’s a rough breakdown per cup (based on the base recipe without mix-ins):
- Calories: Approximately 180-200
- Protein: 5-6g
- Carbohydrates: 28-30g
- Fiber: 4-5g
- Fat: 6-8g
- Sugar: 10-12g (naturally occurring and added)
Health Benefits: Pumpkin is packed with vitamin A and antioxidants, which support eye health and your immune system. Oats are a great source of soluble fiber, which helps keep you full and supports heart health. Eggs add high-quality protein, and the spices like cinnamon and ginger have anti-inflammatory properties. This is the kind of breakfast that fuels you without weighing you down—perfect for a busy morning or a leisurely brunch.
Dietary Considerations: This recipe is easily adapted to be dairy-free, gluten-free, or lower in sugar. See the variations section for specifics. It’s also nut-free if you skip the pecans or walnuts.
Conclusion
These pumpkin baked oatmeal cups are more than just a recipe—they’re a solution to the hosting dilemma. They’re forgiving enough for a beginner, impressive enough for a crowd, and adaptable enough to fit almost any dietary need. Whether you’re planning a holiday brunch, a casual get-together, or just want something warm and comforting on a fall morning, these cups deliver.
I love this recipe because it reminds me of that rainy Tuesday with Elena. It’s not fancy or complicated. It’s just good food made with simple ingredients and a little bit of heart. And honestly, that’s what cooking for people is all about.
Give these a try for your next gathering. I’d love to hear how they turn out! Leave a comment below and let me know what mix-ins you used, or tag me in your photos. Happy baking, friend!
Frequently Asked Questions
Can I use steel-cut oats instead of rolled oats?
I wouldn’t recommend it. Steel-cut oats need much more liquid and a longer cooking time. They won’t soften enough in this recipe, and you’ll end up with crunchy, chewy cups instead of tender ones. Stick with rolled oats for the best texture.
Can I make these vegan?
Yes, with a couple of swaps. Replace the eggs with flax eggs (1 tablespoon ground flaxseed mixed with 3 tablespoons water per egg) and use a plant-based milk and coconut oil instead of butter. The texture will be slightly denser, but they’re still delicious.
How do I prevent the cups from sticking to the liners?
This happens sometimes, especially if you use low-quality paper liners. I recommend using silicone baking cups or spraying your paper liners with cooking spray before filling them. Letting the cups cool completely before peeling off the liners also helps.
Can I double this recipe for a larger crowd?
Absolutely. This recipe doubles beautifully. Just use two muffin tins or bake in batches. Keep an eye on the baking time—it might be the same, or you may need an extra minute or two if your oven is crowded.
How do I know when the cups are fully baked?
Look for set tops that are golden brown and slightly firm to the touch. A toothpick inserted into the center should come out clean or with a few moist crumbs. If the toothpick is wet with batter, give them another 2-3 minutes. Don’t overbake, or they’ll dry out.
Pin This Recipe!
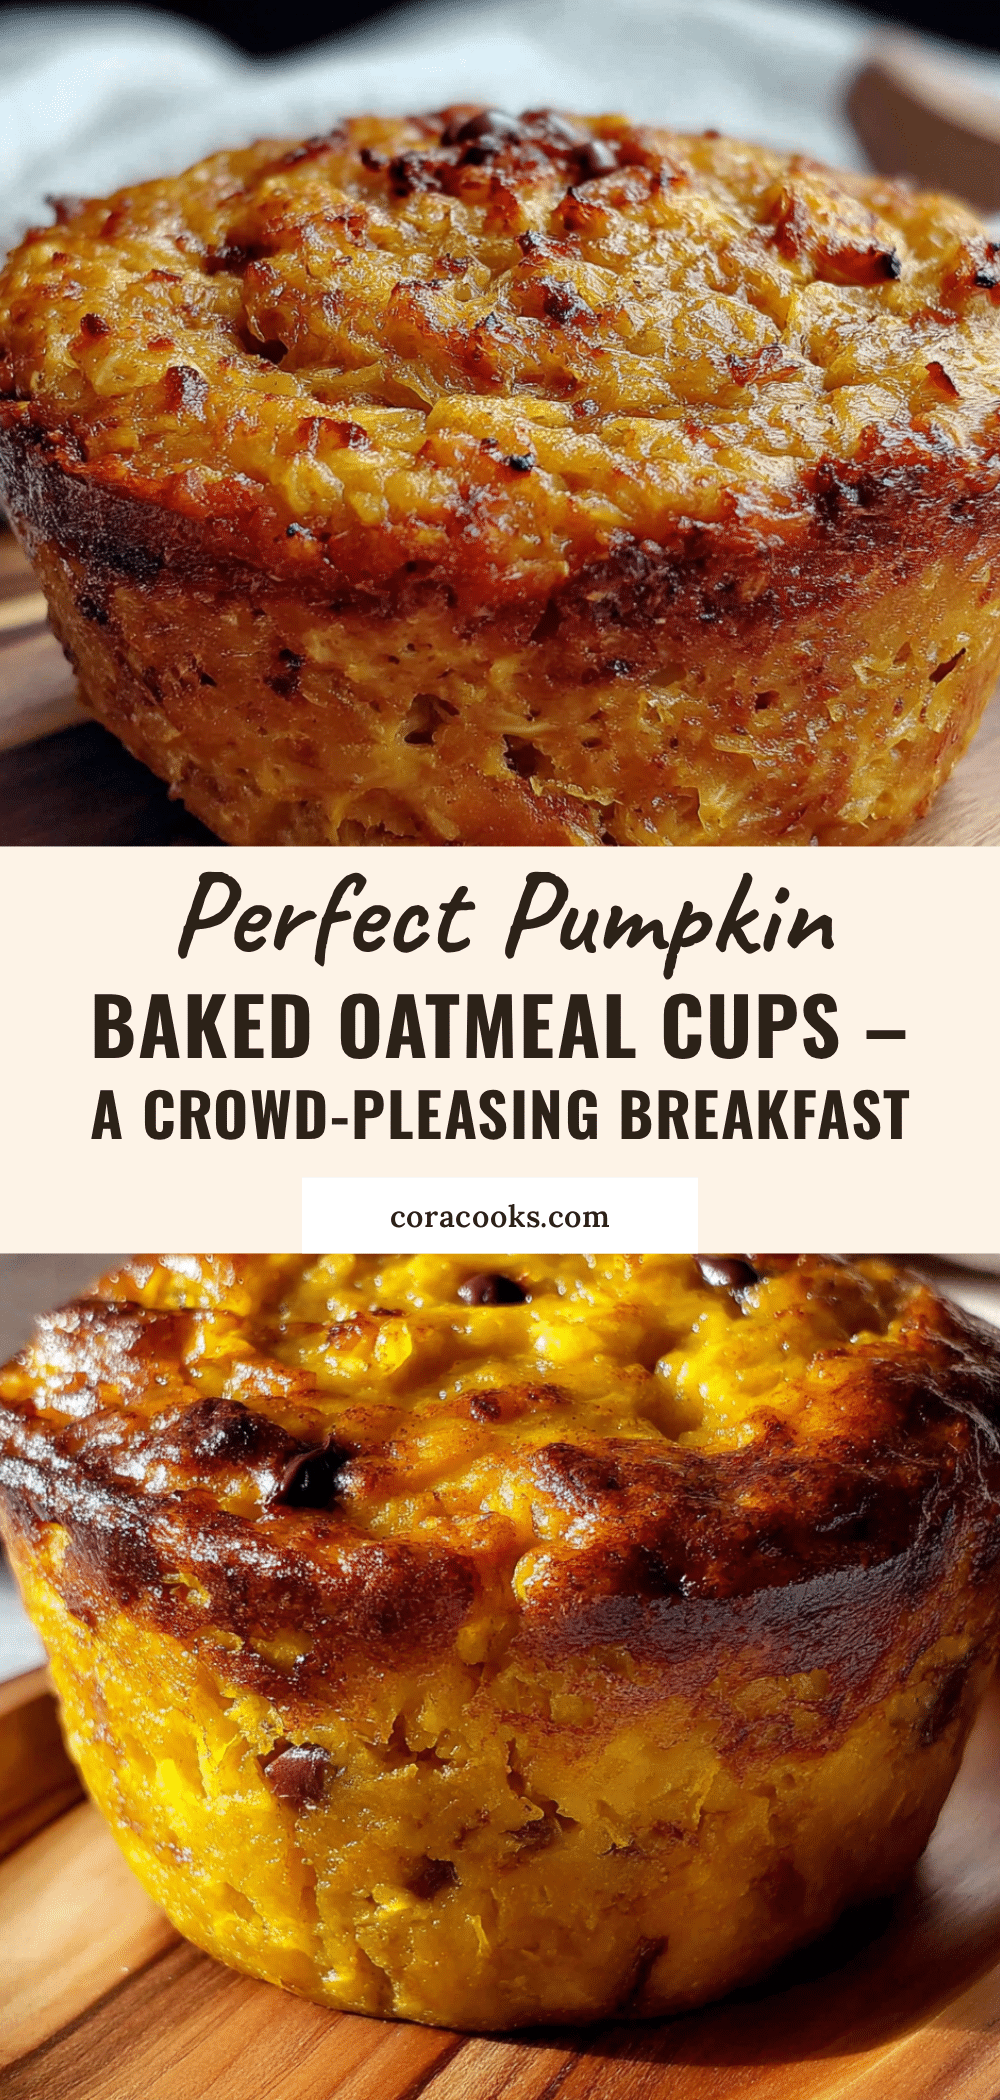
Perfect Pumpkin Baked Oatmeal Cups: Easy Make-Ahead Breakfast

These pumpkin baked oatmeal cups are the perfect make-ahead breakfast for hosting a crowd. Soft and tender in the middle with slightly crisp edges, they’re made with simple pantry staples and can be easily adapted for dietary needs.
- Prep Time: 15 minutes
- Cook Time: 25 minutes
- Total Time: 45 minutes
- Yield: 12 servings 1x
- Category: Breakfast
- Cuisine: American
Ingredients
- 2 cups (180g) rolled oats
- 1 cup (240g) pumpkin puree (100% pure pumpkin)
- 1 cup (240ml) milk (any kind)
- 2 large eggs, room temperature
- 1/3 cup (80ml) maple syrup
- 3 tablespoons (45g) melted coconut oil or butter
- 1 teaspoon vanilla extract
- 1 teaspoon baking powder
- 1 1/2 teaspoons pumpkin pie spice
- 1/2 teaspoon cinnamon
- 1/4 teaspoon salt
- 1/2 cup (90g) chocolate chips (optional)
- 1/2 cup (60g) chopped pecans or walnuts (optional)
- 1/4 cup (40g) dried cranberries or raisins (optional)
- Pepitas (pumpkin seeds) for topping (optional)
Instructions
- Preheat your oven to 350°F (175°C). Line a 12-cup muffin tin with paper liners or lightly grease with butter or oil.
- In a large mixing bowl, whisk together the pumpkin puree, milk, eggs, maple syrup, melted coconut oil (or butter), and vanilla extract until smooth and well combined.
- Add the rolled oats, baking powder, pumpkin pie spice, cinnamon, and salt. Stir with a spatula until everything is evenly incorporated. Do not overmix.
- Let the mixture sit for 5 minutes to allow the oats to absorb the liquid.
- Fold in your chosen mix-ins (chocolate chips, nuts, dried fruit) if using.
- Spoon the mixture evenly into the prepared muffin cups, filling each almost to the top. Sprinkle pepitas or extra nuts on top if desired.
- Bake for 20 to 25 minutes, or until the tops are set and golden brown. A toothpick inserted into the center should come out clean or with just a few moist crumbs.
- Let the cups cool in the pan for 5 minutes, then transfer to a wire rack to cool completely.
Notes
Letting the oats sit for 5 minutes before baking is crucial for creamy texture. Use room temperature ingredients for best results. These cups taste even better the next day as flavors meld. For a crowd, bake fully and reheat in a 300°F oven for 10 minutes before serving.
Nutrition
- Serving Size: 1 oatmeal cup
- Calories: 180200
- Sugar: 1012
- Sodium: 120150
- Fat: 68
- Saturated Fat: 34
- Carbohydrates: 2830
- Fiber: 45
- Protein: 56
Keywords: pumpkin baked oatmeal cups, make-ahead breakfast, oatmeal cups, pumpkin oatmeal, healthy breakfast, fall breakfast, brunch recipe


