Love this? Save it for later!
Share the inspiration with your friends
It was 11:47 on a Sunday night, and I had a lunchbox problem. Not the cute, organized kind of problem you see on social media—the real kind, where you’re staring into the fridge at a half-empty jar of peanut butter, three bananas that are more brown than yellow, and the sad realization that breakfast tomorrow is going to be a disaster unless you do something about it right now. I didn’t have the granola I usually use for overnight oats, but I had rolled oats, a container of Greek yogurt that was about to expire, and this wild idea that maybe—just maybe—I could make something my kids would actually eat cold from a thermos. I mean, I’ve been burned before. The Pinterest fails are real, you know?
So there I was, in my pajamas, mashing bananas with a fork while trying not to wake up the dog. I threw in some chia seeds I’d bought on a whim months ago and crossed my fingers. The next morning, I packed it in their lunchboxes with a note that said “Try it, you’ll like it!”—which, honestly, is my go-to parenting move when I’m not sure something’s going to work. When my youngest came home and asked if I could make it again, I knew I had stumbled onto something. Not just a recipe, but a solution to that 6 AM panic when you’re trying to get out the door and someone can’t find their left shoe.
These kid-approved peanut butter banana overnight oats are now a staple in our house, and let me tell you, they’ve saved my sanity more times than I can count. Maybe you’ve been there—staring at the clock, wondering how you’re going to get a decent breakfast or snack into your kids without a full-on kitchen production. This is that recipe. The one that makes you look like you have your act together when really, you just got lucky at 11 PM on a Sunday.
Why You’ll Love This Recipe
Let’s be real for a second—getting kids to eat something healthy that isn’t hidden in a muffin is a daily battle. But these overnight oats? They’re different. I’ve tested this recipe on my own picky eaters, my neighbor’s kids who live on chicken nuggets, and even a few skeptical adults at a brunch thing. Everyone came back for seconds. That’s not luck—that’s a recipe that works.
- Quick & Easy: Five minutes of prep the night before, and you’re done. No cooking, no fussing, no standing over a hot stove while your coffee gets cold.
- Simple Ingredients: You probably have everything in your kitchen right now. Oats, peanut butter, bananas, milk, yogurt—that’s it. No fancy trips to a specialty store.
- Perfect for Lunchboxes: These oats hold up beautifully in a thermos or container. They don’t get soggy, they don’t leak, and kids can eat them cold or at room temperature.
- Crowd-Pleaser: I’ve yet to meet a kid who doesn’t love the peanut butter and banana combo. It’s basically a classic sandwich turned into a creamy, satisfying breakfast or snack.
- Unbelievably Delicious: The texture is like a thick, creamy pudding—not gluey or slimy like some overnight oats can be. The chia seeds add a little pop, and the banana sweetness means you don’t need much added sugar.
What makes this recipe different from all the other overnight oat recipes out there? It’s the ratio, honestly. I spent weeks tweaking the milk-to-oats-to-yogurt balance until I got that perfect spoonable texture that doesn’t separate or turn into a watery mess. Plus, the mashed banana acts as a natural sweetener and binder, so you’re getting real fruit flavor without a ton of honey or maple syrup. It’s comfort food that actually works for real life—the kind of recipe that makes you feel like a good parent without spending your whole evening in the kitchen.
Ingredients Needed
This recipe uses simple, wholesome ingredients that you can find at any grocery store. The beauty of it is how these everyday staples come together to create something that tastes like a treat but fuels your kids for a full school day.
For the Oats Base
- 1 cup rolled oats (not instant—they get too mushy; I prefer Quaker Old Fashioned for the best texture)
- 1 cup milk (whole milk adds creaminess, but 2% or oat milk work great too)
- ½ cup plain Greek yogurt (full-fat or low-fat both work; I use Fage 2% for the protein boost)
- 2 tablespoons chia seeds (these are optional but highly recommended for thickness and omega-3s)
- 1 tablespoon honey or maple syrup (adjust based on how sweet your bananas are)
- ½ teaspoon vanilla extract (pure, not imitation—trust me on this)
For the Peanut Butter Banana Layer
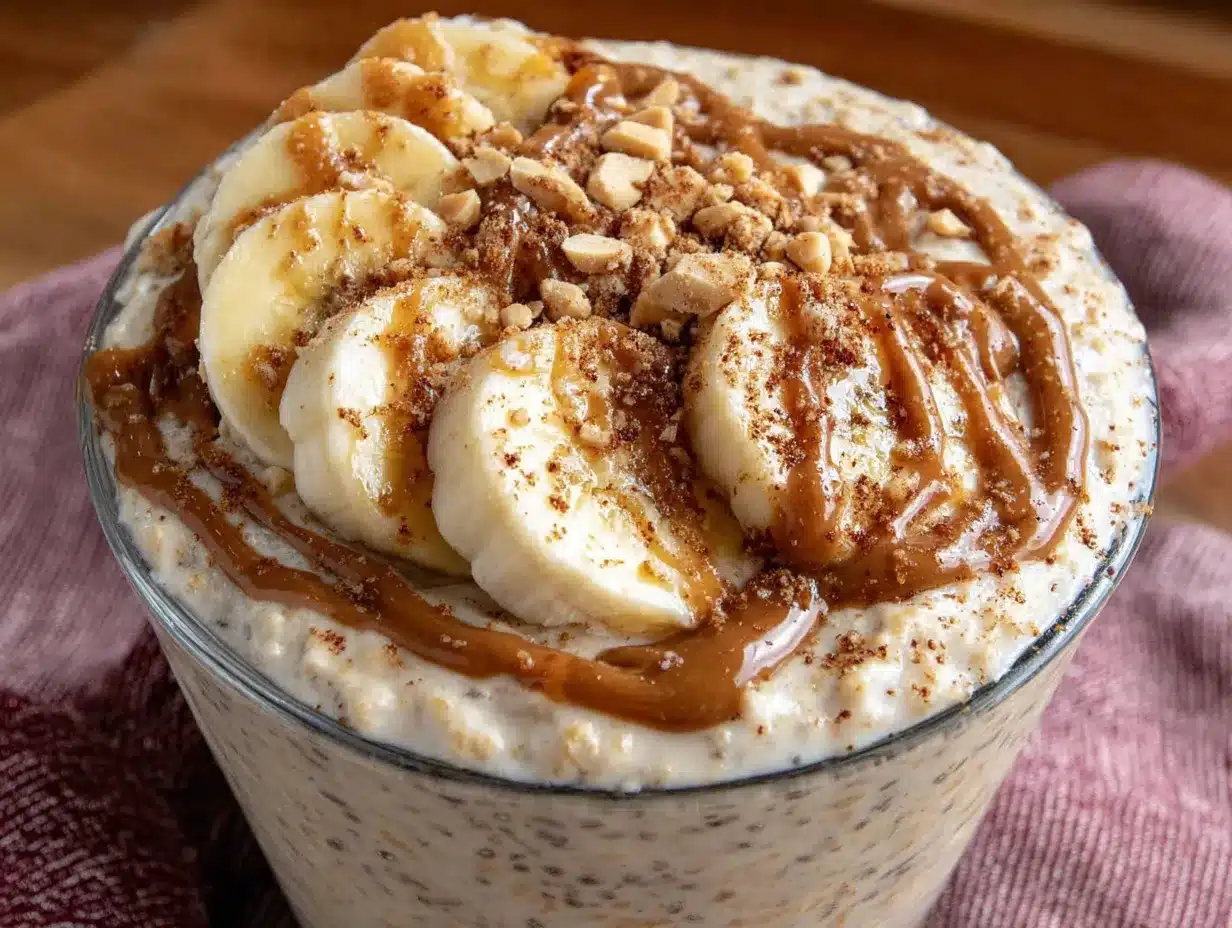
- 2 ripe bananas (the spotty ones are best—they mash easier and add more sweetness)
- ¼ cup creamy peanut butter (I use Skippy Natural, but any brand works; avoid the “natural” ones that separate too much for this recipe)
- Optional: 2 tablespoons mini chocolate chips (my kids beg for these, and honestly, a few chips make mornings happier)
Pro tip from my kitchen: if your bananas aren’t super ripe, you can microwave them for 30 seconds to soften them up before mashing. Also, if you’re using a peanut butter that’s on the saltier side, you might want to skip any added salt in the recipe. I learned this the hard way after making a batch that tasted like a pretzel.
For substitutions, you can swap the Greek yogurt with dairy-free coconut yogurt if needed, or use almond butter instead of peanut butter for a nut-free lunchbox option. Just keep in mind that almond butter is thinner, so you might need to add a tablespoon less milk.
Equipment Needed
You don’t need anything fancy for this recipe—which is honestly my favorite kind of cooking. Here’s what you’ll need:
- A medium mixing bowl (I use a glass Pyrex bowl because it doesn’t hold onto smells)
- A fork or potato masher for the bananas
- A whisk or spoon for mixing
- Measuring cups and spoons
- 4 small mason jars or airtight containers with lids (I use 8-ounce Weck jars because they’re leak-proof for lunchboxes)
- A spatula to get every last bit of peanut butter out of the jar (don’t judge me)
If you don’t have mason jars, any container with a tight-fitting lid works. I’ve used old jam jars, plastic deli containers, and even those reusable silicone pouches. The key is making sure they’re sealed well so the oats don’t dry out or spill in a lunchbox. And if you’re like me and always losing lids, a piece of plastic wrap held on with a rubber band works in a pinch.
Preparation Method
This is where the magic happens. The whole process takes about 10 minutes, and then you just let the fridge do the work overnight.
- Mash the bananas: In your medium bowl, mash both bananas with a fork until they’re mostly smooth with a few small lumps. You want some texture, not baby food consistency. I usually leave a few pea-sized chunks because they break down overnight and add little pockets of sweetness.
- Mix in the wet ingredients: Add the milk, Greek yogurt, peanut butter, honey (or maple syrup), and vanilla extract to the mashed bananas. Whisk everything together until the peanut butter is fully incorporated. This takes about 30 seconds of vigorous whisking—don’t rush it, or you’ll end up with peanut butter blobs.
- Add the dry ingredients: Stir in the rolled oats and chia seeds. Mix until everything is evenly distributed. The mixture will look pretty liquidy at this point—that’s normal. It thickens up overnight.
- Divide into jars: Using a spatula, divide the mixture evenly among your 4 jars or containers. I use about ¾ cup per jar. If you’re adding chocolate chips, sprinkle them on top now—they’ll sink a little overnight, which is perfect.
- Refrigerate overnight: Put the lids on your jars and place them in the fridge for at least 6 hours, but preferably 8-12 hours. I make these right after dinner, and they’re ready by morning.
- Give them a stir: In the morning, take a jar out and give it a good stir. The chia seeds and oats will have absorbed the liquid, creating a thick, creamy texture. If it seems too thick, stir in a tablespoon of milk to loosen it up.
A few things I’ve learned the hard way: don’t skip the stirring step in the morning. The oats settle at the bottom, and if you don’t mix them up, you’ll get a watery top layer and a dense bottom. Also, if you’re packing these for lunch, let them sit at room temperature for about 10 minutes before putting them in a thermos—cold oats straight from the fridge can be a shock for little mouths.
Cooking Tips & Techniques
I’ve made this recipe at least 50 times, and I’ve definitely had my share of failures. Here’s what I’ve learned so you don’t have to repeat my mistakes.
The biggest mistake people make with overnight oats is using the wrong oat-to-liquid ratio. Too much liquid, and you get soup. Too little, and you get a brick. My ratio of 1 cup oats to 1 cup milk plus ½ cup yogurt is the sweet spot. It gives you that pudding-like texture that kids actually want to eat.
Temperature matters. If you’re using cold milk straight from the fridge, the chia seeds take longer to gel. I let my milk sit out for 5 minutes before mixing—it’s a small thing, but it makes a difference in how quickly the oats soften.
Don’t overmix. Once you add the oats, stir just until combined. Overmixing can break down the oats too much and make them gummy. I learned this when I was trying to multitask and answer a text while stirring—ended up with a weird, gluey texture that even my dog wouldn’t eat.
Batch prep is your friend. I make a double batch on Sunday nights and portion them out for the whole week. They keep perfectly in the fridge for up to 5 days. Just grab and go in the morning—no thought required.
If you’re packing for lunch, use a thermos or a leak-proof container. I’ve had a few incidents where the oats leaked into a backpack and ruined a homework assignment. Lesson learned: invest in good containers.
Variations & Adaptations
One of the best things about this recipe is how flexible it is. Here are some variations I’ve tried and loved:
- Nut-Free Version: Swap the peanut butter for sunflower seed butter (SunButter works great) or Wow Butter. The flavor is slightly different, but kids still love it. Just note that sunflower seed butter can turn green when mixed with baking soda—that’s a chemical reaction, not mold, so don’t panic.
- Berry Blast: Add ½ cup of frozen blueberries or chopped strawberries to the mix before refrigerating. The berries thaw overnight and create little pockets of fruity goodness. My daughter calls these “unicorn oats” because they turn purple.
- Chocolate Peanut Butter: Add 1 tablespoon of unsweetened cocoa powder to the dry ingredients. It turns the oats into a healthier version of a Reese’s cup—perfect for mornings when you need a little extra motivation.
- Dairy-Free Option: Use almond milk or oat milk and dairy-free yogurt. I’ve tested this with both, and oat milk gives the creamiest results. Coconut yogurt works too, but it adds a slight coconut flavor that might not pair as well with peanut butter.
- Protein Boost: Add a scoop of vanilla or chocolate protein powder. You’ll need to increase the milk by 2-3 tablespoons to compensate for the extra dry ingredients. I do this for my teenager who’s always hungry after sports practice.
My personal favorite variation is the chocolate peanut butter version—I make a batch just for myself and hide it in the back of the fridge. Don’t tell the kids.
Serving & Storage Suggestions
These oats are best served cold or at room temperature—that’s the whole point of overnight oats. I like to top them with a few banana slices, a drizzle of extra peanut butter, and maybe a sprinkle of granola for crunch. But honestly, my kids eat them straight out of the jar with no fuss.
For lunchboxes: Pack the oats in a thermos or a small insulated container. They’ll stay cold for a few hours, which is perfect for a morning snack or lunch. If your kid prefers room temperature, just take the jar out of the fridge 15 minutes before packing.
Storage: Keep the oats in airtight containers in the refrigerator for up to 5 days. Do not freeze them—the texture gets watery and weird when thawed. I learned this when I tried to meal prep for a month and ended up with a science experiment.
Reheating: These oats are meant to be eaten cold, but if your kid prefers warm oats, you can microwave a single serving for 30-45 seconds. Just stir well afterward, because the oats at the bottom get hotter than the top. Test the temperature before serving to little ones.
One thing I love about this recipe is that the flavors actually get better after a day or two. The banana sweetness melds with the peanut butter, and the chia seeds continue to plump up. Day 3 is my personal sweet spot.
Nutritional Information & Benefits
Per serving (based on 4 servings, using whole milk and full-fat yogurt):
- Calories: 320
- Protein: 12g
- Carbohydrates: 42g
- Fiber: 8g
- Sugar: 18g (naturally occurring from bananas and a touch of honey)
- Fat: 14g
- Omega-3s: 2g (from chia seeds)
The health benefits here are no joke. The rolled oats provide slow-release energy that keeps kids full through morning classes—no more hangry meltdowns at 10 AM. Greek yogurt adds protein and probiotics for gut health, while chia seeds pack a serious omega-3 punch for brain development. And the bananas? They’re loaded with potassium and vitamin B6, which helps with energy metabolism.
This recipe is naturally vegetarian and can be made gluten-free by using certified gluten-free oats. It’s also nut-free if you swap the peanut butter for sunflower seed butter. Just be aware that some brands of oats are processed in facilities that handle wheat, so read labels if you have celiac concerns.
As a mom who worries about what goes into my kids’ bodies, I feel good about sending these to school. They’re not just empty calories—they’re actually nourishing. And that’s a win in my book.
Conclusion
Look, I’m not saying these overnight oats will solve all your morning problems. You’ll still have to find matching socks and convince someone to brush their teeth. But they will take one thing off your plate—literally. Five minutes of prep the night before, and you’ve got a breakfast or lunchbox snack that your kids will actually eat without a fight.
What I love most about this recipe is how forgiving it is. You can tweak the sweetness, swap the nut butter, add whatever fruit you have lying around, and it still works. It’s not a fussy, demanding recipe. It’s the kind of cooking that fits into real life—the messy, chaotic, beautiful real life where sometimes you’re making breakfast at 11 PM in your pajamas.
So give it a try. Make a batch tonight. Experiment with the variations. Let me know in the comments how your kids liked it—or better yet, what weird twist you came up with. I’m always looking for new ideas, and honestly, some of the best recipes come from people who just needed to use up what was in their fridge. Happy cooking, friends.
Frequently Asked Questions
Can I use quick oats instead of rolled oats?
You can, but the texture will be much softer—almost like baby food. Rolled oats give you that nice, chewy texture that holds up overnight. If you only have quick oats, reduce the milk by 2 tablespoons and only refrigerate for 4-6 hours instead of overnight.
How long do these last in the fridge?
They’ll keep for up to 5 days in an airtight container. After that, the oats start to break down and get mushy. I usually make a batch on Sunday and we eat them through Thursday. If you’re making them for a whole week, consider making two smaller batches so they stay fresh.
Can I make these without chia seeds?
Absolutely. The chia seeds help thicken the oats and add nutrition, but they’re not essential. Without them, the texture will be slightly thinner—more like a regular oatmeal consistency. Just make sure you don’t reduce the milk, or the oats might be too dry.
My kids are allergic to peanuts—what can I use instead?
Sunflower seed butter is my go-to swap. Wow Butter is another great option that tastes very similar to peanut butter. Almond butter works too, but it’s thinner, so you might want to reduce the milk by a tablespoon. Just remember that nut-free options might change the flavor slightly, so do a test batch first.
Can I double this recipe?
Yes! I double it all the time. Just use a larger bowl and make sure you’re whisking well to incorporate everything evenly. The proportions stay the same, so you don’t need to adjust anything. I usually make a double batch in a big mixing bowl and then portion it out into 8 jars for the week.
Pin This Recipe!
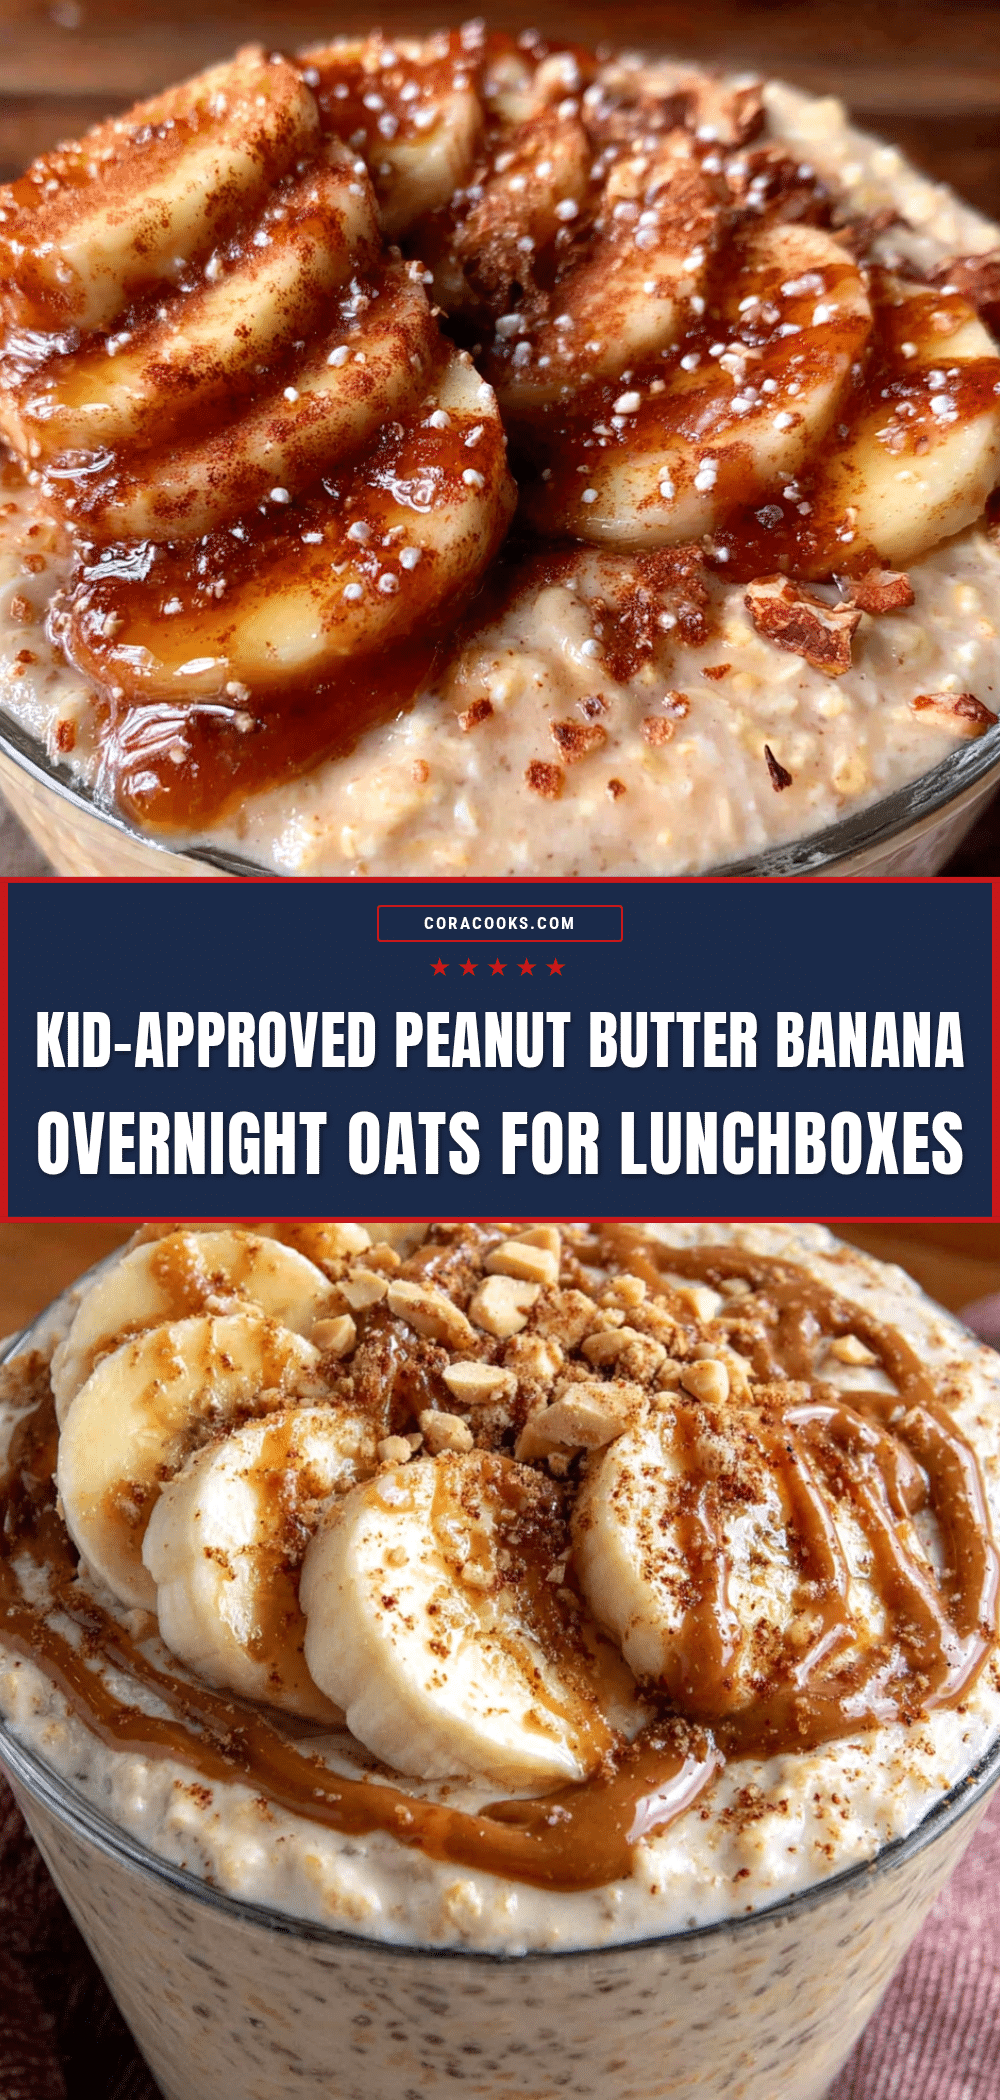
Kid-Approved Peanut Butter Banana Overnight Oats for Busy Mornings
These kid-approved peanut butter banana overnight oats are a quick and easy breakfast or lunchbox solution that takes just 5 minutes of prep the night before. Made with simple ingredients like rolled oats, peanut butter, bananas, and Greek yogurt, they create a creamy, pudding-like texture that kids love.
- Prep Time: 10 minutes
- Cook Time: 0 minutes
- Total Time: 10 minutes (plus overnight refrigeration)
- Yield: 4 servings 1x
- Category: Breakfast
- Cuisine: American
Ingredients
- 1 cup rolled oats (not instant)
- 1 cup milk (whole milk, 2%, or oat milk)
- ½ cup plain Greek yogurt (full-fat or low-fat)
- 2 tablespoons chia seeds (optional but recommended)
- 1 tablespoon honey or maple syrup
- ½ teaspoon vanilla extract (pure)
- 2 ripe bananas (spotty ones are best)
- ¼ cup creamy peanut butter
- Optional: 2 tablespoons mini chocolate chips
Instructions
- Mash both bananas in a medium bowl with a fork until mostly smooth with a few small lumps.
- Add milk, Greek yogurt, peanut butter, honey (or maple syrup), and vanilla extract to the mashed bananas. Whisk vigorously until peanut butter is fully incorporated, about 30 seconds.
- Stir in rolled oats and chia seeds until evenly distributed. The mixture will be liquidy.
- Divide mixture evenly among 4 jars or airtight containers (about ¾ cup each). If using chocolate chips, sprinkle on top.
- Refrigerate for at least 6 hours, preferably 8-12 hours.
- In the morning, stir each jar well. If too thick, stir in a tablespoon of milk to loosen.
Notes
Don’t skip the morning stir—oats settle at the bottom. For lunchboxes, let oats sit at room temperature for 10 minutes before packing. Batch prep for up to 5 days. Do not freeze.
Nutrition
- Serving Size: 1 jar (about ¾ cup)
- Calories: 320
- Sugar: 18
- Fat: 14
- Carbohydrates: 42
- Fiber: 8
- Protein: 12
Keywords: overnight oats, peanut butter banana, kid-friendly, breakfast, lunchbox, easy, no-cook, healthy


