Love this? Save it for later!
Share the inspiration with your friends
I was standing in the cereal aisle last Tuesday when it hit me—not the smell of cinnamon, which would’ve made sense, but the faint, almost artificial scent of caramel from a bag of chewy candies someone had dropped nearby. And just like that, I was eight years old again, standing on a step stool in my neighbor Mrs. Kowalski’s kitchen, watching her pull a bubbling, golden-topped apple crisp from the oven. She’d let me lick the spatula—a sticky, buttery mess of oats and brown sugar—and I remember thinking, this is what being grown-up must taste like.
Mrs. Kowalski is long gone, moved to Florida years ago, and I never got her recipe. For the longest time, I tried to recreate that perfect balance: soft, jammy apples under a crunchy, salty-sweet topping that didn’t feel like a sugar bomb. But everything I made was either too heavy, too sweet, or just… missing something. Honestly, I’d given up on finding that exact feeling again.
Then, a few weeks back, I had a random craving for something cozy but not cloying—you know that feeling when you want dessert but don’t want to feel like you just ate a whole pie? I grabbed a couple of apples, some oats, and a jar of salted caramel sauce I’d stashed in the fridge, and I just started experimenting. And let me tell you, the first bite of this Light & Cozy Salted Caramel Apple Crisp for Two made me stop mid-chew. It was that moment—the one I’d been chasing. Not a copy of Mrs. Kowalski’s, but something new. Something mine. Something that feels like a hug in a ramekin without weighing you down.
Maybe you’ve been there too—staring at a bag of apples, wanting something warm and comforting but not a whole production. This one’s for you.
Why You’ll Love This Recipe
This isn’t just another apple crisp recipe. After about twelve test batches (and a few very understanding taste-testers), I landed on a version that hits all the right notes without the guilt or the fuss. Here’s why it works:
- Perfectly Portioned: Made for two, so no leftovers tempting you at midnight (unless you want to share—no judgment).
- Lightened Up: Less butter, less sugar, but all the flavor, thanks to a clever trick with Greek yogurt in the topping.
- Simple Ingredients: You probably have everything except maybe the salted caramel sauce—and I’ll tell you my favorite store-bought brand below.
- Quick & Easy: From start to warm, gooey finish in about 40 minutes. Weeknight dessert, sorted.
- That Salted Caramel Touch: Just a drizzle adds a sophisticated twist without overwhelming the apples. It’s the little details, you know?
- Crowd-Pleaser: Even my friend who “doesn’t do healthy desserts” asked for the recipe. Twice.
What makes this different from every other crisp out there? It’s the texture. The topping stays crunchy—not soggy, not too dense—because I swapped half the butter for yogurt and used a mix of old-fashioned oats and almond flour. The apples get soft and jammy without turning into mush. And that salted caramel? It’s drizzled on at the end, so every bite has a little hit of sweet-salty magic. It’s comfort food reimagined—lighter, faster, but with the same soul-soothing satisfaction.
What Ingredients You Will Need
This recipe uses simple, wholesome ingredients to deliver bold flavor and satisfying texture without the fuss. Most of these are pantry staples, which makes this a great last-minute dessert option.
For the Apple Filling
- 2 medium apples (I prefer Honeycrisp or Granny Smith—firm enough to hold their shape, sweet-tart enough to balance the caramel)
- 1 tablespoon maple syrup (or honey; adds natural sweetness without refined sugar)
- 1 teaspoon lemon juice (keeps the apples from browning and brightens the flavor)
- 1/2 teaspoon cinnamon
- Pinch of nutmeg (freshly grated if you have it—trust me)
- 1 teaspoon cornstarch (helps thicken the juices so they’re syrupy, not watery)
- 1 tablespoon water
For the Crisp Topping
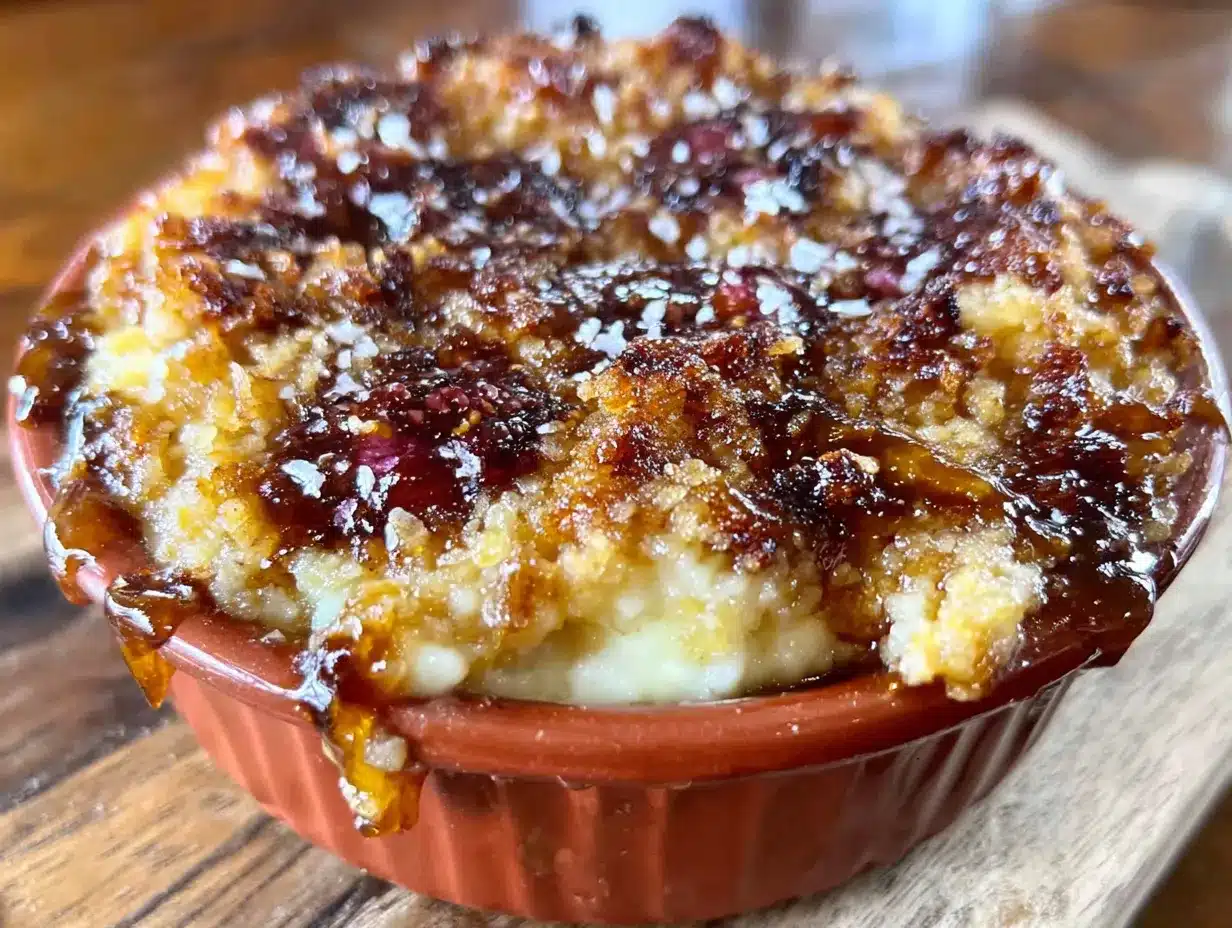
- 1/4 cup old-fashioned rolled oats (not quick oats—they get mushy)
- 2 tablespoons almond flour (adds a nutty flavor and keeps it gluten-free; you can sub all-purpose flour if needed)
- 2 tablespoons coconut sugar (or brown sugar; coconut sugar is less processed and has a lower glycemic index)
- 1 tablespoon cold butter, cut into small cubes (I like Kerrygold for the richness)
- 1 tablespoon plain Greek yogurt (the secret ingredient—adds moisture and tang without extra fat)
- Pinch of sea salt
For the Salted Caramel Drizzle
- 2 tablespoons store-bought salted caramel sauce (I recommend Trader Joe’s or Stonewall Kitchen—they’re thick and not too sweet)
- Flaky sea salt (like Maldon), for finishing
Ingredient Tips: If you’re dairy-free, use a vegan butter stick and a dairy-free yogurt (coconut-based works great). For a nut-free version, swap almond flour with oat flour or regular all-purpose flour. And if you don’t have coconut sugar, brown sugar is perfectly fine—just know the topping will be slightly richer.
Equipment Needed
You don’t need a fancy kitchen for this one. Here’s what you’ll need:
- Two 8-ounce ramekins (or one small baking dish—about 6×6 inches)
- Mixing bowls (one medium, one small)
- Sharp knife and cutting board
- Measuring spoons
- Pastry cutter or fork (for cutting butter into the topping; your fingers work too)
- Baking sheet (place ramekins on it to catch any bubbly overflow)
If you don’t have ramekins, you can use oven-safe coffee mugs or even a small cast-iron skillet. I’ve used both—the mugs make it feel extra cozy, and the skillet gives you more caramelized edges. Just adjust the baking time slightly if using a wider dish (check at 25 minutes instead of 30).
Preparation Method
Preheat your oven to 375°F (190°C). Place your ramekins on a small baking sheet—this saves you from scrubbing caramel off the oven floor later. Trust me on that one.
- Prep the apples: Peel, core, and dice the apples into 1/2-inch cubes. Don’t slice them—cubes give you more surface area for caramelization and a better texture. Toss the cubes in a bowl with maple syrup, lemon juice, cinnamon, nutmeg, cornstarch, and water. Stir until every piece is coated. Let it sit while you make the topping—this helps the apples release their juices.
- Make the topping: In a separate bowl, combine the oats, almond flour, coconut sugar, and a pinch of sea salt. Add the cold butter cubes and the Greek yogurt. Use a pastry cutter or your fingertips to work the butter into the dry ingredients until the mixture looks like coarse crumbs with some pea-sized butter pieces still visible. Don’t overmix—those little butter chunks create the crunchy bits. The yogurt will make it slightly sticky; that’s perfect.
- Assemble: Divide the apple mixture evenly between the two ramekins. Spoon the topping over the apples, pressing down gently so it sticks. Don’t pack it too tight—you want some air gaps for crispiness.
- Bake: Place the baking sheet with ramekins on the middle rack. Bake for 28-32 minutes, until the topping is golden brown and the apple juices are bubbling up around the edges. Your kitchen will smell like a fall candle—only better.
- Add the caramel: Let the crisps cool for 5 minutes on a wire rack. Then drizzle 1 tablespoon of salted caramel sauce over each ramekin. Sprinkle with a tiny pinch of flaky sea salt. The caramel will melt into the apples and soak into the topping just a little—heaven.
- Serve warm: This is non-negotiable. Serve it warm, preferably with a scoop of vanilla ice cream or a dollop of whipped cream. Or just eat it straight from the ramekin with a spoon. I won’t tell.
Sensory cues: At step 4, you’ll know it’s done when the topping is deep golden and you can see syrupy bubbles at the edges. If you stick a knife in the center, the apples should be tender but not falling apart. The smell? Like a hug from your oven.
Cooking Tips & Techniques
I’ve made this recipe about fifteen times now, and I’ve learned a few things the hard way. Here’s what I wish someone had told me:
- Don’t skip the cornstarch. I did once, thinking it wouldn’t matter. It matters. Without it, your filling will be watery instead of syrupy. The cornstarch thickens the apple juices as they bake, giving you that luscious, clingy sauce.
- Cold butter is your friend. If the butter softens before it goes into the topping, you’ll end up with a dense, greasy mess. Keep it in the fridge until the last minute, and work quickly when cutting it in. I’ve even popped my mixing bowl in the freezer for 5 minutes on a hot day.
- Let them rest. I know it’s hard, but those 5 minutes of cooling are crucial. The filling sets up, the topping firms up, and the caramel doesn’t just slide off. Plus, you won’t burn your mouth. Patience is a virtue, even with dessert.
- Double-check your oven temp. My old oven ran hot, and I burned two batches before I figured it out. If your topping is browning too fast, tent loosely with foil for the last 10 minutes.
- Make the topping ahead. You can prep the oat mixture and store it in the fridge for up to 3 days. Just add the butter and yogurt right before you bake for the freshest crunch.
Variations & Adaptations
One of the best things about this recipe is how flexible it is. Here are a few ways to make it your own:
- Vegan Version: Use coconut oil or vegan butter in place of regular butter, and swap the Greek yogurt for a thick plant-based yogurt (I like Culina or Forager). The texture will be slightly different—a bit more crumbly—but still delicious.
- Gluten-Free: This recipe is naturally gluten-free if you use certified gluten-free oats and almond flour. I’ve tested it with oat flour instead of almond flour, and it works beautifully—just add an extra tablespoon of oats to balance the texture.
- Seasonal Swaps: In the summer, try peaches or nectarines instead of apples. In the winter, pears with a pinch of ginger are amazing. Adjust the sugar based on the fruit’s sweetness—peaches might need a little less maple syrup.
- Nut-Free Option: Swap almond flour for oat flour or all-purpose flour. The topping will be a bit less crumbly but still crunchy.
- Extra Indulgent: Add 2 tablespoons of chopped pecans or walnuts to the topping before baking. The nuts toast up and add a wonderful crunch. I did this for a dinner party once, and everyone fought over the last bite.
Serving & Storage Suggestions
This crisp is best served warm, straight from the oven. The contrast between the hot, jammy apples and the cold ice cream is pure magic. I like to add a small scoop of vanilla bean ice cream or a dollop of lightly sweetened whipped cream. For a dairy-free option, coconut whipped cream works beautifully.
If you have leftovers (rare in my house), cover the ramekins with foil and store them in the fridge for up to 3 days. The topping will soften, but you can re-crisp it by reheating in a 350°F oven for 10 minutes. I don’t recommend the microwave—it turns the topping into a sad, soggy mess.
Interestingly, the flavors actually deepen overnight. The apples get even more caramel-like, and the spice melds together. I’ve been known to make a double batch just so I can have it for breakfast the next day. No regrets.
Nutritional Information & Benefits
Per serving (one ramekin, without ice cream): Approximately 285 calories, 9g fat, 48g carbs, 4g fiber, 28g sugar, 4g protein. These are estimates—your numbers may vary based on brands and substitutions.
What I love about this recipe is that it feels indulgent without being a sugar bomb. The apples provide natural sweetness and a good dose of fiber (about 4 grams per serving, thanks to the oats and apples). The almond flour adds healthy fats and a little protein, while the Greek yogurt gives you a probiotic boost and cuts the butter in half. It’s dessert that actually has some redeeming qualities—but you’d never know it from the taste.
If you’re watching your sugar intake, you can reduce the maple syrup to 2 teaspoons, or use a monk fruit sweetener in the topping. The salted caramel is the main source of added sugar, so feel free to skip it or use a sugar-free version. But honestly? Life’s too short to skip the caramel.
Conclusion
This Light & Cozy Salted Caramel Apple Crisp for Two is more than just a dessert—it’s a little moment of warmth in a ramekin. It’s the kind of recipe that makes you slow down, breathe, and actually taste what you’re eating. No guilt, no fuss, just pure comfort.
I love that it’s scaled for two, because sometimes you don’t need a whole tray of something. Sometimes you just need a small, perfect portion that feels special without being a project. And the salted caramel? It’s the little luxury that makes it feel like a treat, even on a Tuesday night.
I’d love to hear how yours turns out. Did you try a variation? Swap in a different fruit? Forget to set a timer and get a little extra crunch? (Been there.) Drop a comment below and let me know—I read every single one. And if you loved it, share it with someone who needs a little cozy in their life.
Happy baking, friend.
Frequently Asked Questions
Can I make this apple crisp ahead of time?
Yes! You can assemble the ramekins (without the caramel drizzle) up to 24 hours in advance. Cover and refrigerate, then add 5-10 minutes to the baking time since you’re starting from cold. Add the caramel after baking.
What’s the best apple for this recipe?
I love Honeycrisp for their sweet-tart balance and firm texture. Granny Smith is great if you like a tarter crisp. Avoid Red Delicious or McIntosh—they turn into applesauce too quickly.
Can I use quick oats instead of old-fashioned?
You can, but the texture won’t be as good. Quick oats absorb more liquid and turn mushy. Old-fashioned oats give you that satisfying crunch. If you only have quick oats, add an extra tablespoon of almond flour to help with structure.
Is this recipe gluten-free?
It is if you use certified gluten-free oats and almond flour. Double-check your caramel sauce too—some brands contain wheat-derived ingredients. Trader Joe’s salted caramel sauce is gluten-free.
How do I reheat leftovers without ruining the topping?
The best way is in the oven: 350°F for 10 minutes. The microwave will make the topping soft and chewy. If you’re in a rush, an air fryer at 300°F for 5 minutes works surprisingly well—just watch it so the topping doesn’t burn.
Pin This Recipe!
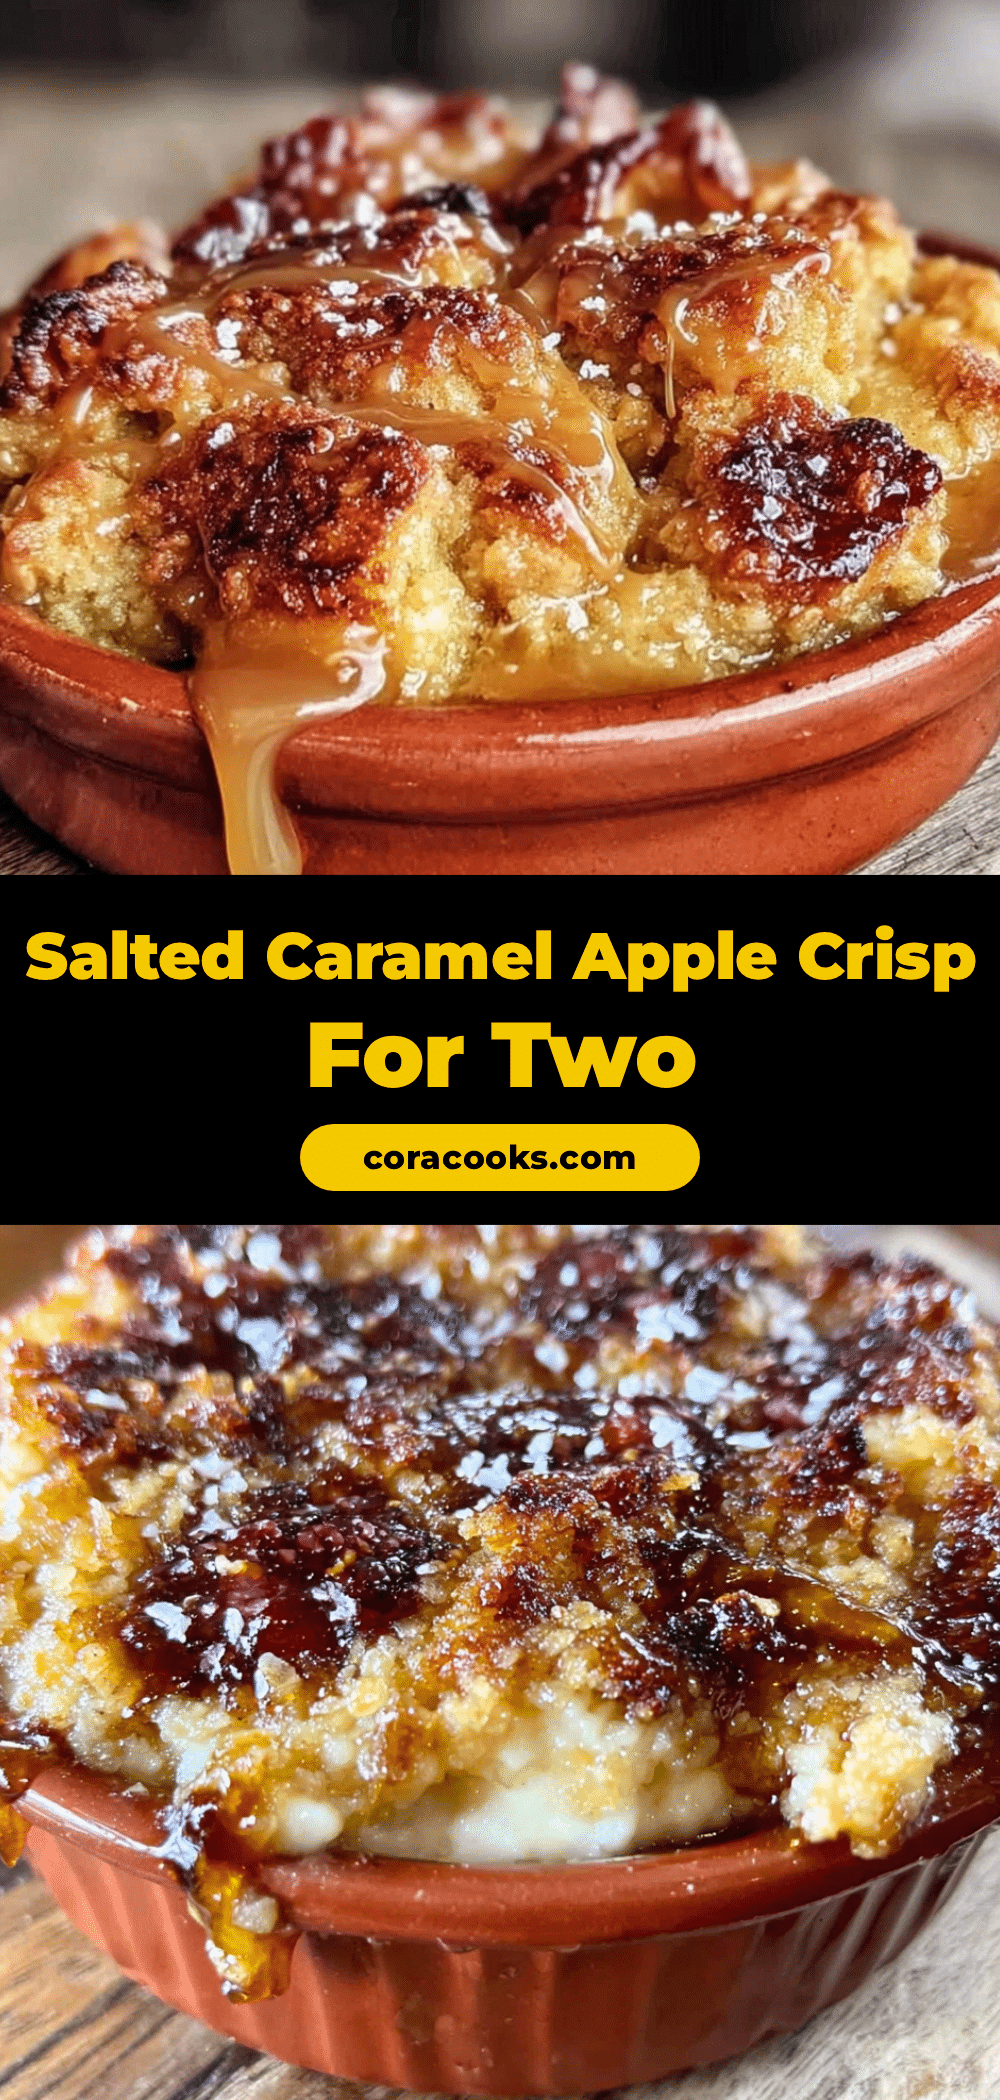
Light & Cozy Salted Caramel Apple Crisp for Two

A perfectly portioned, lightened-up apple crisp with a crunchy oat topping and a drizzle of salted caramel. Made for two, it’s a quick and cozy dessert that feels indulgent without the guilt.
- Prep Time: 10 minutes
- Cook Time: 30 minutes
- Total Time: 40 minutes
- Yield: 2 servings 1x
- Category: Dessert
- Cuisine: American
Ingredients
- 2 medium apples (Honeycrisp or Granny Smith), peeled, cored, and diced into 1/2-inch cubes
- 1 tablespoon maple syrup
- 1 teaspoon lemon juice
- 1/2 teaspoon cinnamon
- Pinch of nutmeg (freshly grated if possible)
- 1 teaspoon cornstarch
- 1 tablespoon water
- 1/4 cup old-fashioned rolled oats
- 2 tablespoons almond flour
- 2 tablespoons coconut sugar (or brown sugar)
- 1 tablespoon cold butter, cut into small cubes
- 1 tablespoon plain Greek yogurt
- Pinch of sea salt
- 2 tablespoons store-bought salted caramel sauce
- Flaky sea salt (for finishing)
Instructions
- Preheat oven to 375°F (190°C). Place two 8-ounce ramekins on a small baking sheet.
- In a bowl, toss the diced apples with maple syrup, lemon juice, cinnamon, nutmeg, cornstarch, and water. Let sit while making the topping.
- In a separate bowl, combine oats, almond flour, coconut sugar, and a pinch of sea salt. Add cold butter cubes and Greek yogurt. Use a pastry cutter or fingertips to work the butter into the dry ingredients until the mixture resembles coarse crumbs with some pea-sized butter pieces.
- Divide the apple mixture evenly between the ramekins. Spoon the topping over the apples, pressing down gently.
- Bake for 28-32 minutes, until the topping is golden brown and the apple juices are bubbling around the edges.
- Let cool for 5 minutes on a wire rack. Drizzle 1 tablespoon of salted caramel sauce over each ramekin and sprinkle with a tiny pinch of flaky sea salt.
- Serve warm, preferably with vanilla ice cream or whipped cream.
Notes
For dairy-free, use vegan butter and dairy-free yogurt. For nut-free, swap almond flour with oat flour or all-purpose flour. The topping can be prepped ahead and stored in the fridge for up to 3 days (add butter and yogurt just before baking). Let the crisps rest for 5 minutes after baking to allow the filling to set.
Nutrition
- Serving Size: 1 ramekin
- Calories: 285
- Sugar: 28
- Sodium: 150
- Fat: 9
- Saturated Fat: 4
- Carbohydrates: 48
- Fiber: 4
- Protein: 4
Keywords: apple crisp, salted caramel, dessert for two, light dessert, fall dessert, gluten-free option, easy apple crisp


